接触ペアの隙間定義の作成
接触ペアの新しい隙間定義の作成手順は、選択した隙間のタイプによって異なります。
VALUE
TABULAR WITH INPUT FILE
TABULAR WITH BOLT
-
Specify the following:

図 1. -
In the first data line, double-click the Node Id
field.
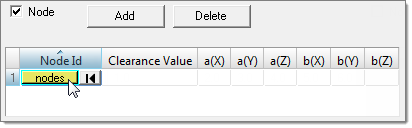
図 2. -
Specify the following:
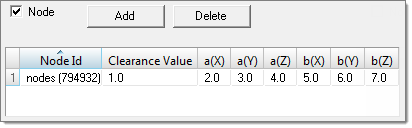
図 3. -
In the first data line, click the Node Set field and
then select a node set from the list.
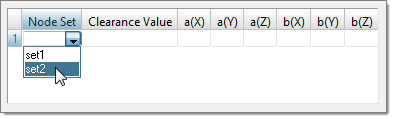
図 4.
TABULAR WITH BOLT AND INPUT
When using the TABULAR WITH BOLT AND INPUT clearance type, you can define clearance using nodes, node sets, or both nodes and node sets. In the example below, clearance is being defined using both nodes and node sets.
-
In the first data line, double-click the Node Id
field.
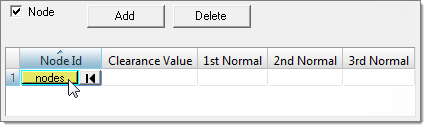
図 5.