Burst nodes manually (without the intervention of the PBS cloud bursting hook) for
testing purposes or when your site wants to keep nodes burst for an indeterminate amount of
time.
A cloud bursting scenario must be created before you can
burst cloud nodes.
Cloud nodes can be burst manually (without using the PBS cloud bursting hook) to test the bursting scenario,
to ensure that the connectivity from the PBS Server
to the cloud infrastructure is working properly, or so that the cloud node remains burst
indefinitely.
The below instructions, show how to manually burst a node via the
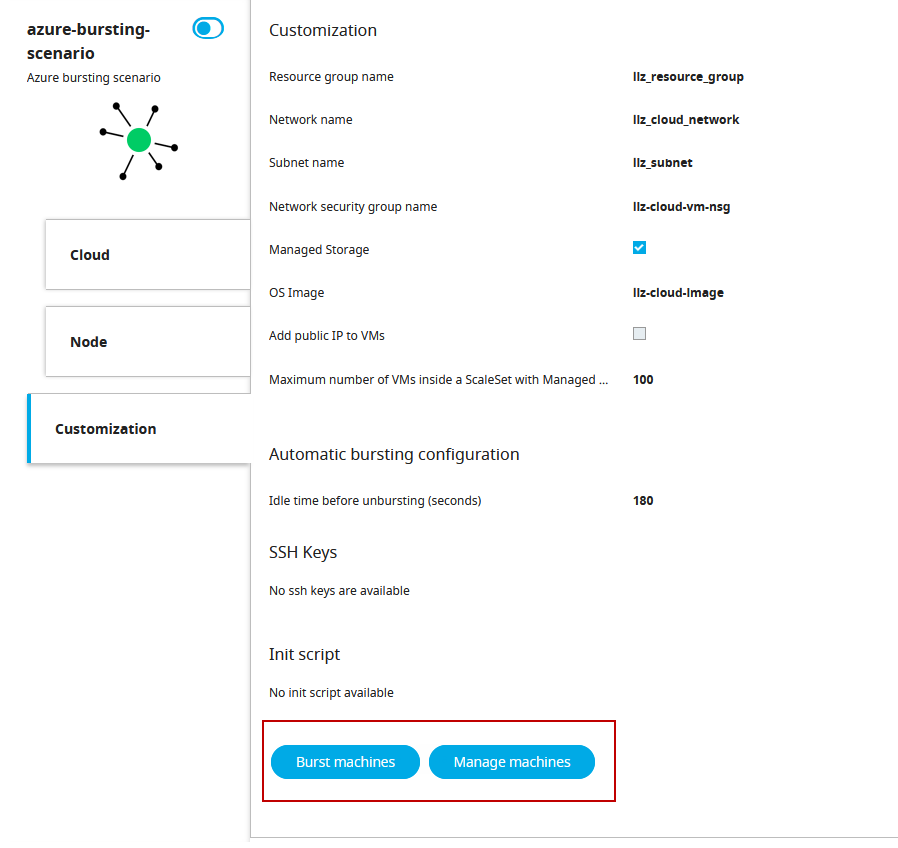
Node tab. You can also burst a cloud node manually and manage manually burst nodes
through the bursting scenario's Customization tab. Figure 1. Manual Bursting via Customization Tab
Important: Cloud nodes burst manually remain up and running until
explicitly unburst.
Login to Control.
Click the Cloud tab.
Click Bursting from
the Infrastructure menu located on the left-hand side of
the web page.
Select a bursting scenario by clicking its name.
Click Node.
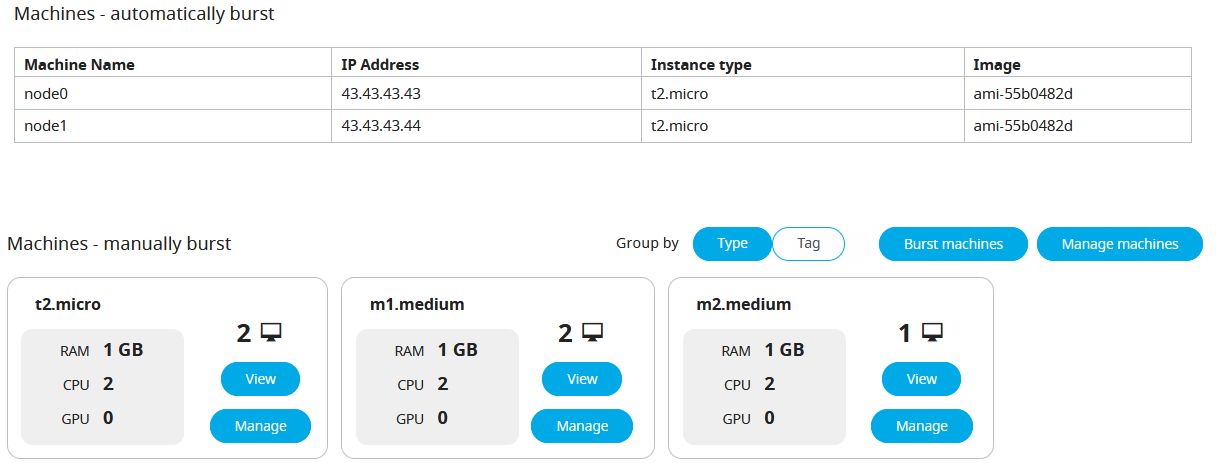
Nodes that were burst by the PBS
cloud bursting hook are displayed at the top while manually burst nodes are
displayed below. By default, the manually burst nodes are grouped by instance
type.
Tip: To group the manually burst nodes by tags, click
Tag located to the right of Group by.
Figure 2. Burst Machines
Under Machines - manually burst, click Burst
machines.
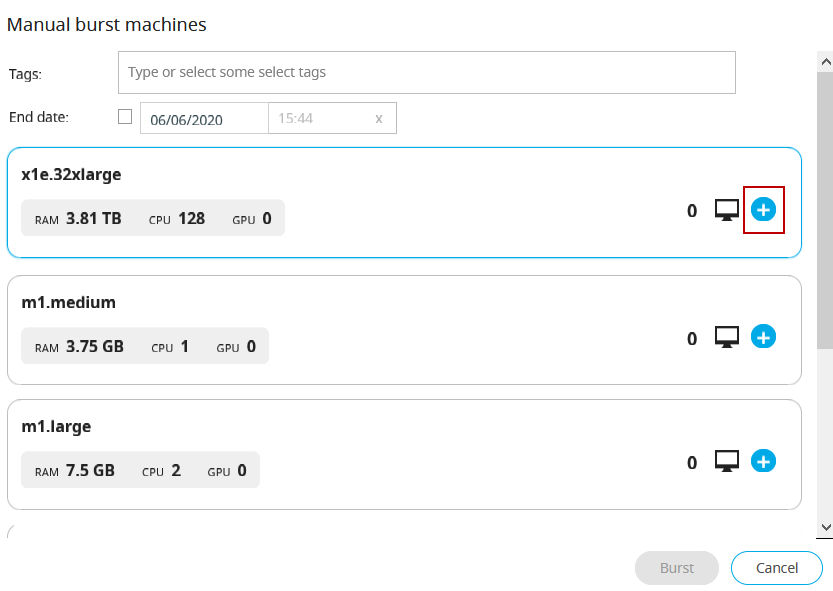
A list of instance types that have been enabled for the bursting
scenario is displayed.
For Tags, enter a key-value pair to add a label to the
cloud node and press ENTER.
A tag is a label that is assigned to a cloud node. Tags
enable cloud nodes to be categorized in different ways, for example, by purpose,
owner, or environment.
The key-value pair must be entered as key:value. The
key must be less than 36 characters and the value must be less than 43
characters. The length of both the key + value should be less than 80
characters. Valid values are alphanumeric, dash (-) and an underscore ( _
).
Once the tag is added, it will appear within its own bubble. Figure 3. Key-Value Tag
Repeat the previous step to add more tags.
Figure 4. Additional Tags
Tip: To remove a tag click on the 'x' located within the tag
bubble.
Enable End date and provide a date and time to
automatically unburst cloud nodes on a given date and time.
All machines will be unburst on this date within five minutes of the specified
time. Jobs currently running on the node will be canceled.
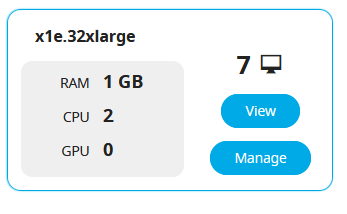
Click to choose an instance type to
burst.
Figure 5. Choose Instance Type
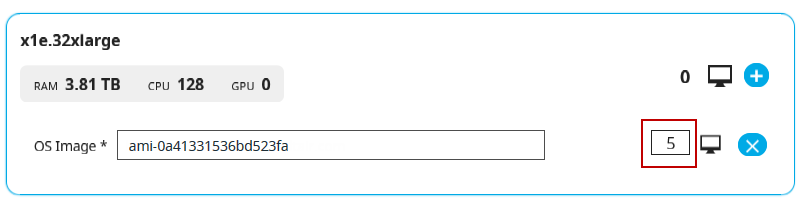
Enter the number of machines to burst.
Figure 6. Number of Machines to Burst
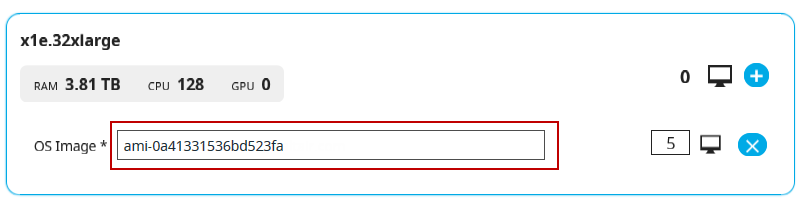
Optionally, override the default OS image by entering a different OS
image.
An OS image is the template used to create the virtual machine. Figure 7. Override the OS Image
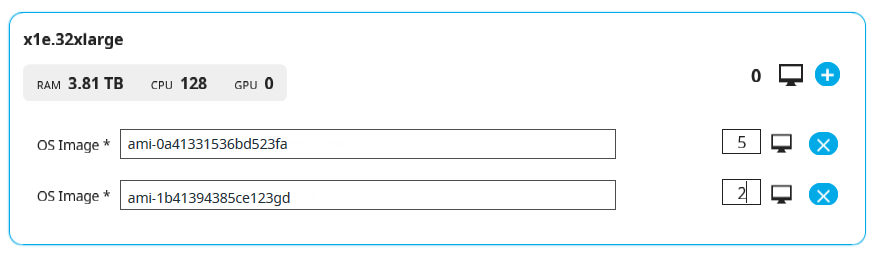
Optionally, click
again to burst the same instance type with a different OS image.
Tip: Click to remove an OS image.
Figure 8. Choose a Different OS Image
Repeat steps 10
through 13 to burst any
other instance types.
Click Burst xx machines.
Where xx indicates the number of virtual machines that will be burst.
Click Burst xx machines to confirm the action.
Click to
view messages in the Notification Center about the progress of the bursting
activity.
Once bursting is complete, a list of virtual machine that
have been burst is displayed. Figure 9. Burst Machines


 to choose an instance type to
burst.
to choose an instance type to
burst.
 to remove an OS image.
 to
view messages in the Notification Center about the progress of the bursting
activity.
to
view messages in the Notification Center about the progress of the bursting
activity.