Export
The purpose of this section is to export the results to a CSV file with the help of Export to CSV tool.
-
Select Export from the
Select GeoD Tool dropdown list.
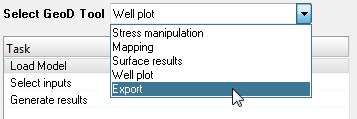 Figure 1.
 -
Click on the file browser button
 adjacent to the Load Model field and browse and select the
demo-map.h3d file and click Open.
adjacent to the Load Model field and browse and select the
demo-map.h3d file and click Open.
-
Click Apply.
The model and result files are loaded in the HyperView window.
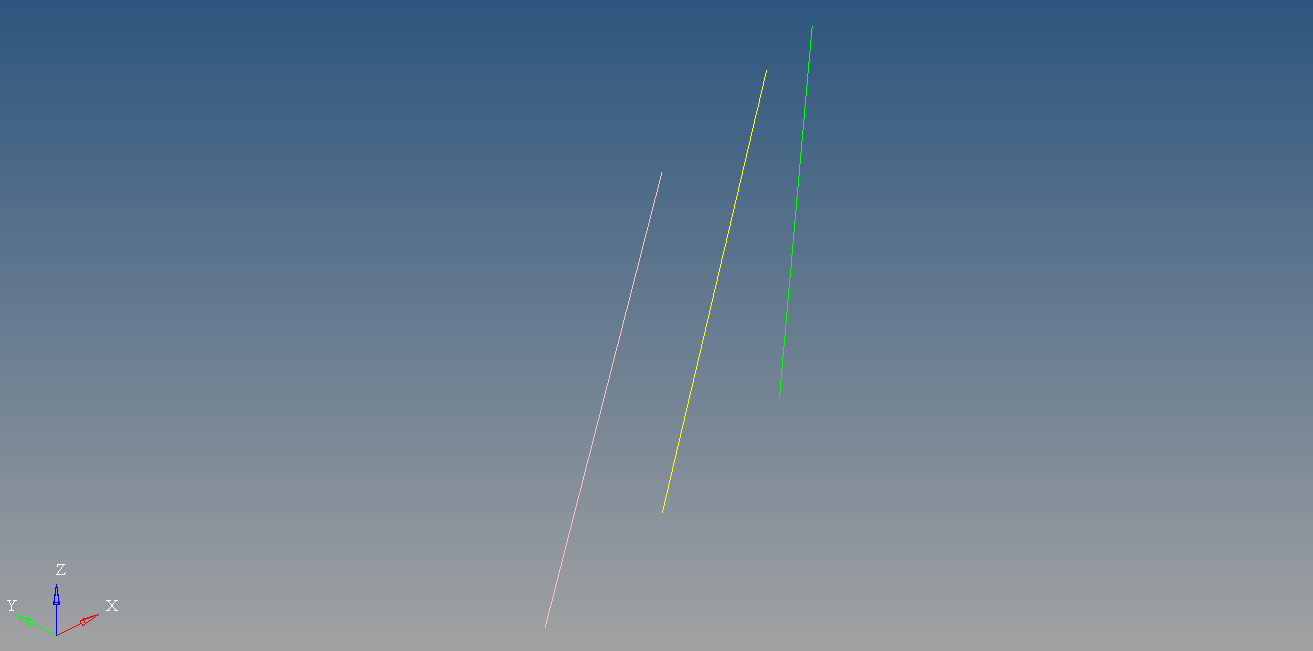 Figure 2.
 -
Select the required subcase check box from the Subcase table.
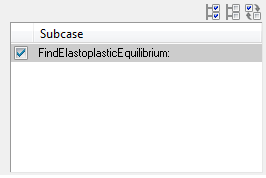 Figure 3. Note: Once you select the subcase, all the other sections is activated.
 -
Select the required simulation from the Simulation table.
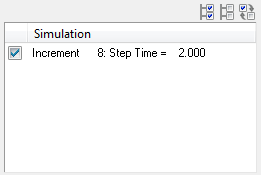 Figure 4.
 -
Select the result type to be exported from the Result Type
Label section.
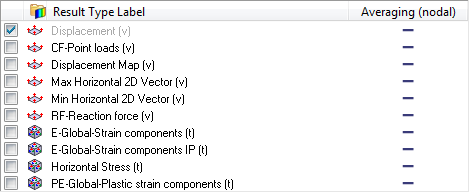 Figure 5.
 -
Click on the required check boxes under the Averaging
(nodal) column for the selected result type in the
table.
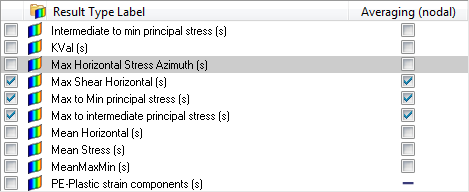 Figure 6.
 -
Select the required components from the Component Selection section.
 Figure 7.
 -
Click the required check box to include in the export data.
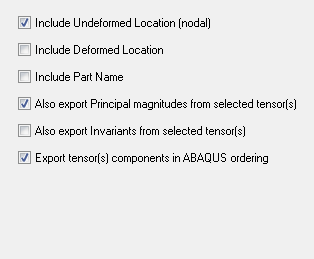 Figure 8.
 -
Select the required option from the Averaging method
(nodal) dropdown list.
 Figure 9.
 -
After defining the required inputs, click on the file browser button
 in
the Export
Directory text field.
A file browser windows opens.
in
the Export
Directory text field.
A file browser windows opens. -
Click
 button.
The CSV file is exported.
button.
The CSV file is exported.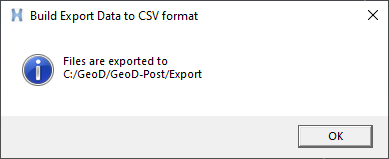 Figure 10.
 -
After the completion of the process, the results are displayed.
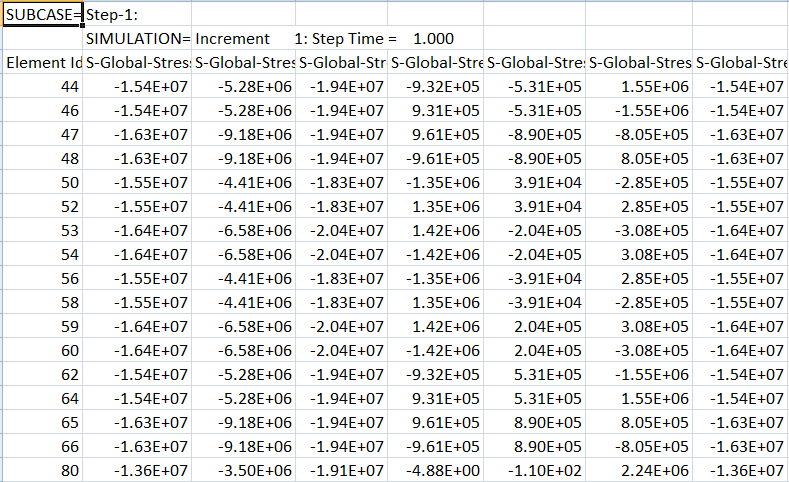 Figure 11. Note: To know more about the post processing tools, panels and options, refer to Geomechanics Director User Manual.