Meshing
Perform Tetra meshing for the enclosed volumes.
You will create tetra mesh or volume mesh using the enclosed volume assemblies created in the Pre Meshing operations.
-
From Define group, select .
 Figure 1. A guide bar will appear.
 -
On the guide bar, click
 to define tetra mesh options.
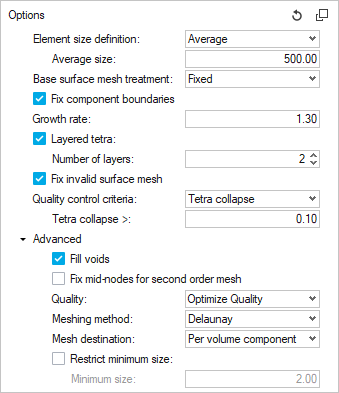 Figure 2.
Fault Properties
Create contacts between fault planes and volume meshes.
Using the Fault Properties tool, you will define
contacts between the fault planes and the volume meshes.To create contacts, you will
have to preview and equivalence any free nodes.
-
From the Fix group, select Tools Ribbon.
From Tools Ribbon, select Free Edges.
 Figure 3. Default HyperMesh Edges panel will appear.
Create Contacts
-
From Define group, select Fault Properties.
 Figure 4. A guide bar will appear.
 -
Click Create.
Once the contact creation is completed, contact groups will be listed in the Model browser.
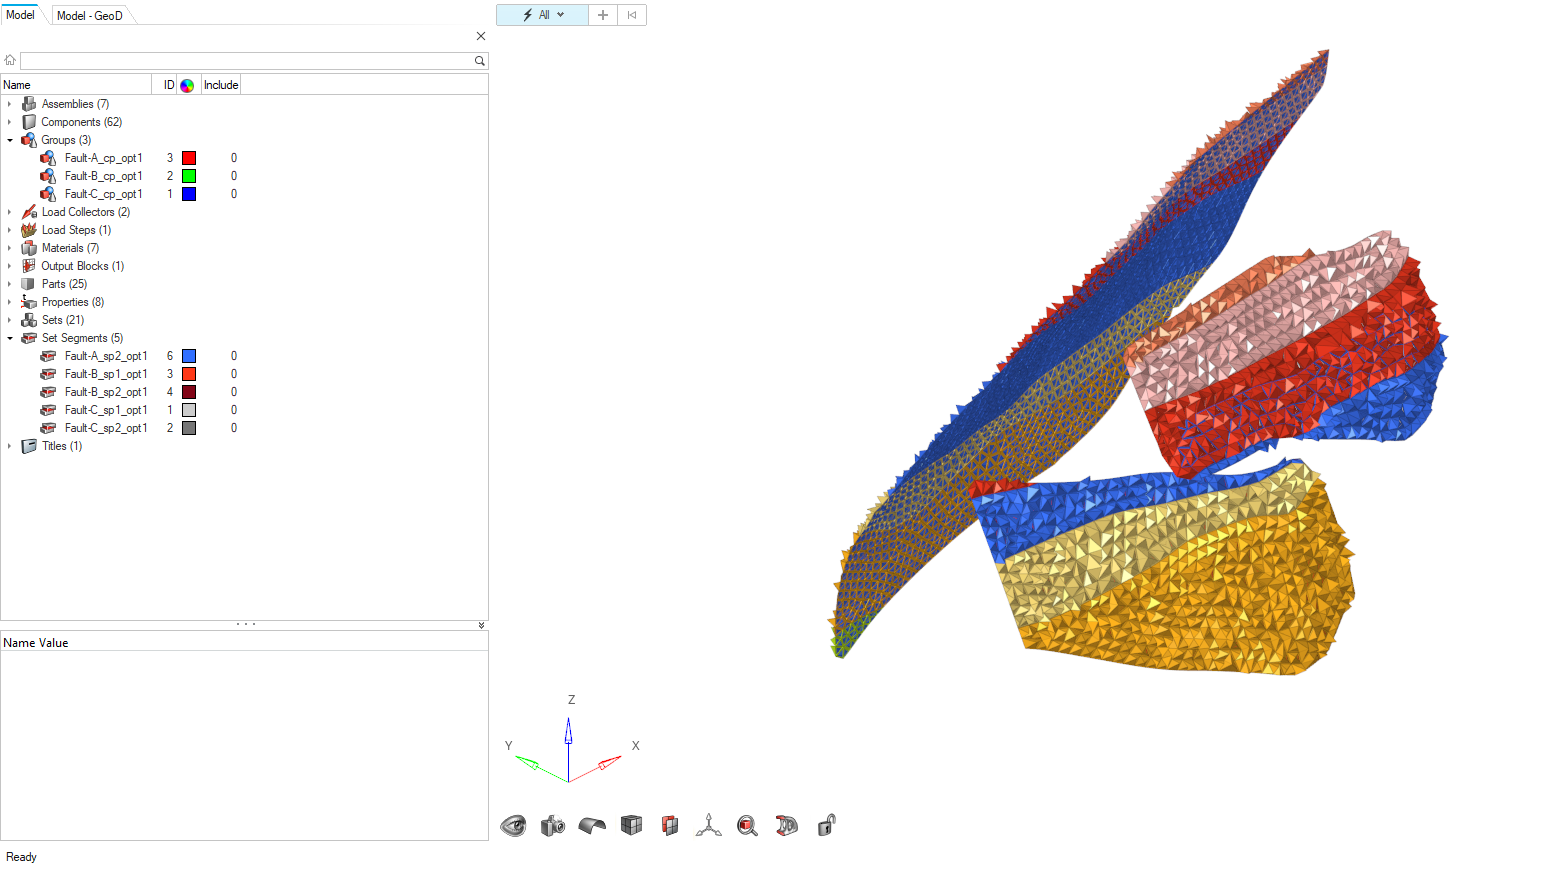 Figure 5.