Move to Include Dialog
This dialog opens when you select Move To Include from the Model Browser context menu.
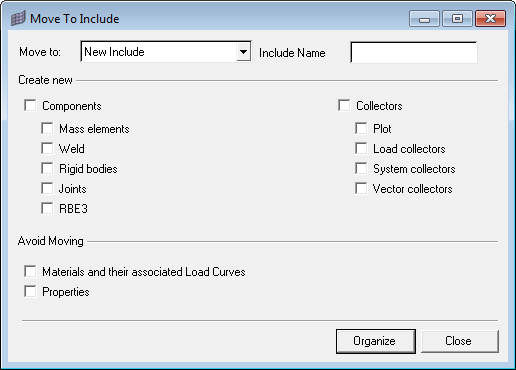
Figure 1. Move to Include Dialog
Several options allow you to specify the details of what is added to the include:
- Move to
- Use this drop down list box to either select one of the existing include files in the model, or create a new one with the name New Include.
- Create New
- When entities like mass elements or nodal rigid bodies are moved to the new include as part of selected self-contained entities, they may originate from different components. To help in visualization functions such as Show or Hide, additional options help organize the selected entities by creating new components or collectors to assign the moved entities to.
- Avoid Moving
- Use these options to address situations where the you may have a master include file for material and load curves, and do not want some cards to be moved to the include along with their associated entities.