Add Weld Lines Manually
You can add weld lines to the model manually. This gives you complete control on how the weld line is defined.
-
Click the Mark Welds tool.

Figure 1.The Mark Weld dialog opens. -
Click
 .
.
-
Select the nodes that represent the start and end of the weld line from the modeling window.
All the nodes located in between the starting and ending nodes will automatically be selected for the weld line.
The selected nodes need not connect two or more components. This feature supports the use case where you may be working on a model that is split at a weld line.
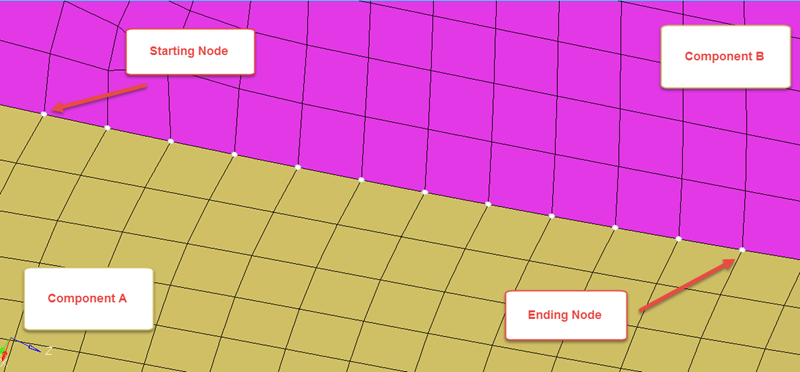
Figure 2.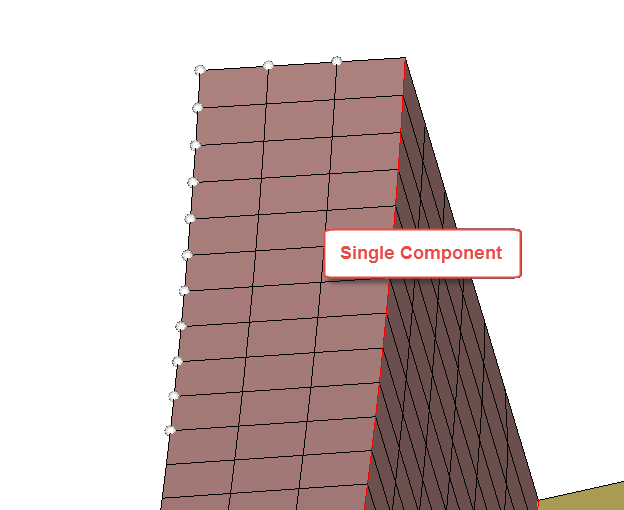
Figure 3. -
Click OK in the Advanced Selection
dialog then click
 on the entity selector.
The weld line is added to the model and displayed in the HyperLife Model Browser and the weld line browser.
Manually defined weld lines are identified with the text
manin the line name. For example,hlw_T2man#Inner_Frame_right#Skin.