Helix
Create a helix (or a spiral if the top and bottom radii are different).
-
Click the Helix icon.

-
Modify the helix. Note that modifying the height, pitch, or turn is method
dependent.
- Method: Height/Pitch (default): You can modify either the height or the pitch, while keeping the number of turns constant.
- Method: Turns/Height: You can modify either the number of turns or the height, while keeping the pitch constant.
- Method: Turns/Pitch: You can modify either the number of turns or the pitch, while keeping the height constant.
To Do this Note Change the height - In the guide bar, select Method: Height/Pitch or Method: Turns/Height.
- Do one of the following:
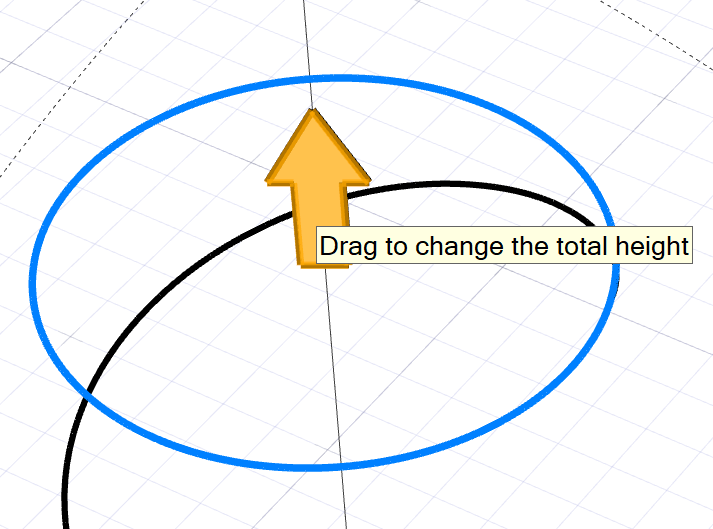
- In the guide bar, enter the Total Height.
- In the modeling view, drag the straight
arrow.
Change the pitch - In the guide bar, select Method: Height/Pitch or Method: Turns/Pitch.
- In the guide bar, enter the Pitch.
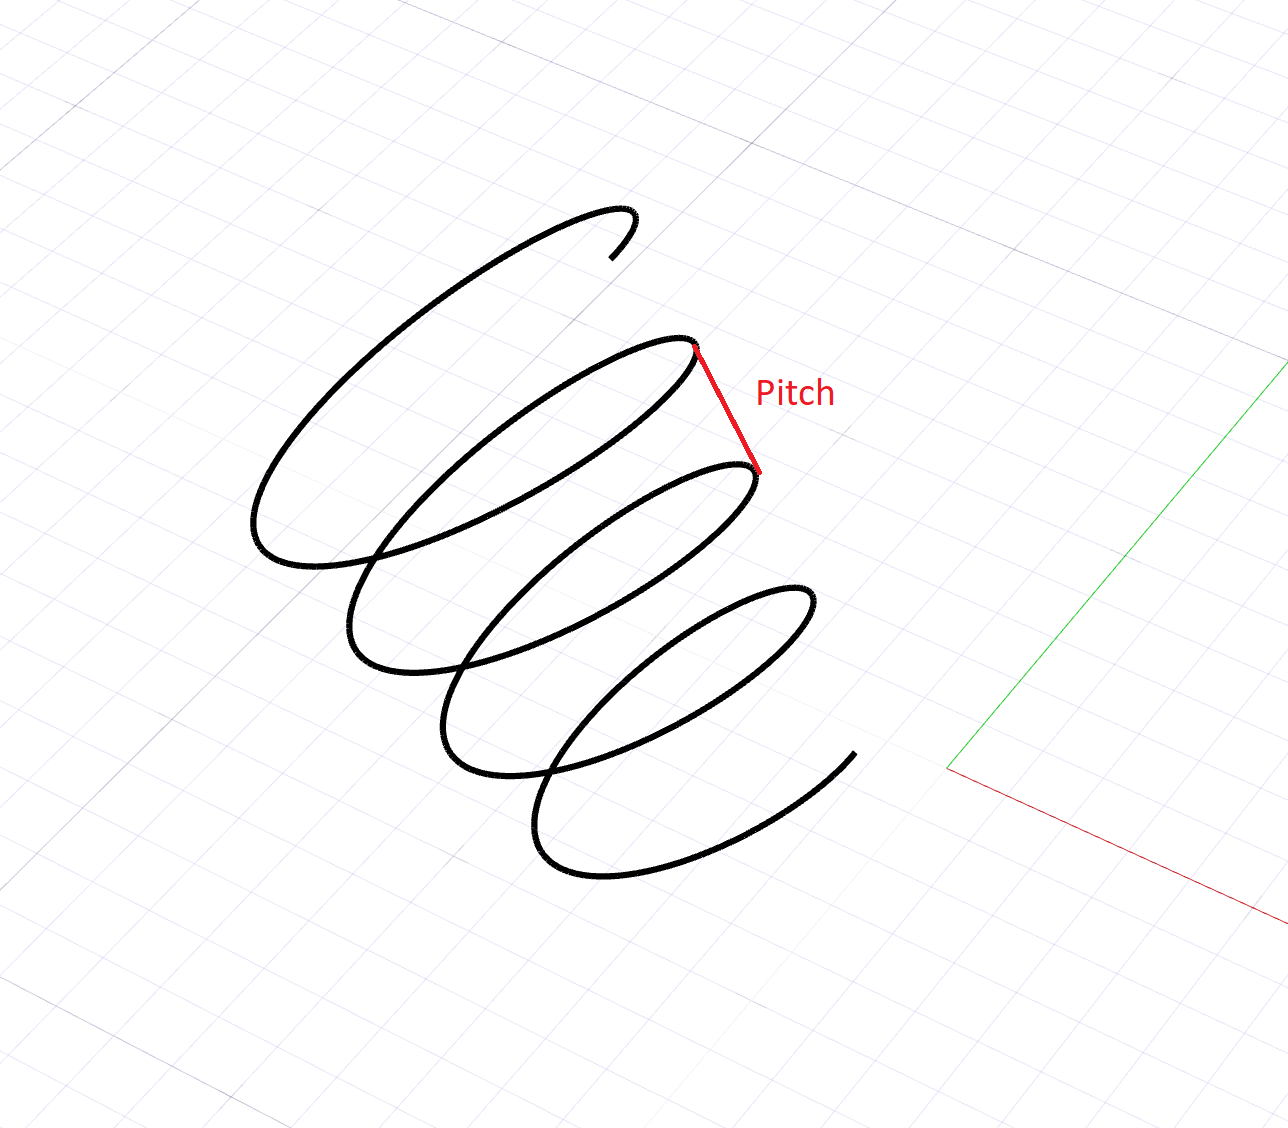
Figure 1. Pitch. The pitch is the height between each turn. It is inversely proportional to the number of turns. The greater the pitch, the fewer the number of turns.Change the number of turns - In the guide bar, select Method: Turns/Height or Method: Turns/Pitch.
- In the guide bar, enter the number of Turns.
Change the direction In the Control Panel, select a Reference Direction: - Global X Axis
- Global Y Axis
- Global Z Axis
- Reference Geometry: In the modeling window, click a reference object.
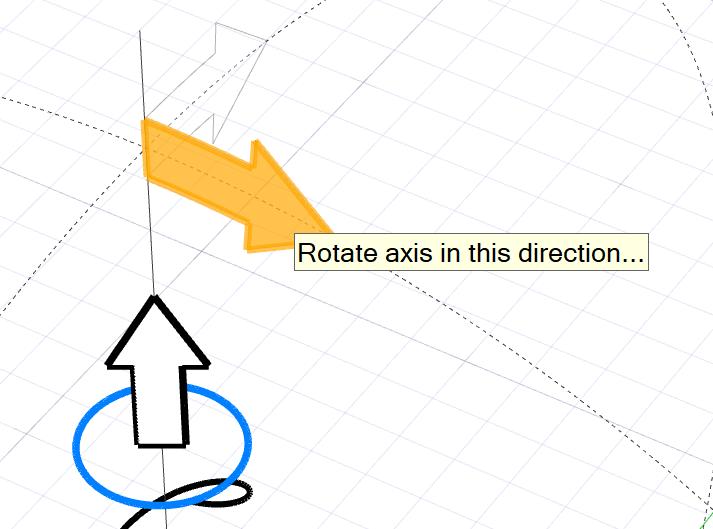
- Custom: In the modeling
window, drag one of the arrows for rotation.
To invert the current direction, click Invert Direction. Create a spiral You can turn the helix into a spiral by making the top and bottom diameters different. - To unlock the diameter ratio, in the modeling view,
click the lock icon.
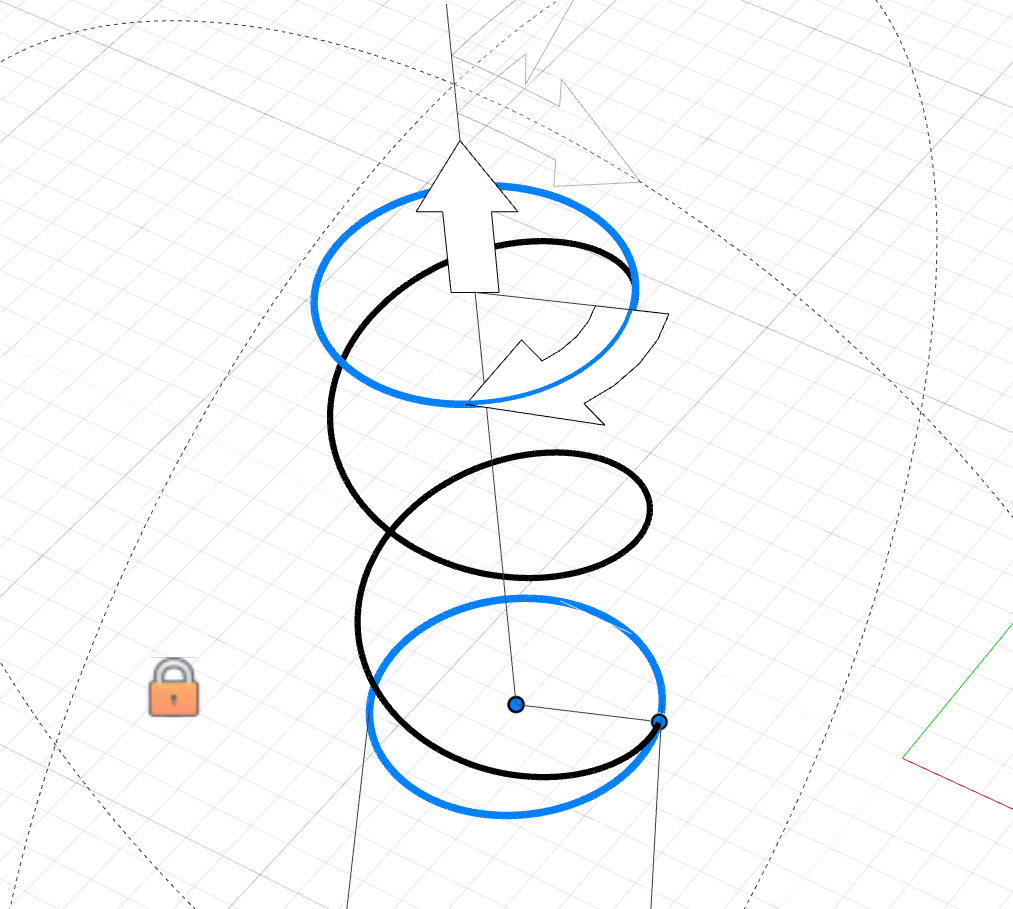
- Select the top or bottom diameter, and then drag to resize it or enter a value in the Top Diameter or Bottom Diameter text box.
Change the spiral pitch In the Control Panel, enter a Spiral Pitch. 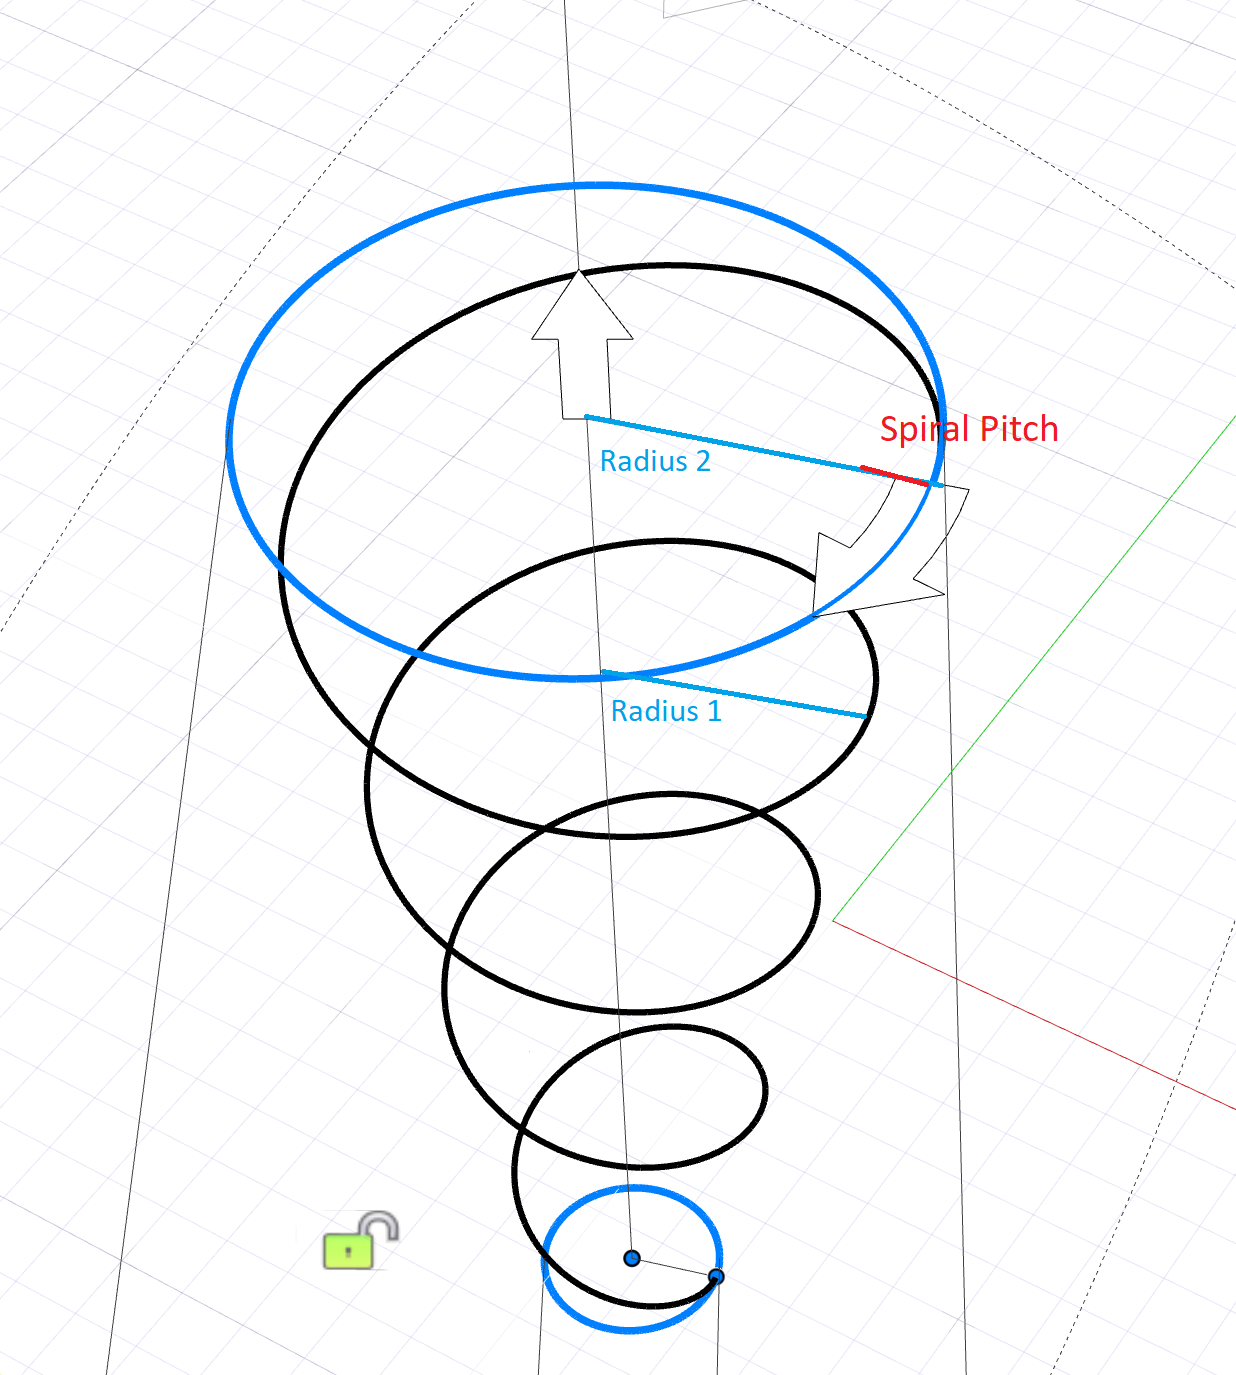
Figure 2. Spiral Pitch. The spiral pitch is the increase in radius between each turn. In this example, it's the difference between Radius 1 and Radius 2.Change the direction of the helix (clockwise or counterclockwise) In the Control Panel, turn on Reverse twist. Move the helix Drag the Origin. Alternatively, to use the Move tool, exit editing mode first and make sure the helix is selected. When using the Move tool, the center corresponds to the center of the bounding box instead of the axis origin.