HVVH-2000: Create and Edit Configuration Files
- Add or delete a HyperWorks version.
- Add a solver executable version.
- Set the text editor.
Located in the home directory, the configuration file (configPaths.cfg) is used to set up paths for HyperWorks products to use the HyperWorks Verification and Validation Harness. A few solver paths can be included along with the executable paths.
Add/Delete HyperWorks Version
-
From the menu bar, click .
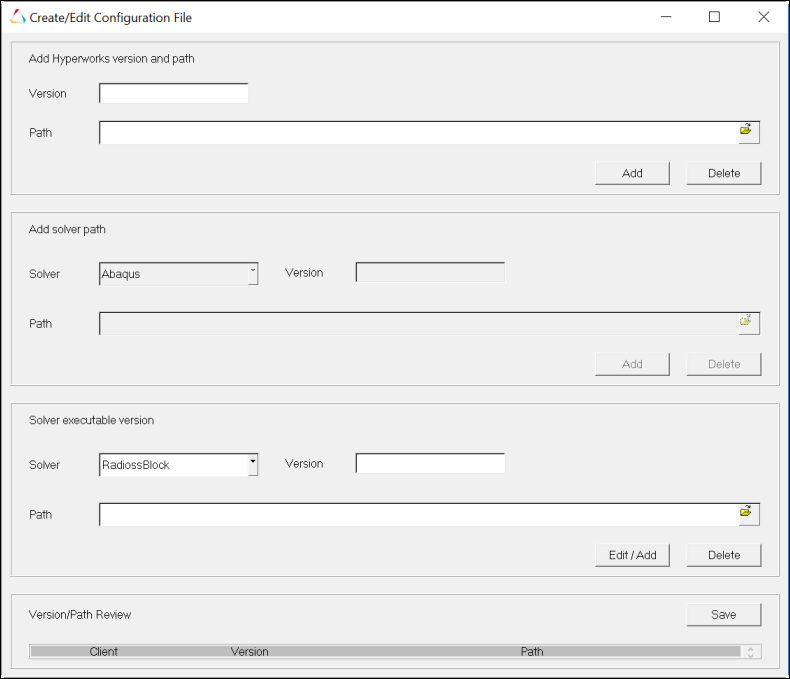
Figure 1. -
Add a new version of HyperWorks:
-
In the Path field, add the root path of HyperWorks. You can enter it directly or click
the file browser icon to search for the root path.
In the example in Figure 2, the root path for version 2019.1 is added (C:/Program Files/Altair/2019.1).
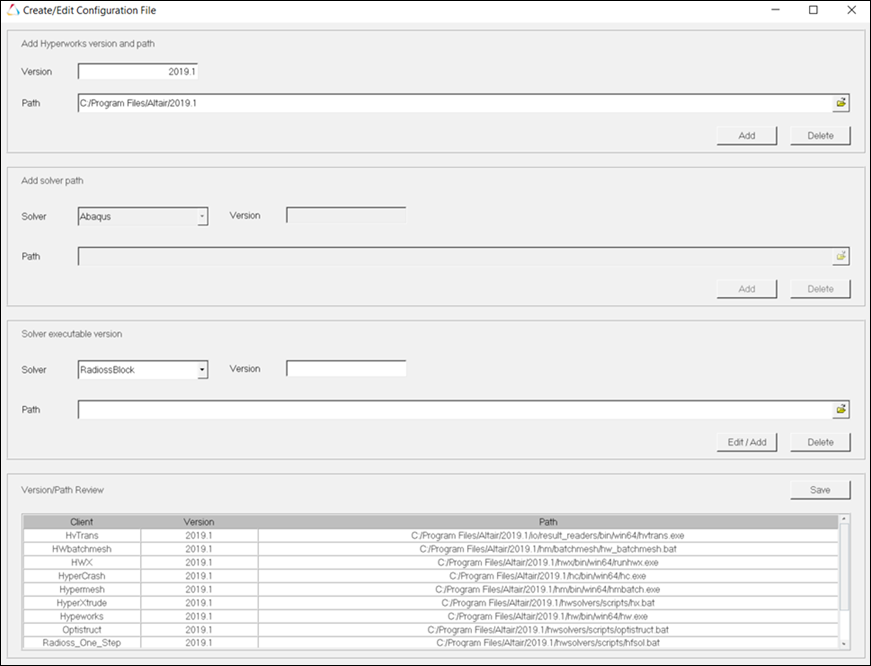
Figure 2.
All entries will be updated for HyperWorks products and the respective paths are shown in the bottom window. -
In the Path field, add the root path of HyperWorks. You can enter it directly or click
the file browser icon to search for the root path.
-
Click Save.
The message below is displayed.
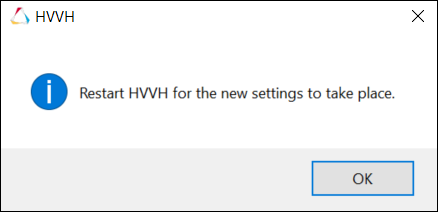
Figure 3.
Add Solver Executable Version
This option is useful when multiple solver executables for a HyperWorks product are available. Currently, this is only available for Radioss and OptiStruct solvers.
-
In the Path field, type a path directly or click the file browser icon to
search for the path.

Figure 4. -
The following message is displayed:
Figure 5.
Set the Text Editor
-
From the Set text editor dialog, use the file browser icon
to select a text editor.

Figure 6.