Patch
Use the Patch tool to fill in missing surfaces, or to remove and remake bad or problematic surfaces.
If the Patch tool finds a group of open edges that define a closed loop, clicking a red edge will close the hole.
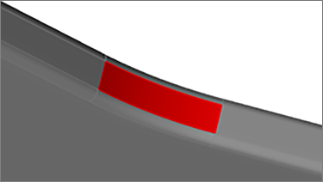
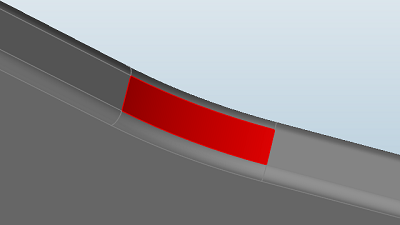
Figure 1. Patched Surface
If you select two groups of edges or lines that do not define a closed area, the Patch tool will create a surface between the groups.
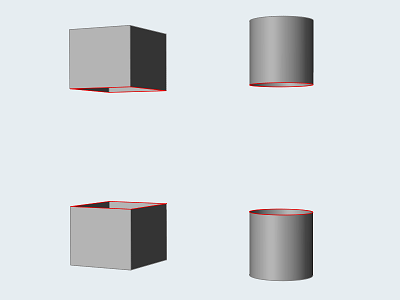
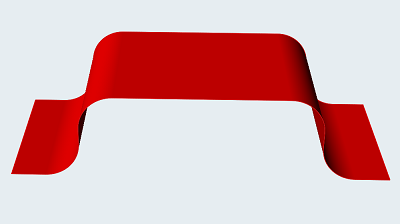
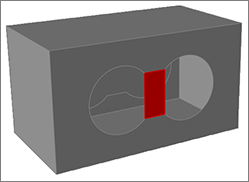 Figure 2. Bridged Surface
Patch Missing Surfaces
Patch open areas that define a closed loop, or create a bridge between two open edges that do not define a closed area.
-
On the Geometry ribbon, select the Patch tool. Make sure that Patch is selected on the
guide bar.

All of the open edges in the model are selected and highlighted in red. The total number of open edges is displayed above the Patch tool. Chains of open edges that define a closed area are counted as a single entity. -
Select open edges to define areas to patch or bridge.
- To create a patch, select a group of edges that define a closed area. If there are several open edges that define a closed area, selecting an adjacent edge will add it to the chain.
- To create a bridge, select two edges or groups of edges that do not define a closed area.
- To patch all candidate locations, click Apply
 on the guide bar.
If the patch is successful, the new patched surface is shown in red.
- To review open edges located by the search, click
 and
and  on the guide bar.
 - If you do not like the resulting surface, click use the Delete Faces option on the guide bar to delete it and start over.
- Some geometry tools automatically detect relevant features when the tool is opened. You can disable this behavior in the Preferences under .
Delete Faces
Click once to select a problematic surface, and again to remove it.
- On the Geometry ribbon, select the Patch tool.
- Click Patch on the guide bar, and select Delete Faces from the menu.
- Click a surface to select it. The surface turns red.
-
Click the surface again to remove it, or click Apply
on the guide bar to remove all selected red
surfaces.
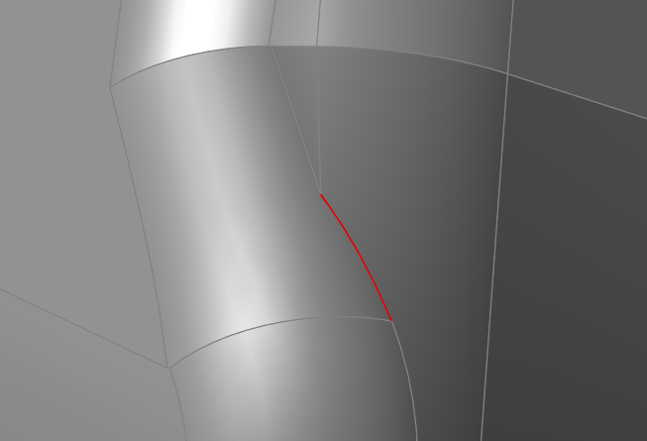
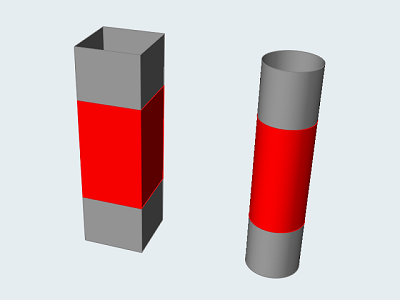
Figure 3. Overlapping Surfaces Shown in Red
Define an Area to Patch
Select open edges individually to define an area to patch.
- On the Geometry ribbon, select the Patch tool.
-
Click the Clear Selection
 button on the guide bar to deselect all edges.
-
Select open edges to define an area to patch or bridge.
- Click an open edge to select it.
- Select an adjacent edge to add it to the chain.
- Ctrl + click to deselect an edge.
- Ctrl + double-click to deselect an entire chain of edges.
- Once you have selected all of the desired edges, click the chain to perform the patch.
Patch Examples
|
Example 1: Patch Hole - Before
|
Example 1: Patch Hole - After
|
|
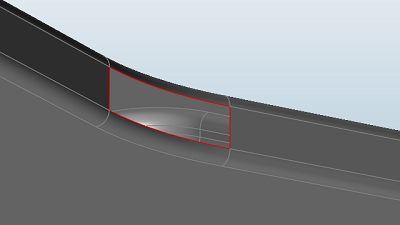
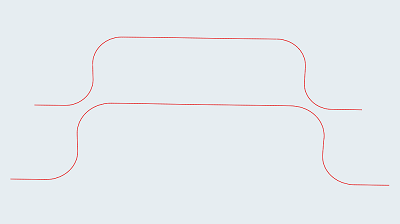
Example 2: Patch Between Edges -Before
|
Example 2: Patch Between Edges - After
|
|
Example 3: Patch Between Lines -Before
|
Example 3: Patch Between Lines - After
|
Keyboard Shortcuts & Mouse Controls
| To | Do this |
|---|---|
| Select (or deselect) an edge | Ctrl+click |
| Select (or deselect) a chain of edges | Ctrl+double-click |
| Exit tool | Right-click and mouse through the check mark to exit, or double-right-click. |