In this tutorial you will use morphing to create multiple configurations of a
model.
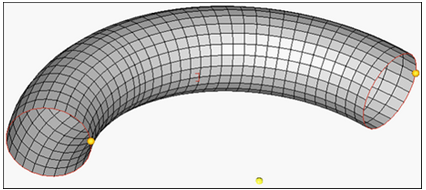
This exercise uses the tube.hm file, which can be found in the
hm.zip file. Copy the file(s) from this directory to your
working directory. Figure 1.
Open the Model File
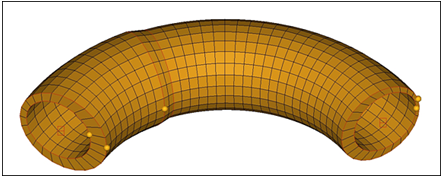
In this step you will open the model file, tube.hm.
Open the model file, tube.hm.
Create Domains and Handles
In this step, you will create domains and handles.
From the menu bar, click Morphing > Create > Domains.
Go to the create subpanel.
Switch the domain type to 3D domains.
Toggle the element selector to all elements.
Activate the partition 2D domains option.
Click create.
Partition the Outer Domain
In this step you will partition the outer domain.
Make sure you are still in the Domains > create subpanel.
In the Model Browser, hide the component
solid.
Using the Mask panel (), display only the outer elements of the component
^morphfaces.
Note: Select a couple of elements on the face you want to keep. Select
elements >> by face, and then select
elements >> reverse. This will reverse the
selection to the elements you do not want and will allow you to mask those
elements with the mask button.
Click return to return to the Domains panel.
To reduce the number of domains and handles shown on the screen, click the
Mask tab.
Click the + next to Morphing to expand it.
Click the + in the Show column for the Local
Domains/Handles to display the domains and handles for only the displayed
elements.
Change your view to a left view.
Change the domain type to 2D domains.
Change the elements selector from all elements to
elems.
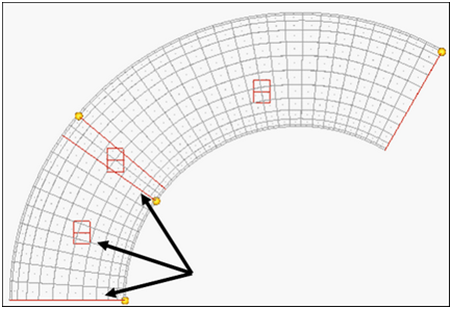
Select the elements as displayed in the following image.
Figure 2.
Click create to create the new domain.
Click return to exit the panel.
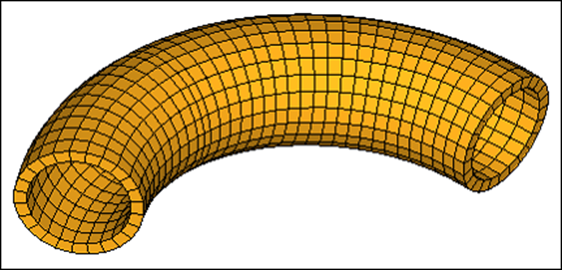
Increase Diameter of Tube
In this step, you will increase the outer diameter of the middle section of the
tube.
Click Morphing > Morph to open the Morph panel.
Go to the alter dimensions subpanel.
Set the dimension type to radius.
Set the center calculation to by edges.
Switch the mesh to wireframe.
Select the two edge domains and the 2D domain as shown in the following
image.
Figure 3.
Set the radius= value to 27.
Click morph to morph the part.
Remain in this panel for the next step.
Figure 4.
Offset the Inner Diameter of the Tube
In this step you will offset the inner diameter of the tube.
Click unmask all () to display all the elements.
Use the Mask panel to display only the tube inner elements of the component
^morphfaces.
Note: Select a couple of elements on the face you want to keep. Select elements
by face followed by elements reverse. This will reverse the selection to the
elements you do not want and will allow you to mask out those
elements.
Click return to return to the Domains panel.
To reduce the number of domains and handles shown on the screen, click the
Mask tab.
Click the + next to Morphing to expand it.
Click the + in the Show column for the Local
Domains/Handles to display the domains and handles for only the displayed
elements.
Click Morphing > Morph to open the Morph panel.
Go to the alter dimensions subpanel and set the dimension type to
radius.
Select domains >> displayed.
This selects the two inner edge domains as well as the 2D domain for the
tube inner. Figure 5.
Change the center calculation: to by
axis.
For the axis, switch to the y-axis.
For base point, select the temp node at the center of the tube arc.
For radius=, type 3.
Check add to current.
Click morph to morph the inner diameter of the
tube.
 ), display only the outer elements of the component
^morphfaces.
Note: Select a couple of elements on the face you want to keep. Select elements >> by face, and then select elements >> reverse. This will reverse the selection to the elements you do not want and will allow you to mask those elements with the mask button.
), display only the outer elements of the component
^morphfaces.
Note: Select a couple of elements on the face you want to keep. Select elements >> by face, and then select elements >> reverse. This will reverse the selection to the elements you do not want and will allow you to mask those elements with the mask button.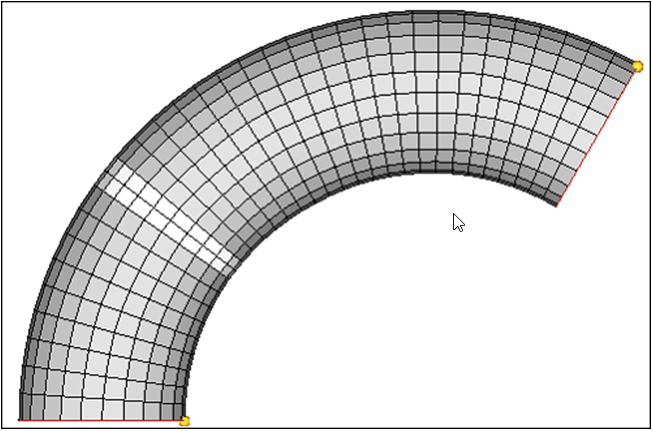
 ) to display all the elements.