Add Materials From a File
In this task you will add materials to a material library from an existing file, files, or folders.
This method is useful when you want to import existing material includes into the material library.
-
In the Model Browser, click the Materials
View icon (
 ) on the toolbar.
All materials in the current model file display.
) on the toolbar.
All materials in the current model file display. -
In an empty area of the browser window, right-click and select from the context menu.
The Add Folders and Files dialog displays.
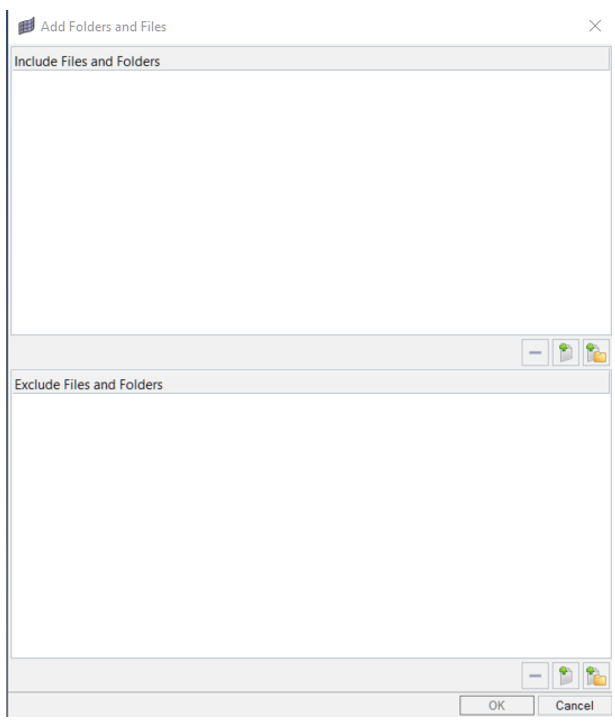
Figure 1. -
Click OK in Add
Folders and Files dialog to add the items to the material
library.
Note: This process could take several minutes as each file is parsed and its individual properties are extracted, stored as metadata, and indexed. You will be notified when the process is complete.After indexing is complete, you are offered the option to preview the materials.
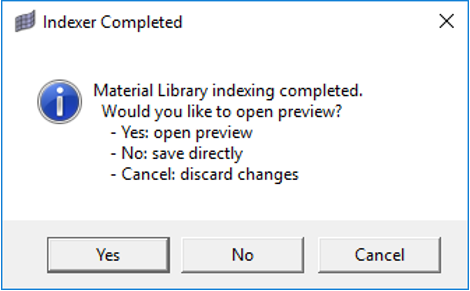
Figure 2.Select one of the following options:- Yes: Opens the material library viewer and allows you to review the added materials. You will have the option to save the materials.
- No: Saves the materials to the library directly without previewing.
- Cancel: Ignores indexing and will not add the materials to the library.