Create Seam Welds
Create solid representations of seam welds between parts.
SimSolid Cloud uses simple 3D trapezoidal shapes to represent seam welds which are defined by a section size and minimum length. Seam welds are automatically created along shared edges between parts.
- In the Project Tree, click on the Connections workbench.
-
In the pull-down menu for connection type, select Seam
welds.
Figure 1. 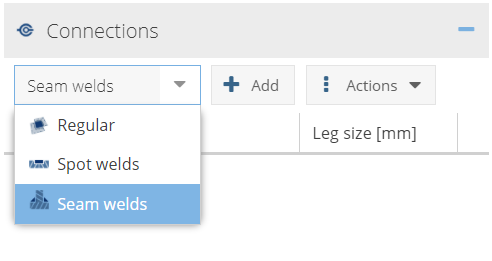
- Click Add.
- In the Create Seam Welds dialog, set the section size and minimum length.
-
In the modeling window, select parts with shared edges
and select Find welds.
Found welds are shown in the list in the dialog and temporarily displayed in the modeling window. You can select a weld from the list to highlight it in the modeling window.
- To remove a weld, click the X next to the name of the weld in the list.
- Click OK.
Assign Material to Seam Welds
Apply material properties to seam welds.
Materials can be applied to all welds or to selected individual welds.
- In the Project Tree, click on the Connections workbench.
-
In the pull-down menu for connection type, select Seam
welds.
Figure 2.
-
Select one of the following methods.
- To apply material to all seam welds in the assembly, click .
- To apply material to selected welds, next to an individual weld select
 (Action menu) > Set material.
Figure 3. 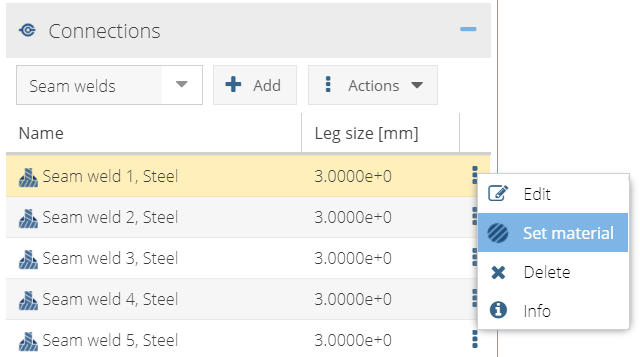
-
Select material from the Project Materials list or other Material
libraries.
Note: If you do not assign materials to seam welds, automatic assignment occurs when an analysis is solved, based on what parts are connected to the weld. If parts with multiple materials are connected, the stiffer material is assigned to the weld.