Advanced Query

The Advanced Query dialog provides you with additional query options beyond what is available on the main Query panel.
  1. From the Query panel, click the Advanced button.
    The Advanced Query dialog is displayed.
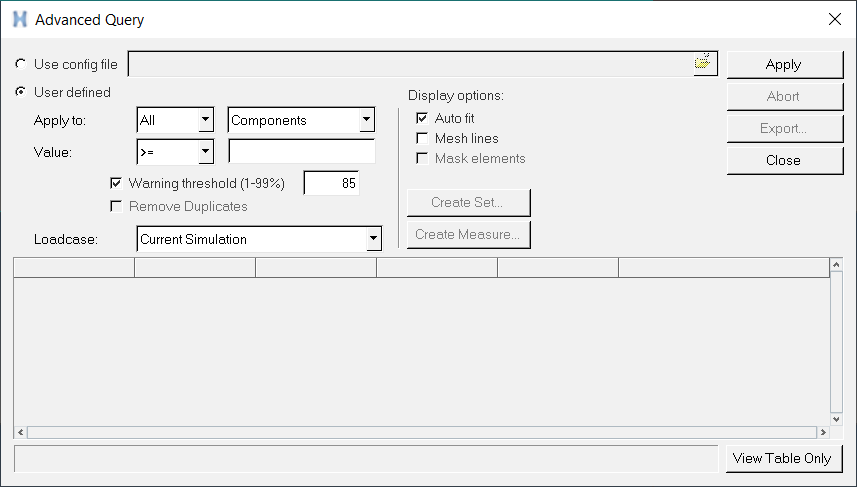

    Figure 1. Advanced Query Dialog
    Note: This option will only be enabled if a contour plot has been applied to the model.
    Tip: Part bound results are also supported in Advanced Query. Using Result Math to create expressions for part summations or max/min, the Advanced Query can be looped through the entire model and all loadcases to find the Top N/Bottom N ranked parts.
  2. Select an advanced query option.
    • Use config file
    • User defined
  3. If Use config file is selected, use the file browser button to select a text file containing specific keywords.
    The text file must contain the following keywords:
    TYPE
    Supported types are component, node, and element.
    OPERATOR
    Supported operators are >=, and <=.
    PERCENTAGE
    A positive integer between 0 and 100.
    LOADCASE
    Possible values are "current simulation", "current loadcase", and "all loadcases".
    ID
    The entity ID.
    YIELD
    The yield value.
    Note: Lines that start with the "#" sign are considered comments and are ignored.

    See the Sample Configuration File for Advanced Query topic

  4. If User defined is selected, use the Apply to drop-down menu to determine the entities that the query will apply to.
    • All - Apply the query to all entities.
    • Displayed - Apply the query only to the displayed entities.
    1. From the second drop-down menu, select the entity type on which you want to query.
      Possible entity types include Components and Elements if the data type binding is elemental, or Components and Nodes if the data type binding is nodal.
  5. Select a parameter from the list using the Value drop-down menu.
    If the entity type is set to Components, the options include the following operators:
    • greater than or equal to, >=
    • less than or equal, <=
    If the entity type is set to Elements or Nodes, the options include the >= and <= operators, plus:
    • Top N
    • Bottom N
    These two options allow you to display only a certain number of entities in the table. For example, if you are querying elements, and the query returns 1000 elements, then you can set the top 500 elements to be reported in the table.
    1. Enter a value in the text field next to the drop-down menu.
      Note: This value can be a real or decimal number if the operator is set to >= or <=. If the operator is set to Top N or Bottom N, the value must be a positive decimal number.
  6. Remove all duplicates from the queried nodal data by enabling the Remove duplicates check box.
    This option is enabled when either:
    • The native result binding is set to nodal.

      OR

    • The Average across component boundary option is selected in the Contour or Iso panels.
    Note: This option is disabled for all query entity types other than node.
  7. Specify a warning threshold by entering a positive decimal number (between 1 - 99) into the Warning threshold (1-99%) field.
  8. From the Loadcase drop-down menu, select a loadcase to apply the query to.
    Option Description
    Current Simulation The current simulation step.
    Current Loadcase Cycle through all simulation steps.
    All Loadcases All available loadcases.
  9. Click Apply to apply your settings and start the query.
    The acquired data is displayed in a table. Based on the entity type, the table consists of different columns. Data can be sorted in the table by clicking on the header cells. When clicking on a colored cell, the corresponding component/node/element is displayed in the window.

    After the acquired data is displayed in the table, contour plot information is displayed in the status bar area.

  10. Optional: Click the View Table Only button (located at the bottom of the dialog) to hide the upper portion of the dialog and display only the table.
    Note: Click Normal View to return to the previous view.
Click Close to close the dialog, clear the table contents, and return to the Query panel. HyperView also restores the original display list that the model had upon entering the Advanced Query dialog.