Curve Shading
When shading curves in HyperGraph, you can customize the areas of the plot to shade and have flexibility with respect to displaying curves with shaded areas.
You can also choose to display or hide gridlines over the curve and any shading. You can use reference curves for better visualization. For example, reference curves can be used to visualize boundaries because they are excluded from Autofit, for example, in EuroNCAP reports.
- Shade Area
- When selected, Shade Area displays the shade style you have chosen, as described under Shade Style. If Shade Area is not selected, the Shade Style you choose is not displayed in the window.
- Shade Style
- Select one of the following shading styles from the drop-down menu:
- Zero X
- Shades from the Y axis (x = 0) to the curve.
- Zero Y
- Shades from the X axis (y = 0) to the curve.
- Left
- Projects the endpoints of the curve onto the left hand side of the plot, and shades the curve from the left, including any portions above/below horizontal lines through the curve’s endpoints. The horizontal lines projecting the endpoints onto the left hand side of the plot are not drawn.
- Right
- Projects the endpoints of the curve onto the right hand side of the plot, and shades the curve from the right, including any portions above/below horizontal lines through the curve’s endpoints. The horizontal lines projecting the endpoints onto the right hand side of the plot are not drawn.
- Top
- Shades everything in the plot above the curve.
- Bottom
- Shades everything in the plot below the curve.
- Inside
- Shades within the polygon created by the curve.
The following curve images illustrate the different shading styles.
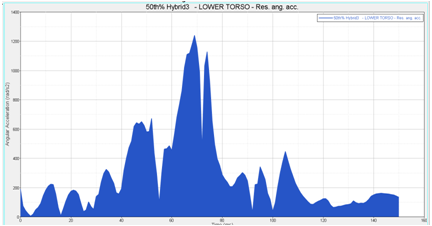
Figure 1. Curve with the Reference property turned off (“Zero Y” shading)
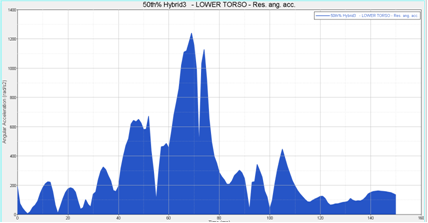
Figure 2. Curve with the Reference property turned on (“Zero Y” shading).
Note: The grid lines are visible as this curve is designated as a reference curve.
See the Reference Curve
topic above for more information.
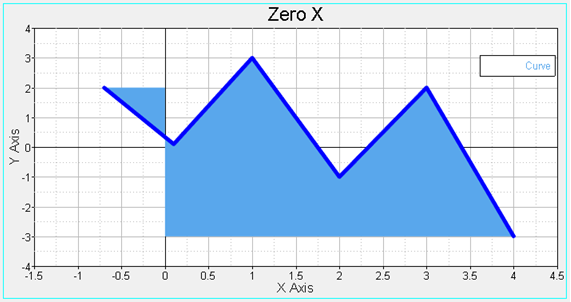
Figure 3. Zero X Shading
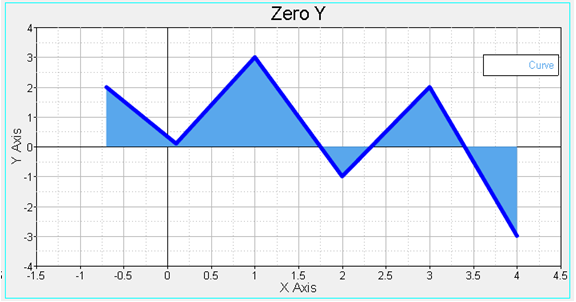
Figure 4. Zero Y Shading
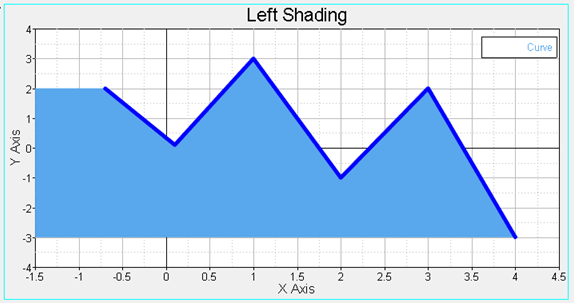
Figure 5. Left Shading
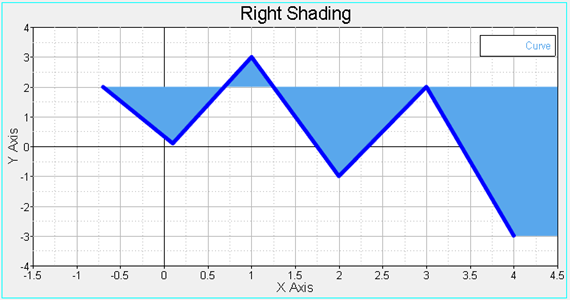
Figure 6. Right Shading
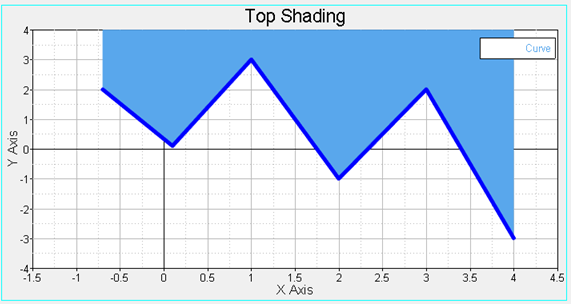
Figure 7. Top Shading
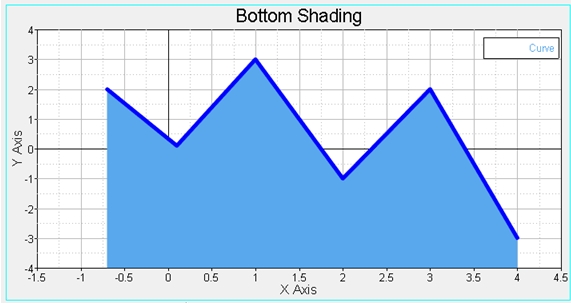
Figure 8. Bottom Shading
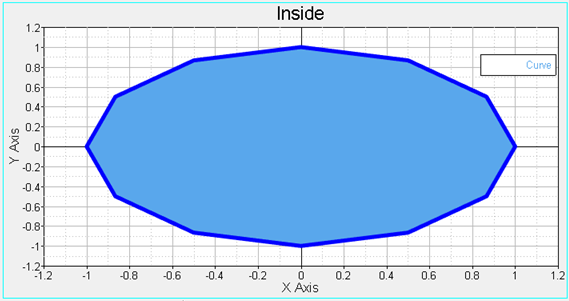
Figure 9. Inside Shading