Create a Tuck Fold
-
From the Airbag Solutions ribbon, click the
Tuck tool.

Figure 1. -
On the guide bar, click
 .
.
- GAP: The gap that will be used in the contacts generated in the pre-simulation model.
- Folds Directory: The location where the results of the run are written.
-
Set advanced selections as necessary by clicking
 on the guide bar.
Figure 2. . The folding line appears for you to position. 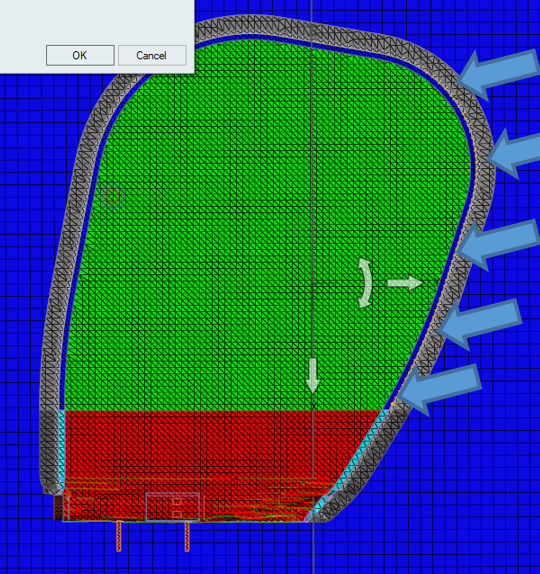
-
At the end of the pre-simulation run, click the satellite icon
 to load the new positions from the
resulting .h3d file.
to load the new positions from the
resulting .h3d file.