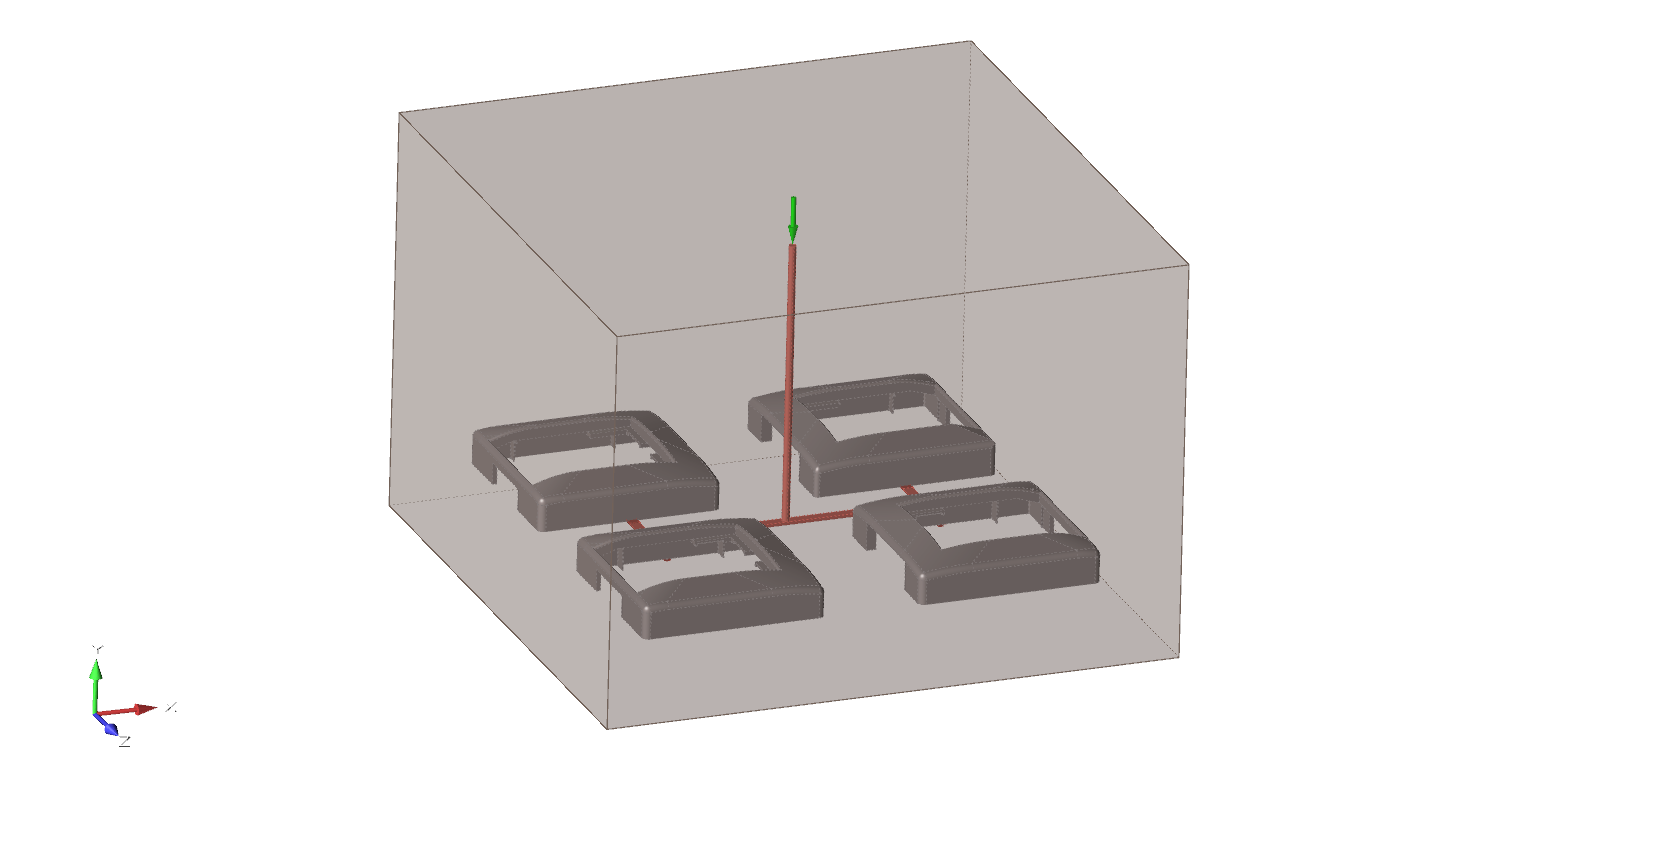
Mold
A mold is the bounding box for the tooling components.
Add/Edit Mold
Create and edit a mold that is by default 30% larger than the bounding box of the tooling.
-
Click the Tool icon.

-
Click the Add/Edit Mold icon.

A mold that is by default 30% larger than the bounding box of the components is created.
-
Use the microdialog options to adjust the margins and define the position,
material, temperature, and dimensions of the mold.

Microdialog Options
Define the material, temperature, and position of the mold.
| Option | Description |
|---|---|
| Select the Material Viewer to examine the material's Thermal, Rhealogical,
Mechanical, PVT and Fiber properties. Note: You can use the Material Viewer to edit an
existing material, save it with a new name, and access it from the My Materials
tab.
|
|
 |
Select a material from the list. |
 |
Enter the temperature of the material. |
 |
Select the Move Mold Face tool so that the injection point is outside of the
mold, then select the mold face that you want to move. |
| Select the Move tool to position the mold. | |
 |
Select the Reset button to apply the default parameters to the mold. |
| Select the Deselet button to remove the mold designation. | |
 |
Enter the dimensions of the mold in the X-, Y- or Z- direction. |
| X-Axis, Y-Axis or Z-Axis | Select the opening direction for the mold on the X-, Y- or Z-axis. |