


|
The Report Design Window
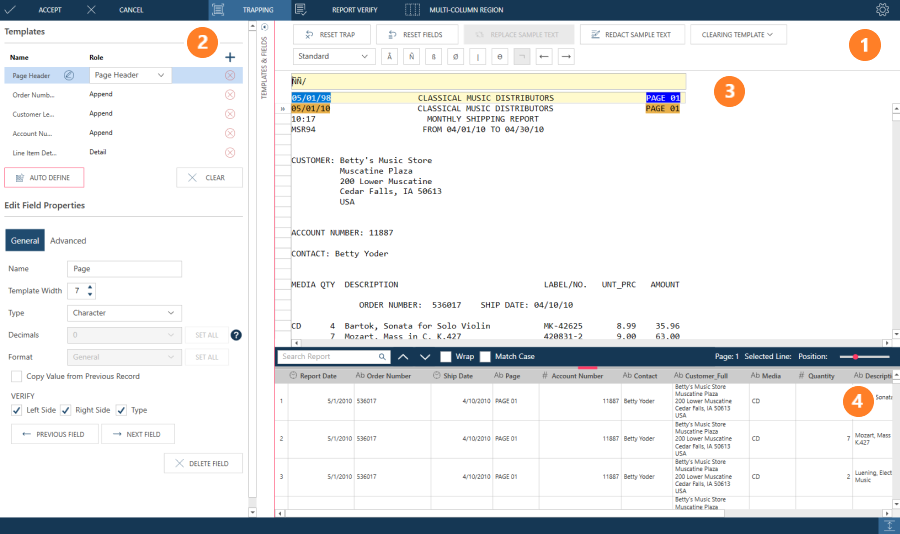
The Report Design Window is launched when you add a PDF or report document as a data source to your Data Prep Studio session. This window allows you to select specific fields on a report to include in a table via trapping. The resulting table becomes available in the Preview Window.
Report Design window panels
|
Panel |
Description |
|
1 |
Report Design Toolbar Provides all of the main tools you need to create models and define settings for report files. See below for a complete description of each tool. |
|
2 |
Template and Field Properties Panel Displays the properties of all defined templates and fields. |
|
3 |
Displays the document used as a basis for creating traps. Right-clicking anywhere on this panel displays a menu that allows you to create a template, replace the sample text, or copy text. |
|
4 |
Data Preview Displays a sample of the results of your trapping operations. Right-clicking anywhere on this panel displays a menu that allows you to select a field, copy the value from the previous record to populate empty rows in a field (ditto), or delete a field. |
The Report Design toolbar
|
Toolbar |
Description |
|
Accept |
Accepts the templates you have defined and applies the same to the report. The Report Design window is closed and the table you have just defined becomes available in the Prepare window. Empty models (i.e., models for which no templates have been defined but are accepted in the Report Design window) are also saved. |
|
Cancel |
Cancels all trapping operations and closes the Report Design window. |
|
Trapping |
Initiates trapping operations for your PDF or report document. |
|
Report Verify |
Checks that all defined fields are properly bounded. |
|
Multi-column Region |
Initiates trapping operations for documents containing data in multiple columns with the same structure. |
|
Document Options |
Provides settings that will help you control how text is displayed in your document. Note that this tool only displays when a PDF report is opened. |
|
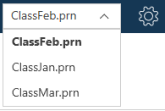
Document Selector
|
This selector displays in the Report Design window when a Monarch node contains several reports. Use this selector to choose one of those reports to display in the Report panel. |
|
Report
Design Settings |
Displays several settings, such as auto-define sample size and display options, for the Report Design window. General
InputInput settings describe how data in report files are to be interpreted by Data Prep Studio. These settings are described in detail here. SecurityUse this option to automatically apply redaction to sample text obtained from reports. COLORSUse this option to change the colors applied to templates. |

Related Links