


|
Formatting a Numeric Column
You can format a numeric column from the Prepare Window to ensure that numeric values are easy to read or follow required formatting standards.
Monarch Data Prep Studio allows you to easily format numeric fields to have the following formats:
-
Number [###,###.00]
Example: 10,123.44 -
Financial [###,###.00;(###,###.00)]
Example: 10,123.44 or (10,123.44) -
Currency [$###,###.00]
Example: $10,123.44 -
Percent [0%]
Example: 10% -
Scientific [0.0e+00]
Example: 1.0e+04
You can also enter your own custom format. Numeric data imports from the Google Analytics connector, for example, may require formatting to retain two decimal places.
Note that Monarch Data Prep Studio follows standard .NET numeric formatting rules. Refer to this page for more information on advanced formatting.
Steps:
-
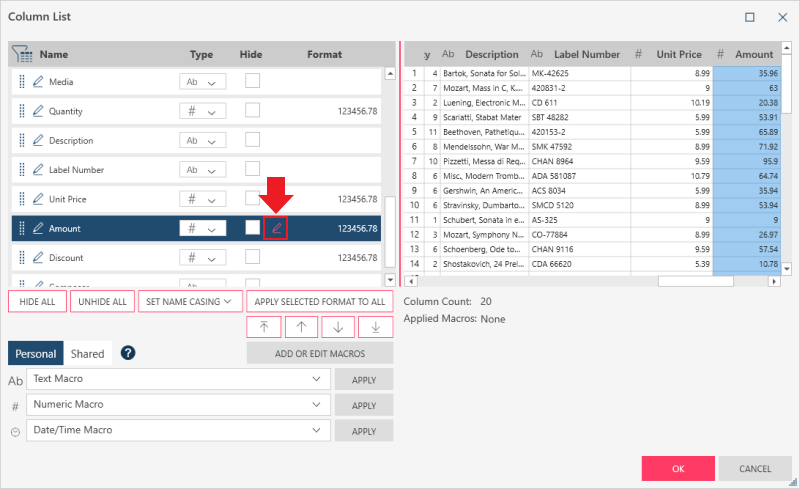
On the Prepare Window, right-click on a column and then select Column List from the context menu. The Column List dialog displays.
-
Click on the Edit Format icon beside the numeric column you wish to format:
-
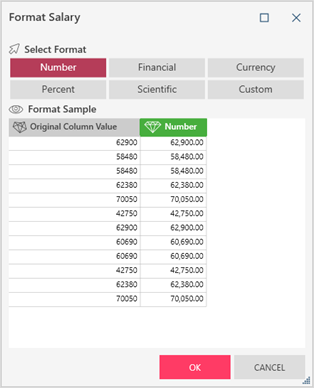
Select one of the pre-defined formats (Number, Financial, Currency, Percent, Scientific) to apply these formats to your numeric columns. Alternatively, select Custom to enter your own custom formatting:
-
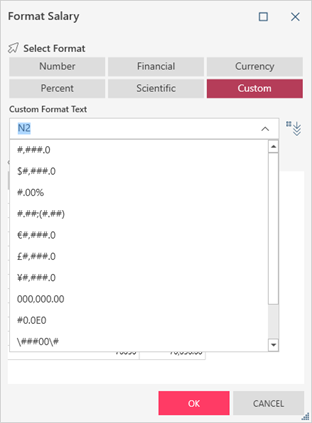
To select a pre-defined custom format, expand the drop-down located to the right of the Custom Format Text field and then choose a custom format from the options that display.
-
To create a custom format by example:
-
Click on the Expand Custom Formatting Options
 button
to display manual custom formatting options.
button
to display manual custom formatting options. -
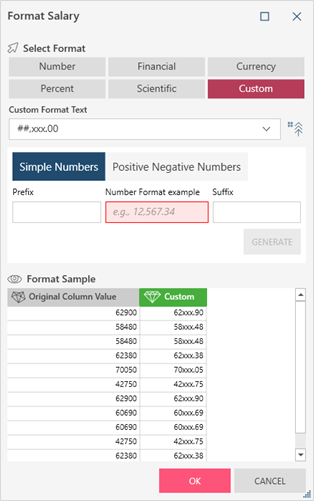
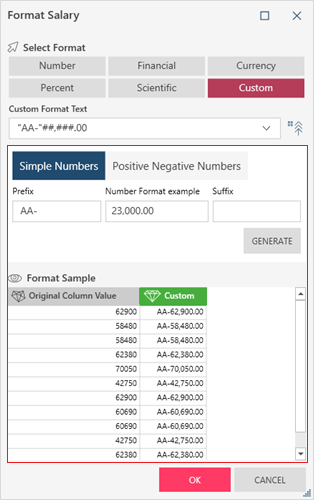
To format simple numbers, ensure that the Simple Numbers tab is selected and then specify a format example and desired prefix and/or suffix for your numbers. Click the Generate button to produce a sample of what your numbers will look like when your selected formatting is applied. The format you specified is also added to the Custom Format Text field. Note that the Generate button is disabled when alpha or special characters are inputted in the Number Format example field.
-
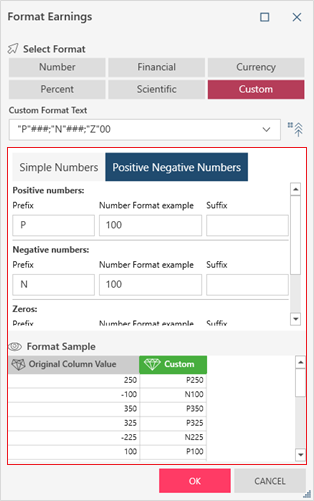
To format positive, negative, and zero numbers, ensure that the Positive Negative Numbers tab is selected and then specify a format example and desired prefix and/or suffix for positive, negative, and zero numbers. Click the Generate button to produce a sample of what your numbers will look like when your selected formatting is applied. Note that the Generate button is disabled when a custom format has not been specified for a specific number type (positive, negative, and zero) or when alpha or special characters are inputted in any of the Number Format example fields in this tab.
If a custom number format has previously been defined, clicking the Generate button displays the following dialog:
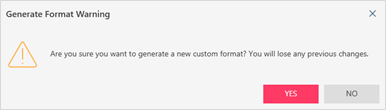
Simply click OK to continue applying your custom format.
If a custom number format has previously been defined, clicking the Generate button displays the following dialog:
Simply click YES to continue applying your custom format.
-
-
Select OK if you are satisfied with the new formatting. The Format dialog closes and you are returned to the Column List dialog.
-
Select OK on the Column List dialog to accept your changes and return to the Prepare window.
The Format dialog box displays:
Alternatively, you can simply click on the drop-down arrow located to the right of the header of a numeric column and then select Format from the options that display. This will bring up the same Format dialog.
You can select a pre-defined custom format or create one by example:
Related Links