Building a Test Rig Model using the Assembly Wizard
-
Start MotionView from the installation folder of
Altair HyperWorks.
The MotionView window is displayed.
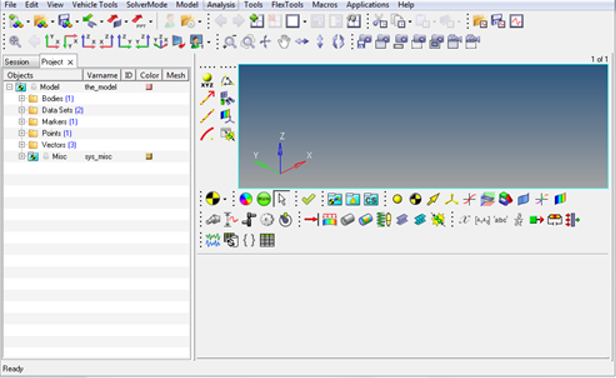
Figure 1. -
Click .
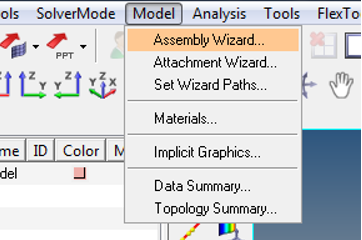
Figure 2.The Assembly Wizard – Model Type window opens.
Figure 3. -
Select the Test Rig radio button and click
Next.
The Assembly wizard – Test Rig Options window opens.
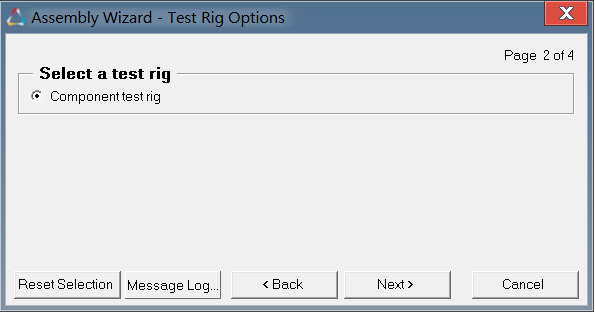
Figure 4. -
Select the Component Test Rig option and click
Next.
The Primary system for the test rig model window opens.
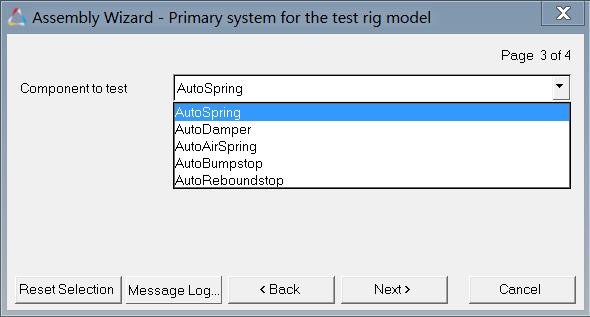
Figure 5. -
Now you have selected all the required systems for the model, click
Finish button to complete the assembly process and
exit the Assembly Wizard.
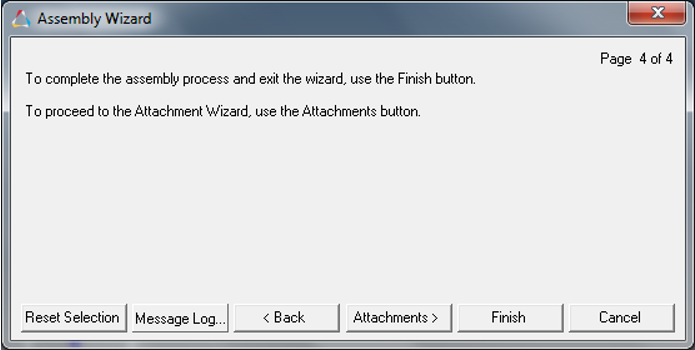
Figure 6.Note: Click Attachments button to if you wish to proceed with the Attachment Wizard. -
The AutoSpring test rig model build through the Assembly Wizard is displayed in
the graphics area.
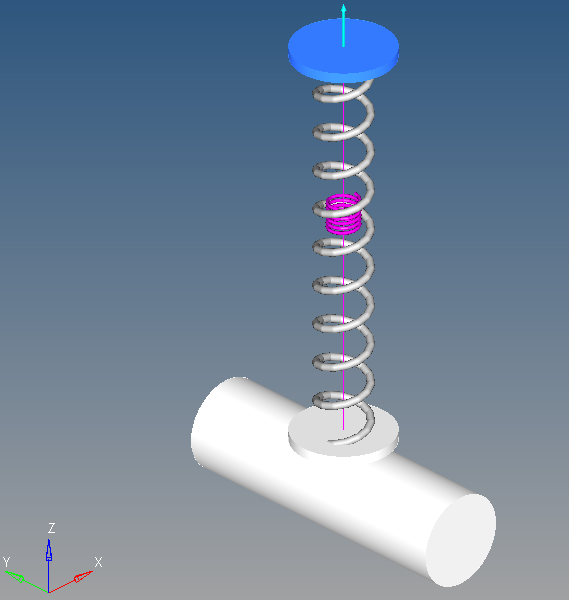
Figure 7. AutoSpring Test Rig