HV-2030: Masking Elements
In this tutorial, you will learn how to mask and unmask elements and components.
This exercise uses the file truck.key
and the corresponding d3plot file located in the
animation\truck folder.
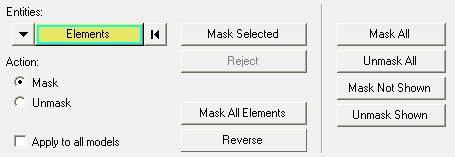
Figure 1. Mask Panel
The Mask panel allows you to mask elements, components, and systems to reduce the number of entities displayed on the screen.
Masking and Unmasking Elements Using the Graphics Area
-
Click the Mask panel button
 on the Display toolbar.
-
Click the Mask Selected button.
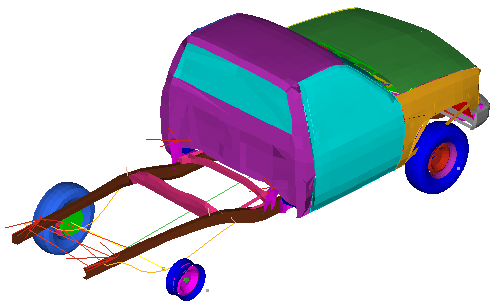
Figure 2.
Masking Elements Using the Entity Input Collector
-
Click on Components, to access the extended entity
selection menu.
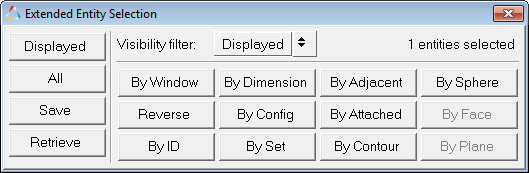
Figure 3. -
Click the Mask Selected button.
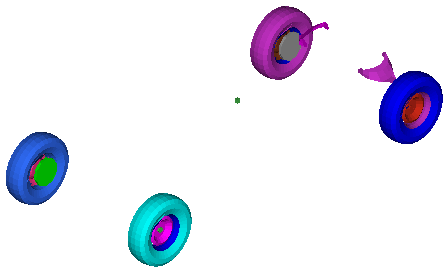
Figure 4.