HV-2020: Using the Results Browser
In this tutorial, you will learn how to use the Results Browser to turn components on/off, isolate components, change the display style and attributes, add items to panel collectors, and change the items which are displayed.
This exercise uses the model file
truck.key and the corresponding d3plot
results file located in the animation\truck folder.
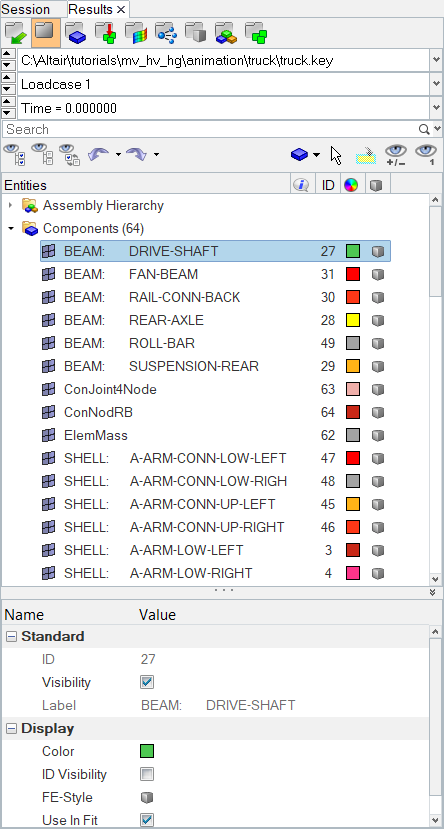
Figure 1.
The Results Browser displays the contents of the current model such as assemblies, parts/components, systems, and sets (groups) in a tree-like structure. It allows you to change the attributes of individual entities, and also control which entities appear in the model display.
Turning Components On and Off from the Results Browser
-
In the Results Browser, click
 to activate the Show/Hide
mode.
to activate the Show/Hide
mode.
-
Right-click on the bed of the truck in the graphics area.
The component is hidden from display.
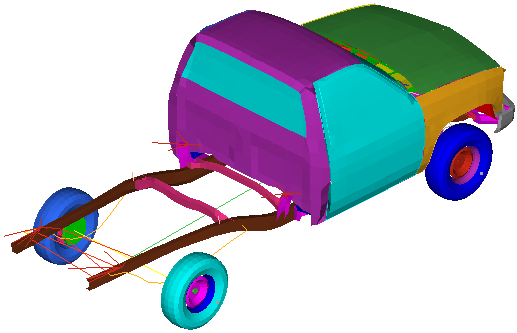
Figure 2. -
Expand the tree under Components by clicking the
 icon in the Results Browser.
-
Click the Display None button
 to turn off all components.
-
Click the Display All button
 to turn on the 1D set.
Only the 1D Set is displayed in the graphics area.
to turn on the 1D set.
Only the 1D Set is displayed in the graphics area.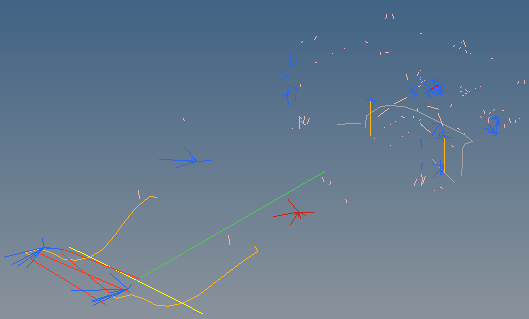
Figure 3. -
Click Display All
to turn on the display of all components.
-
Click Selector
 to activate the selector.
Isolating Components Using the Results Browser
-
Click
 to activate the Isolate
tool.
to activate the Isolate
tool.
-
Click on SHELL: BED in the Results Browser.
The component is isolated in the graphics area.
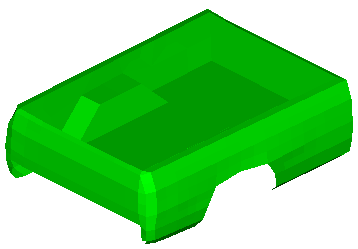
Figure 4. -
Click again to deactivate
Isolate.
Changing the Display Style and Attributes from the Results Browser
-
Click on the SHELL: BED component in the Results Browser.
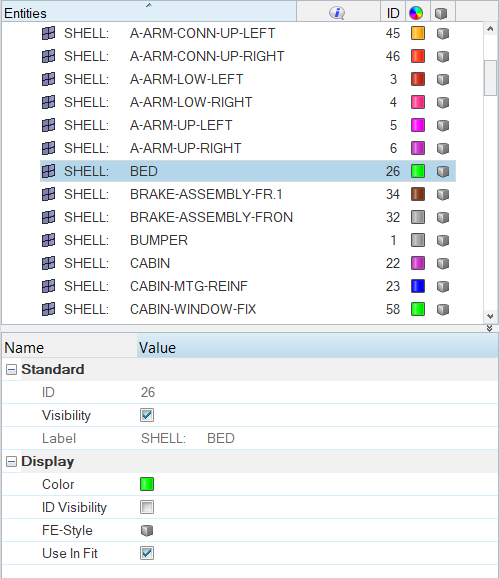
Figure 5. -
Under the Display section in the Entity Editor, click on the
 icon next to FE Style.
-
Select the Shaded Elements and Mesh Lines mode
 from the display Style pop-up menu.
-
Click on the Color
 for the SHELL: BED component.
Using the Results Browser to Add Items to a Panel Collector
-
Select the Contour panel
 from the Results toolbar.
-
From the Results Browser, click
Selector
to activate the selector.
-
Click on the Add To Panel Collector icon
 to add the bed component to the
Components collector.
to add the bed component to the
Components collector.
-
Click Apply to apply the contour to the SHELL: BED
component.
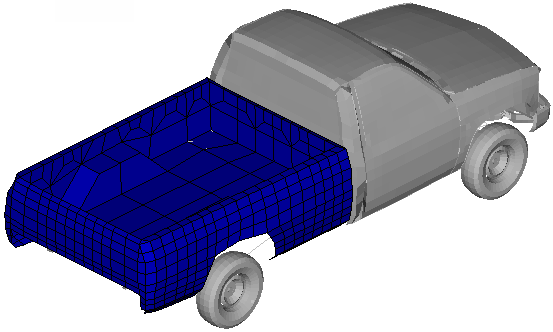
Figure 6.
Change the Entities Displayed in the Results Browser View
-
Click on the Files view icon
 to open the files view in the Results Browser.
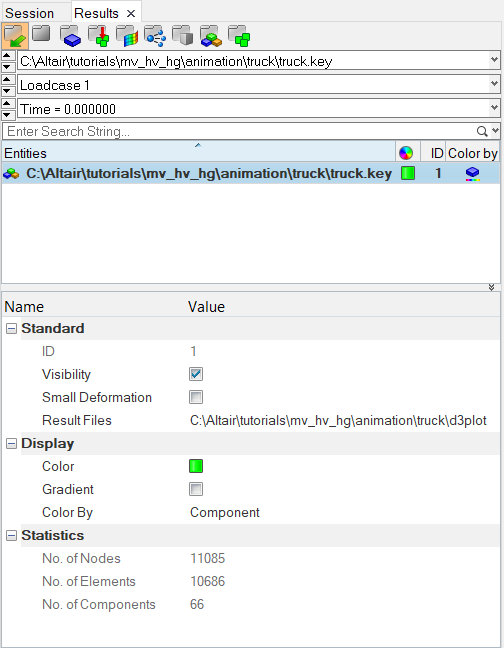
Figure 7. -
Click on the Component View icon
 to change the view in the
Results Browser to display only components.
to change the view in the
Results Browser to display only components.
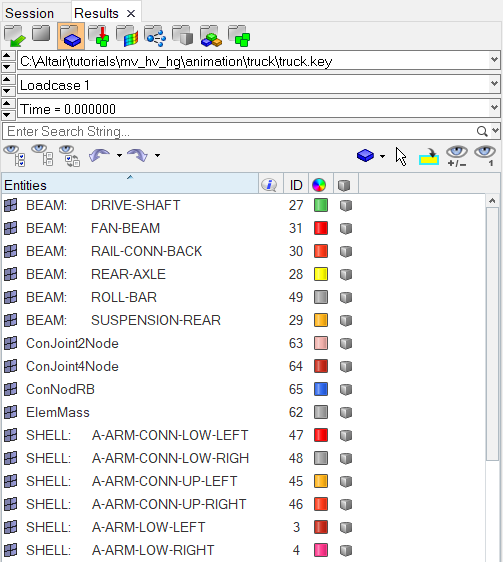
Figure 8.