|
»Click here to display Table of Contents«
|

GUI |

|

|

|

|
|
GUI |
|
|
|

|
|
»Click here to display Table of Contents«
|
GUI |
|
|
|
|
|
GUI |
|
|
|
|
The Graphical User Interface includes the following components:
| • | Modeling window |
| • | Menu bar |
| • | Toolbar |
| • | Notebook window |
| • | Message window |
The modeling window is your graphics working area and occupies the right portion of the screen.
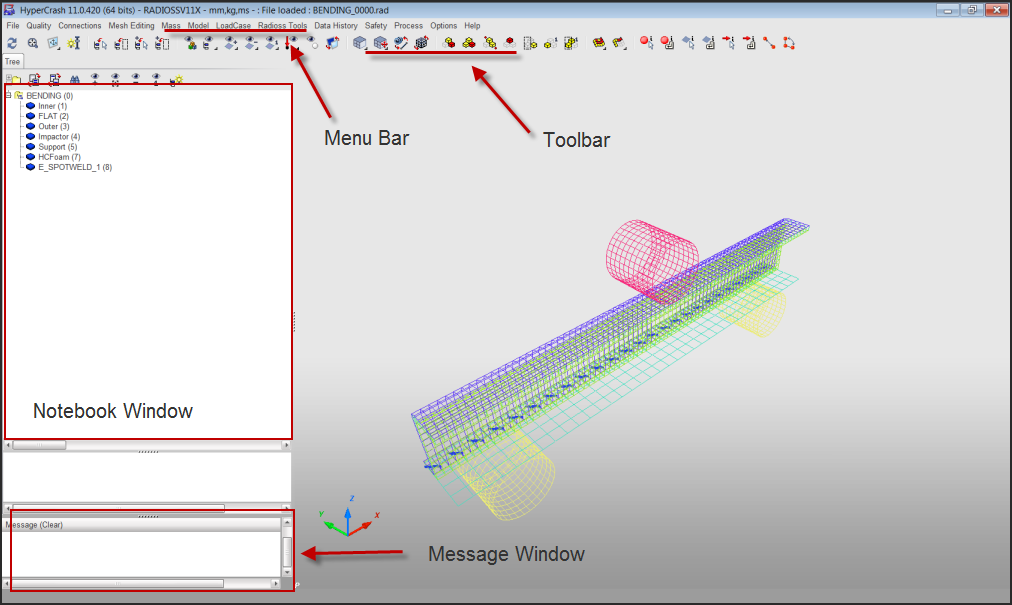
The menu bar contains menus for each module in HyperCrash, as well as sub-menus for performing common functions.
![]()
RADIOSS menu bar
![]()
LS-DYNA Menu Bar
Select the desired menu:
File |
From the File menu, you can import, export, or merge model files, or print the contents of a window to output as a .jpeg or .png file. For details about using the File menu, go to File Management. |
Quality |
From the Quality menu, you can check the quality of different aspects of the model, such as connections, intersections, and elements. You can access the Model Checker from this menu. For details about using the Quality menu, go to Quality. |
Connections |
From the Connections menu, you can create, modify, and manage connections in a model, such as spotwelds, bolts, glues, weldlines, and hemmings. For details about using the Connections menu, go to Connections. In LS-DYNA, new connections are available: Solid spotweld, clip, Mig weld, adhesive, laser and more. |
Mesh Editing |
From the Mesh Editing menu, you can create and modify nodes, elements, parts, and rigid bodies in a model. For details about using the Mesh Editing menu, go to Mesh Editing. |
Mass |
From the Mass menu, you can compute, manage, and modify the mass of a model or of specific parts of a model. For details on using the Mass menu, go to Mass. |
Model |
From the Model menu, you can create or modify materials, or encrypt the materials and properties in a model. You can also access the Units Manager, view statistical data, or run failure models. For details on using the Model menu, go to Model. |
LoadCase |
From the LoadCase menu, you can create or modify different types loads, masses, volumes, displacements, etc. For details on using the LoadCase menu, go to Loadcase. |
RADIOSS Tools |
From the RADIOSS Tools menu, you can create Rayleigh damping, failure model, transformations and encryptions. For details on using the RADIOSS Tools menu, go to RADIOSS Tools. |
LS-DYNA Tools |
From the LS-DYNA Tools menu, you can create additional LS-DYNA cards that are not loads. For details on using the LS-DYNA Tools menu, go to LS-DYNA Tools. |
Data History |
From the Data History menu, you can create, modify, and import data about a model. For details on using the Data History menu, go to Data History. |
Safety |
From the Safety menu, you can access the Dummy Positioner, Seat Deformer, Belt Generator, or Airbag Folder applications. You can also use the HComfort application to scale and position the human model and detect and mesh 3D organs. For details on using the Safety menu, go to Safety. |
Process |
From the Process menu, you can access the Parameterization applications, Results Mapper, and the Model Manager. You can also work with submodeling and element timestep. For details on using the Process menu, go to Process. |
Options |
From the Options menu, you can choose options for the display and start-up settings, rendering options, as well as the mouse settings, and picking behaviors. For details on using the Options menu, go to Options. |
Help |
From the Help menu, you can access this online help document. Click the Help menu, and select HyperCrash. For details on using online help, go to Using HyperWorks Help in Introduction to Altair HyperWorks. |
Directly below the menu bar is the toolbar which contains icons that control the view of the model in the graphic display and provides information about the model and its entities. For details on using the toolbar, go to Toolbars.
![]()
![]()
All the open menus are displayed as different tabbed panels in the Notebook window.
The default panel is the Tree window.
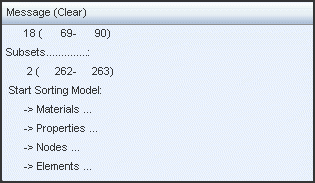
All messages and information are displayed in the Message window, located beneath the Notebook window.
Click (Clear) to clear all messages from the window.