Define Volume Output
Use the Volume tool to define boxes within which the results on all voxels will be written to disk at specified intervals.
You can create multiple, overlapping volume outputs. Each volume output is treated as a separate instance by the solver.
-
Create volume outputs.
-
From the ultraFluidX
ribbon, Setup group,
click the Output
tool.
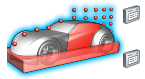
Figure 1. -
From the secondary tool set, select the Volume
tool.
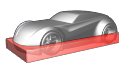
Figure 2.
-
From the ultraFluidX
ribbon, Setup group,
click the Output
tool.
-
In the microdialog, click
 and specify the variables being solved for.
-
Edit the size of the bounding volume in the modeling window by completing one of the following:
- Click and drag a face of the bounding volume.

Figure 3. - In the microdialog, click
 and edit the sizing values.
- Click and drag a face of the bounding volume.
-
Move the bounding volume by clicking
 in
the microdialog and using the graphical
manipulators.
in
the microdialog and using the graphical
manipulators.
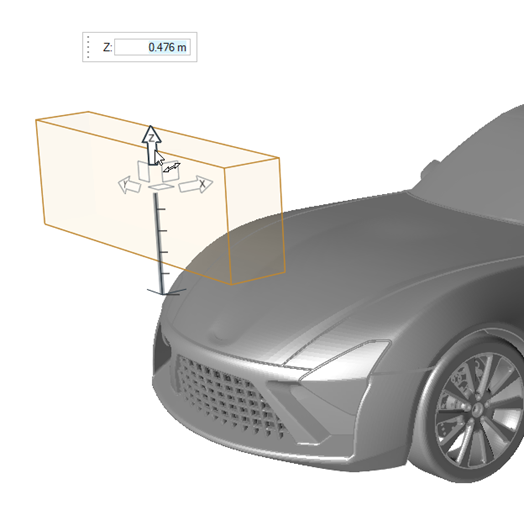
Figure 4. -
From the guide bar, complete one of the following:
- Select
 to confirm your selection and continue creating
volume outputs.
to confirm your selection and continue creating
volume outputs. - Select
 to
confirm your selection and exit the tool.
to
confirm your selection and exit the tool.
- Select