Manual E-Line Method Tutorial
This section of the document will walk you through the Manual E-Line Creation steps
For the exercise purpose, you will create E-Line connector at the below locations:
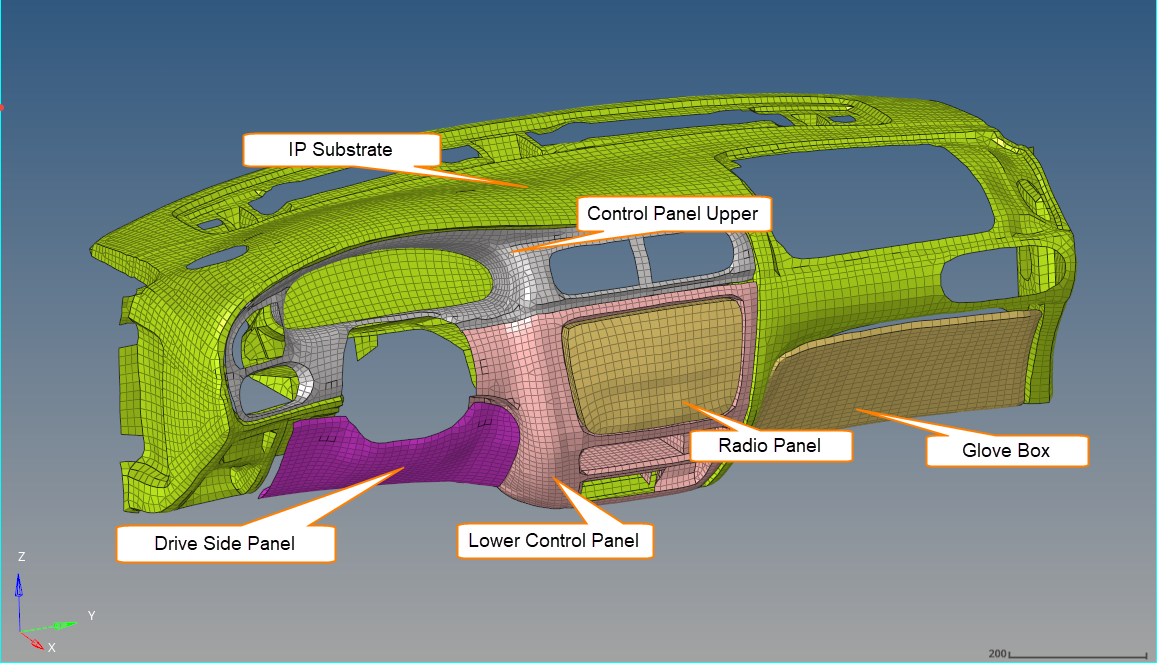
Figure 1.
GloveboxandIP SubstrateControl Panel LowerandIP SubstrateRadio PanelandControl PanelDriver Side PanelandControl Panel LowerDriver Side PanelandIP SubstrateControl Panel UpperandSpeedometer
Figure 1.
Manual creation of connectors for Tutorial
-
Click Master Component
 button.
Component selection panel will activate. Select
button.
Component selection panel will activate. SelectGlove Boxand click proceed. -
Click Slave Component
 Component selection panel will activate. Select
IP
                        Substrate
and click proceed. -
Click Geometric Line
 Line selection panel will activate. Select the line between components and click proceed.
 -
Keeping the other values default, click Create
 This should create connectors between the selected components are shown below.
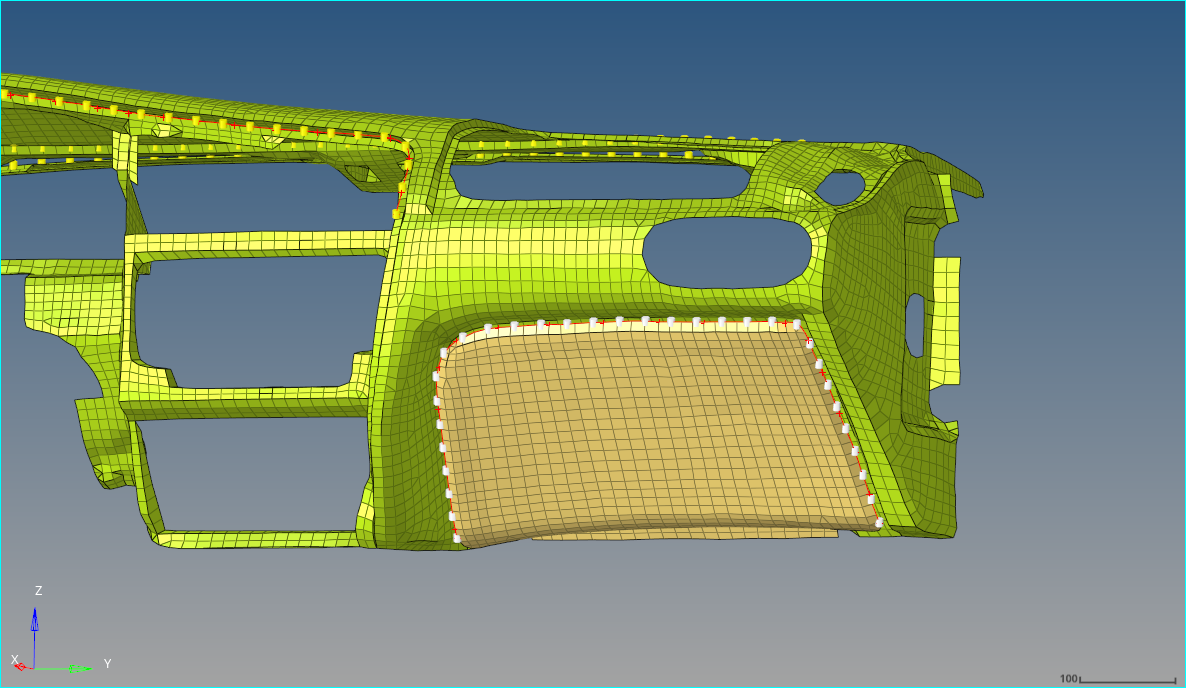
Figure 2. -
Repeat steps from 1 through 9 to create connectors between the
listed components, with the parameters specified below:
Master Slave Line Type Interface Name Gap Direction Control Panel Lower IP Substrate Rattle IPSubstrate_to_Controlpanellower In Plane to Master Radio Panel Control Panel Rattle Radiopanel_to_ControlPanel Normal to Master Driver Side Panel Control Panel Lower Rattle DriverSidepanel_to_Controlpanellower In Plane to Master Driver Side Panel IP Substrate Rattle DriverSidepanel_to_IPsubstrate In Plane to Master Control Panel Upper Speedometer Squeak Other_Locations In Plane to Master After completing the above steps, you can see the connector locations updated throughout the model as shown below.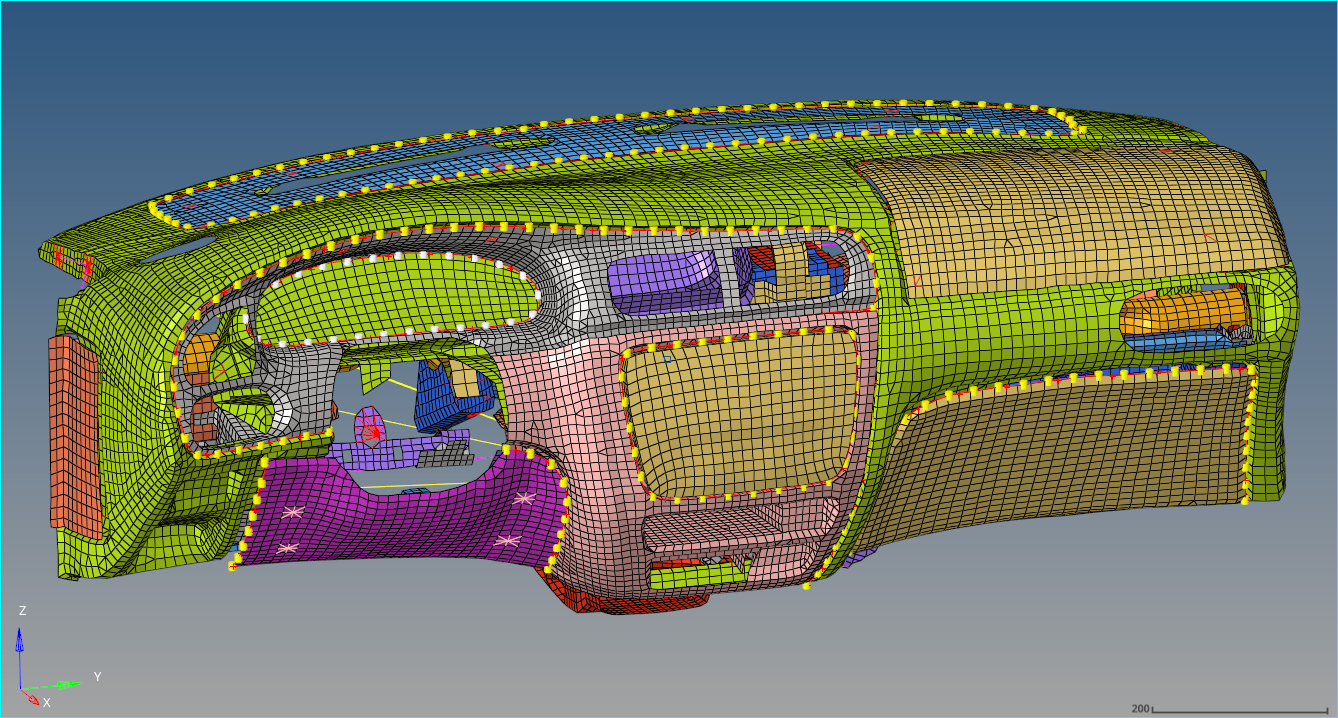
Figure 3. -
Click
 Next to continue to Review ELines
task, which is the next step in process.
Next to continue to Review ELines
task, which is the next step in process.