SS-T: 2080 Custom Contact Conditions
Set custom contact conditions in SimSolid.
Purpose
SimSolid performs meshless structural
analysis that works on full featured parts and assemblies, is tolerant of
geometric imperfections, and runs in seconds to minutes. In this tutorial,
you will do the following:
- Use custom contact conditions.
Model Description
The following model file is needed for this tutorial:
- ContactConditions.ssp
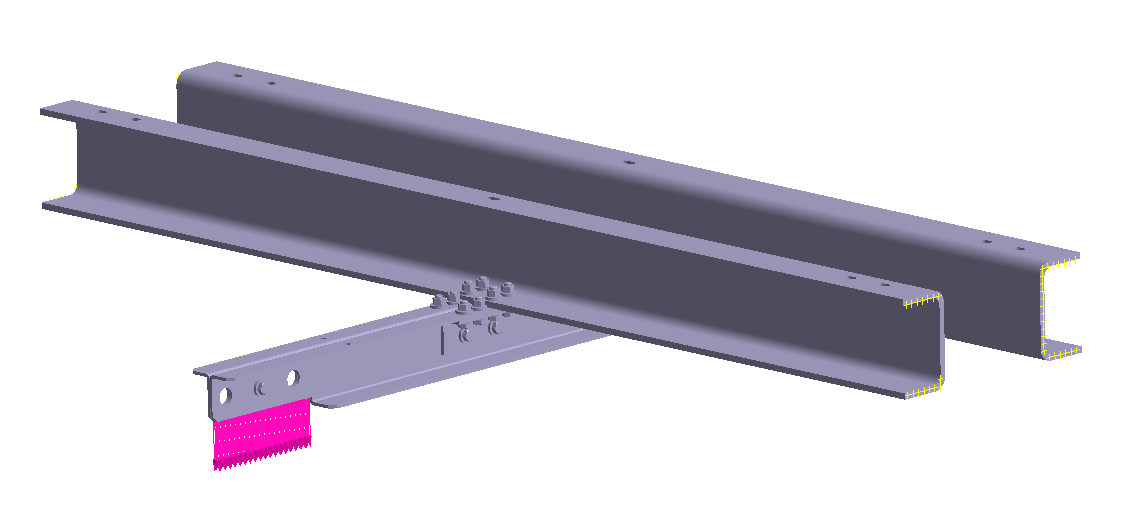
Figure 1.
This file has the following specifications:
- Material is set to Steel for all parts.
- Regular connections with default gap and penetration tolerance.
Open Project
Open the SimSolid project file.
-
Click the
 (Open Project) icon.
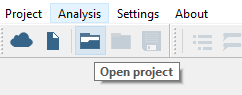
Figure 2.
View Contact Conditions on Parts
Select specific parts to view contact conditions.
-
In the modeling window, select the parts of the model
highlighted in orange in Figure 3
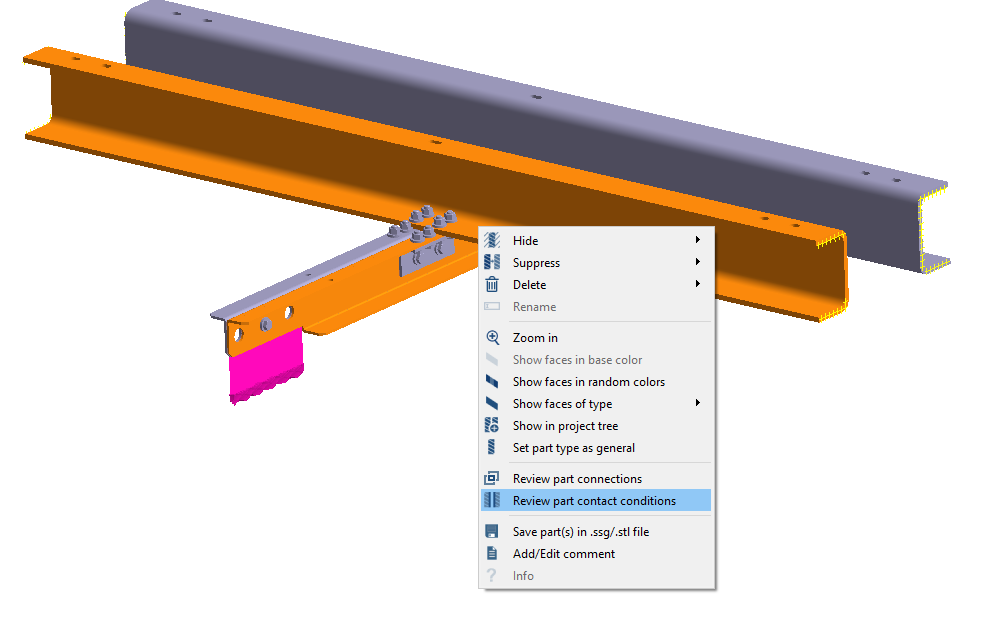
Figure 3. -
Right-click on the highlighted parts and select Review part contact
conditions from the context menu.
A review dialog will open showing the current contact conditions for selected parts.
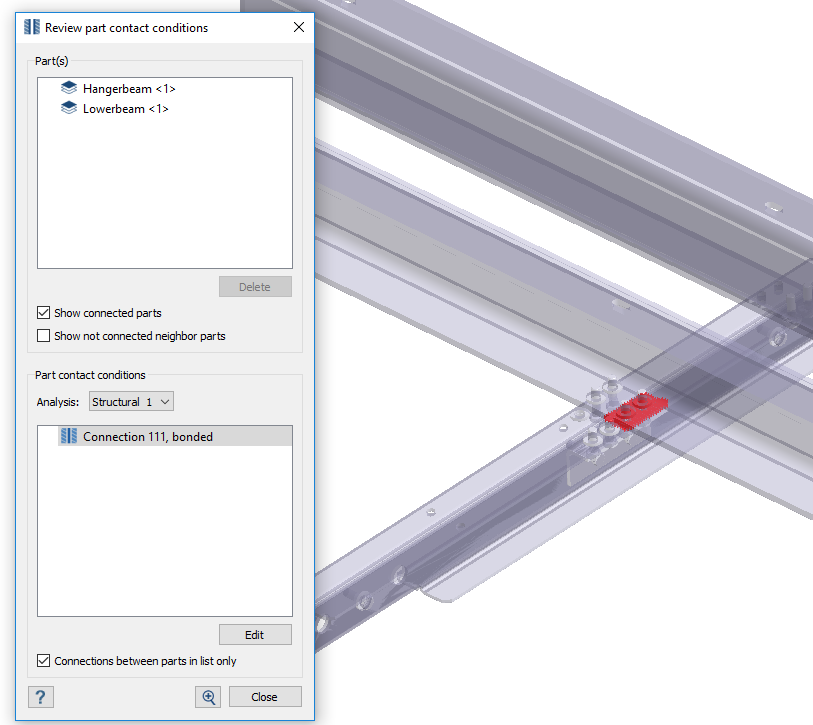
Figure 4.
Change Contact Condition
Change the contact condition between selected parts.
-
In the Review part contact condition dialog, select the
contact condition.
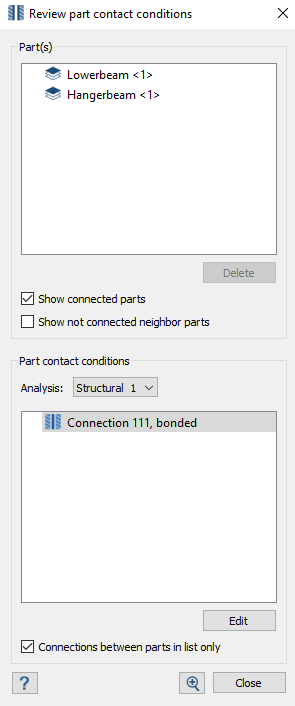
Figure 5. -
Click Edit.
The Custom contact conditions dialog will open. All subcases will be listed in the dialog.
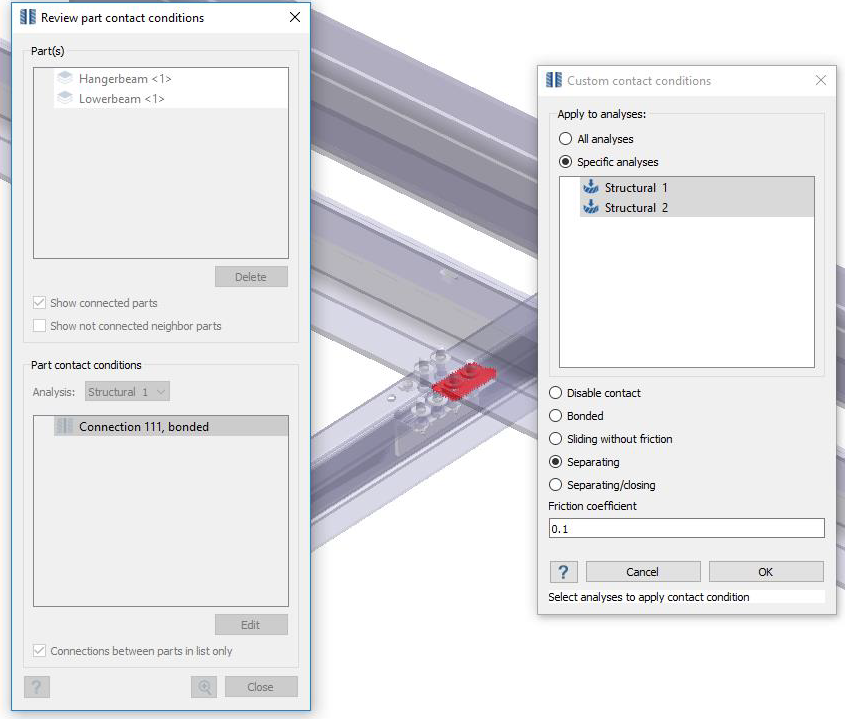
Figure 6. -
Click OK.
Custom contact conditions will be listed in the Project Tree under the Custom contact conditions folder.
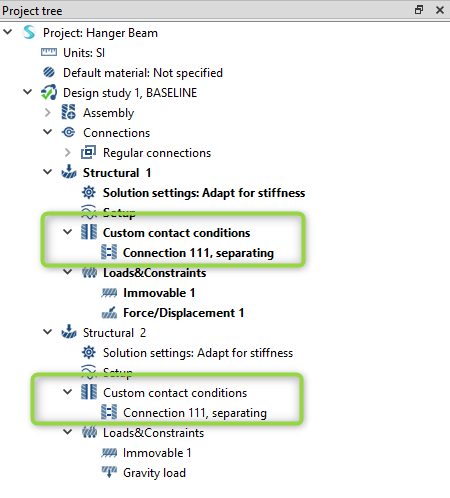
Figure 7. -
Create a second custom contact condition.
-
Select parts in the modeling window as shown in
orange in Figure 8.
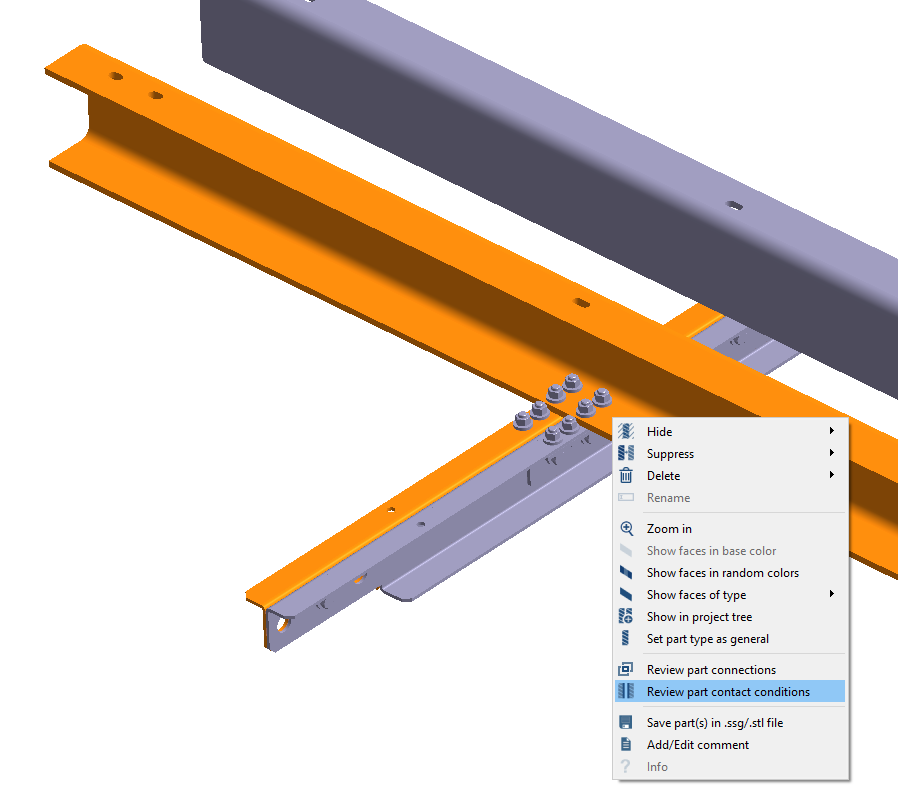
Figure 8. -
Repeat steps 1 through 5 for the
selected parts, with the following changes:
- In the Custom contact conditions dialog, for Apply to analyses, activate the All analyses radio button to apply the change to all subcases.
- For type, activate the Separating contact radio button.
- Select the Set as default contact condition check box.
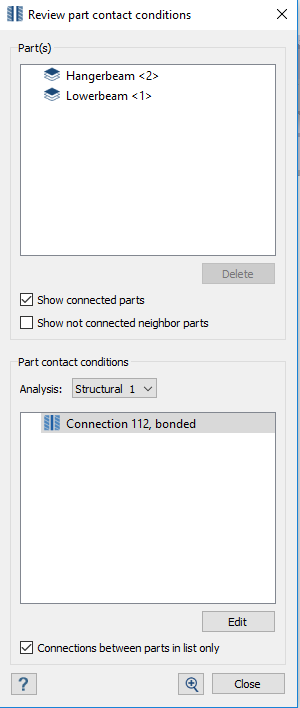
Figure 9.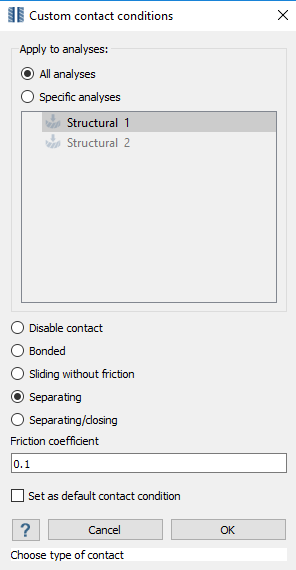
Figure 10.
-
Select parts in the modeling window as shown in
orange in Figure 8.