Permas Utility Menu
The macros on the Permas Utility menu simplifies some common tasks for the Permas user profile.
Convert Groups
Use the Convert Groups macro to convert element-based surfaces that were created in Abaqus to Permas surfaces.
Create an NLLOAD Card
To create an NLLOAD card, you must first create and edit a loadstep card.
-
In the Card Editor, ensure that the Analysis Procedure
toggle is set to LOADING.
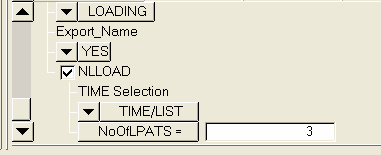
Figure 1. -
Enter the value in the TimeSteps field in the upper part of the card image.
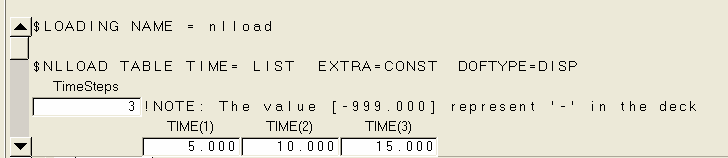
Figure 2. -
For each TIME/dt pattern created, enter the starting value in the t field and
the increment value in the dt field.
The TIME fields are automatically populated.

Figure 3.Note: For a better readablility on export, if the columns exceed the line length (currently set to 80 characters), a new NLLOAD keyword is written. On import NLLOAD will be written in this format but also if lines of each load pattern is continued with ampersands.
Use the PLOT NLLOAD Macro
You can use the PLOT NLLOAD macro on the Utility menu to draw the load history plots.
-
Use the Display checkbox to turn the display of particular load steps on and
off.
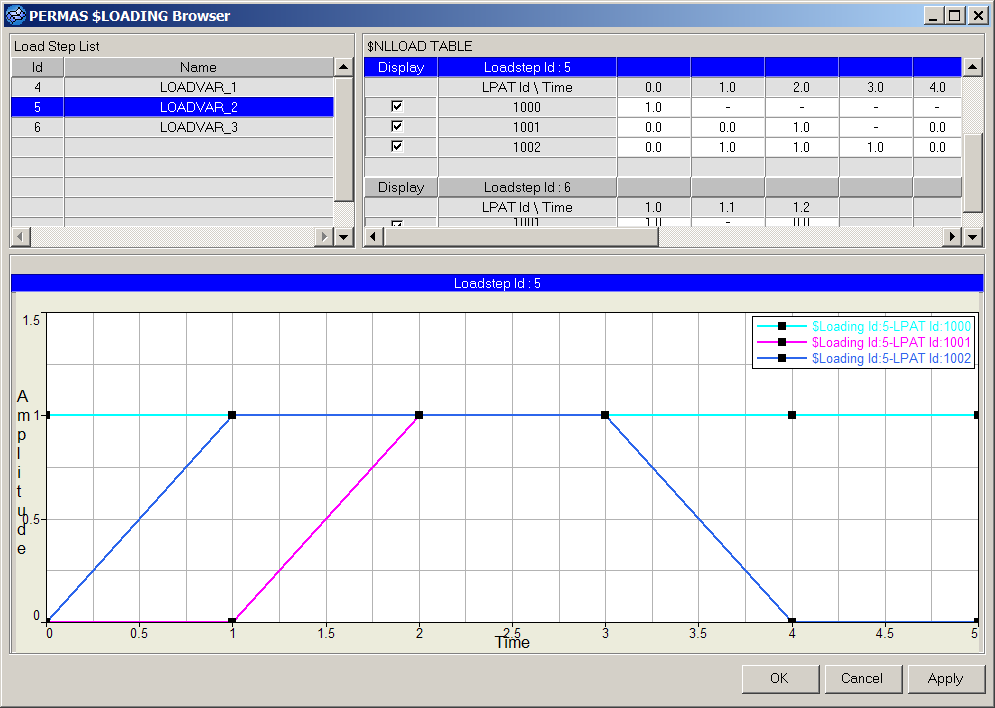
Figure 4.