Apply a Material from the Library
You can choose from a variety of preset materials. If you can't find exactly what you want, you can choose something similar and modify it. You can also reuse a custom material that you have previously saved.
First, turn on the Materials display
mode, so you can see the changes as they are applied.
-
Click the Material Library icon.
 The Material Library dialog is displayed.
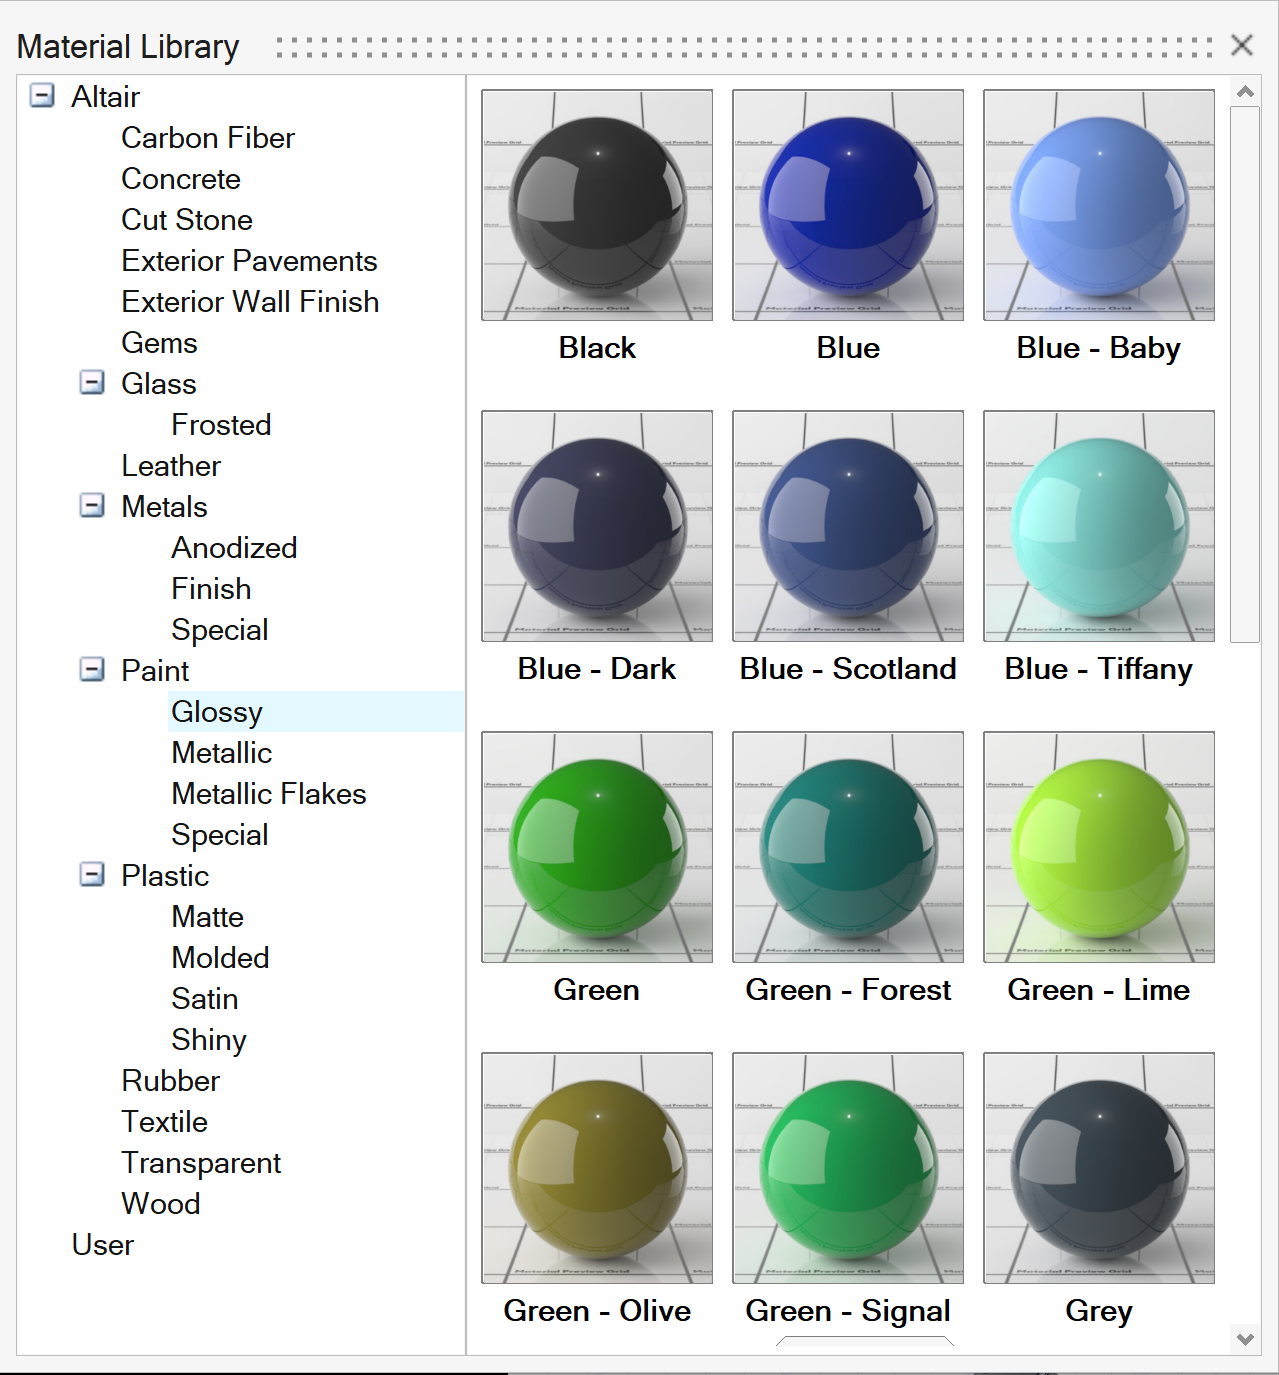
- Optional:
To modify a material, double-click the object. If desired, see Save a Material to the Library.
Note: You can double-click the object to modify the material only if you're in Interactive Rendering or Material mode. In all other display modes, select the object and click the Material icon.
