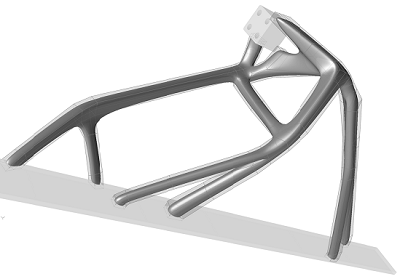
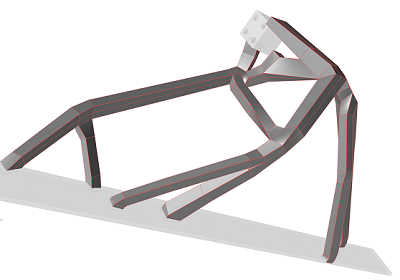
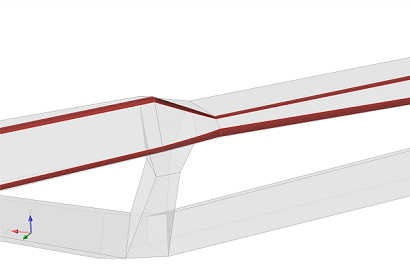
Use the Create tools to create a single PolyNURBS solid or surface, either around a selected object or as the starting point
for a new model. This is the tool you should start with if you want to build PolyNURBS geometry without wrapping or paving.
Use the Wrap tool to quickly wrap a PolyNURBS solid around an optimized shape. You can create multiple PolyNURBS cages,
and bridge the face of one cage to another.
Use the Add(+) and Remove(-) tools to modify an existing PolyNURBS cage by adding or removing blocks. This allows
you to quickly build the basic shape of a PolyNURBS object.
Use the Sharpen tool to control sharpness along the edges of a PolyNURBS. Four levels of sharpness are available,
and you can set the sharpening factor manually or automatically.
Use the Sharpen tool to control sharpness along the edges of a PolyNURBS. Four levels of sharpness are available,
and you can set the sharpening factor manually or automatically.
Use the Sharpen tool to control sharpness along the edges of a PolyNURBS. Four levels
of sharpness are available, and you can set the sharpening factor manually or
automatically.
Location: PolyNURBS ribbon
Click the Sharpen icon.
Click an edge or face. Use box selection to select multiple edges or
faces.
On the microdialog, select the preferred level of sharpness:
High
Medium
Low
None
Auto Sharpen
Select additional faces or edges to sharpen as needed. Right-click and mouse through the check mark to exit, or double-right-click.
Tip:
Select Auto Sharpen on the microdialog to
automatically determine the sharpening factor.
Select a sharpening level in the legend to hide the edge coloring for that
level of sharpness.
High sharpening produces perfect creasing. You can add fillets or chamfers
to edges with high sharpening.