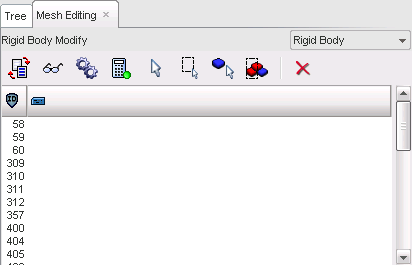
| 1. | From the Menu Bar, select Mesh Editing > Rigid Body > Modify. |
| 2. | Click  to select all the rigid body(ies). to select all the rigid body(ies). |
| 3. | Click  and pick rigid body(ies) in the graphic window. and pick rigid body(ies) in the graphic window. |
or
Click  and draw a box around the rigid body(ies) to select.
| 4. | Click  and pick parts in the graphic window. and pick parts in the graphic window. |
or
Click  and, in the graphic window, drag a box to select parts.
| 5. | Click the rigid body line in the listing window to select it. |
Several rigid bodies from this list can be selected using the SHIFT, CTRL, or SHIFT+CTRL keys.
| 6. | Click  to display the rigid body(ies) in the graphic window. to display the rigid body(ies) in the graphic window. |
| 7. | Click  to compute the rigid body(ies). to compute the rigid body(ies). |
Modification
| 1. | After selecting only one rigid body, click to do any of the following: |
| • | Change the rigid body name. |
| • | Modify the sensor (see Sensor). |
| 2. | Click  to automatically move all the rigid body master nodes to their center of gravity. to automatically move all the rigid body master nodes to their center of gravity. |
| 3. | Click Save to save the modified rigid body. |
Deletion
| 1. | After selecting only one rigid body, click . |
| 2. | Click  to delete the selected rigid bodies. to delete the selected rigid bodies. |
| 3. | Answer the question in the pop-up dialog window with Yes or Cancel. |
Validation
| 1. | Click See to view the modified rigid body. |
| 2. | Click Save to save the modified rigid body; or |
Click Cancel to cancel the rigid body modifications.
| 3. | Click Close to close the menu. |


