Insert Nodes
New nodes can be added to the simulation environment either directly via the Nodes tab of the System Configuration dialog or by using the Node Insert Tool.
The Node Insert Tool defines the location of a new node with the mouse. The Node Insert Tool can be started by selecting from the Project menu or by pressing the corresponding button on the Project toolbar. A further possibility is to use Insert from the context menu of the 2D View.
If the tool is started, the mouse cursor changes to a cross and the new node location can be specified graphically with the mouse. After right-clicking, a dialog opens where parameters of the node to be inserted can be edited.
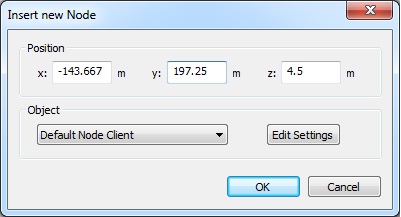
Figure 1. The Insert new Node dialog.
- Position
- Location (x, y and z coordinate) of the node to be inserted.
- Object
- List of available node templates that are defined in the Component Catalog. The parameters of the selected template can be modified by pressing the Edit Settings button.
After closing this dialog with the OK button, the new node will be inserted into the simulation environment.