Export
The Export tool enables the user to export selected results for user selected sub cases and simulation steps into an ASCII file (csv format) for further processing.
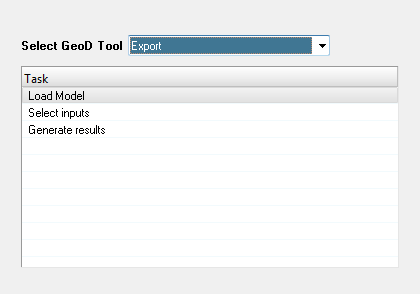 Figure 1.
 Note:
- The export tool calculates nodal averaging for scalar elemental results only. Nodal averaging for vector and tensor results is not supported.
- The nodal and elemental results is exported to individual csv files. The results for each simulation is written out in a separate csv file.
- The loading of the model and result files can be done either before or after the launching of the tool.
-
Select Export from the
Select GeoD Tool drop down list.
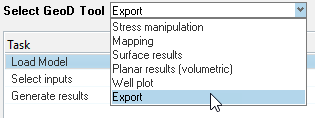 Figure 2.
 -
Click the Load Model from the Task table.
 Figure 3.
 -
Click Select inputs task.
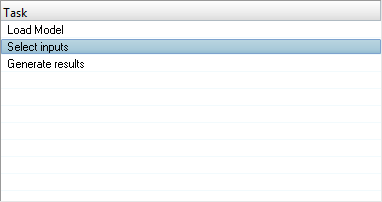 Figure 4. The Select inputs panel is displayed.
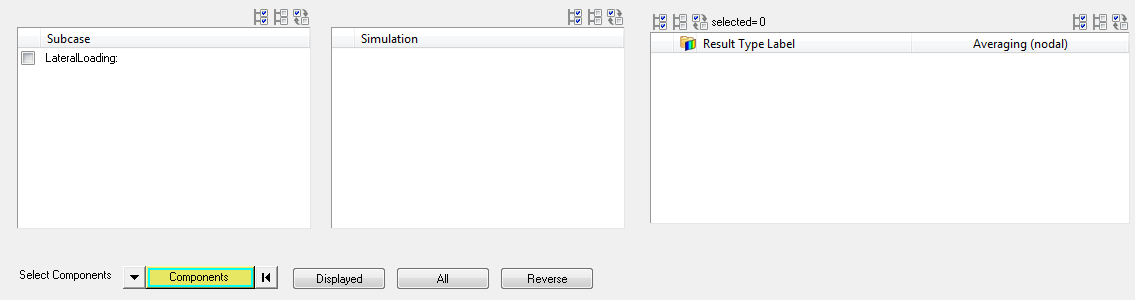 Figure 5.
 -
Click the Select All
 button.
All available subcases are selected.
button.
All available subcases are selected. -
Click the Select None
 button.
All subcases are deselected.
button.
All subcases are deselected. -
Click the Select Reverse
 button.
Subcase selection is reversed.
button.
Subcase selection is reversed. -
Select the required simulation from the Simulation table.
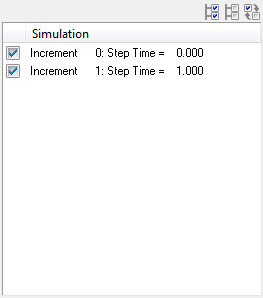 Figure 6.
 -
Select the required result type from the Result Type
Label section.
 Figure 7.
 -
Click on the required check boxes under the Averaging
(nodal) column for the selected result type in the
table.
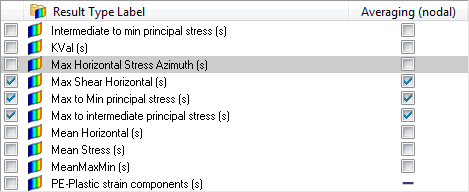 Figure 8.
 -
Select the required components from the Component Selection section.

-
Click the required check box to include in the export data.
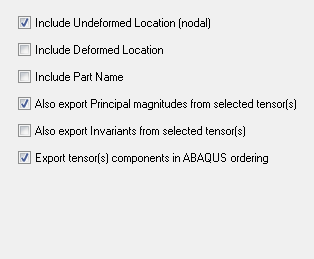 Figure 9.
 -
Select the required option from the Averaging method
(nodal) drop down list.
 Figure 10.
 -
Click on the file browser button
 in the
Export
Directory text field, after defining the required
inputs.
A file browser window is displayed.
in the
Export
Directory text field, after defining the required
inputs.
A file browser window is displayed. -
Click
 button.
The CSV file is exported.
button.
The CSV file is exported.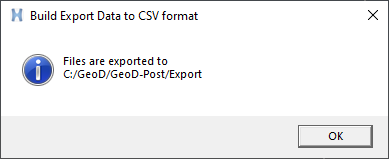 Figure 11.
 -
After the completion of the process, the results are displayed.
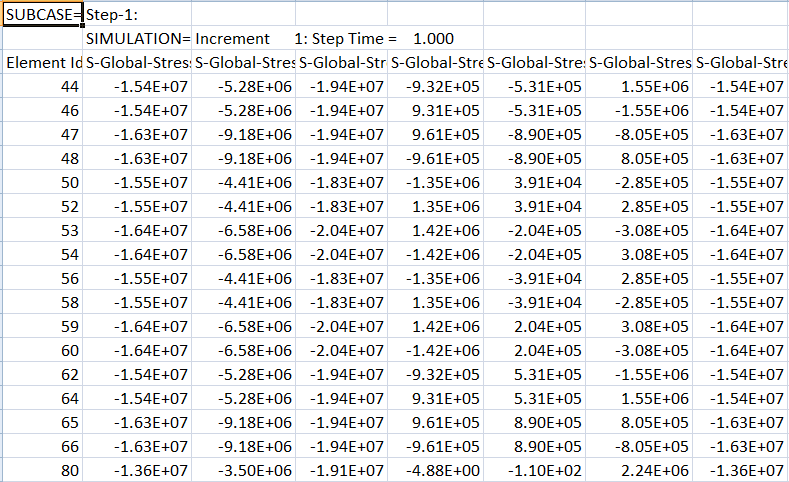 Figure 12. Note:
- The elemental result file name is saved with the convention ELEMENTAL-subcase name-SIM-simulation index.csv.
- Similarly, the nodal result file is saved with the convention NODAL-subcase name-SIM-simulation index.csv.
- All 1D elemental results selected is exported to a separate csv file. The files are split into nodal and elemental results with the convention ELEMENTAL-component name.csv.