Tutorial: Advanced Sketching

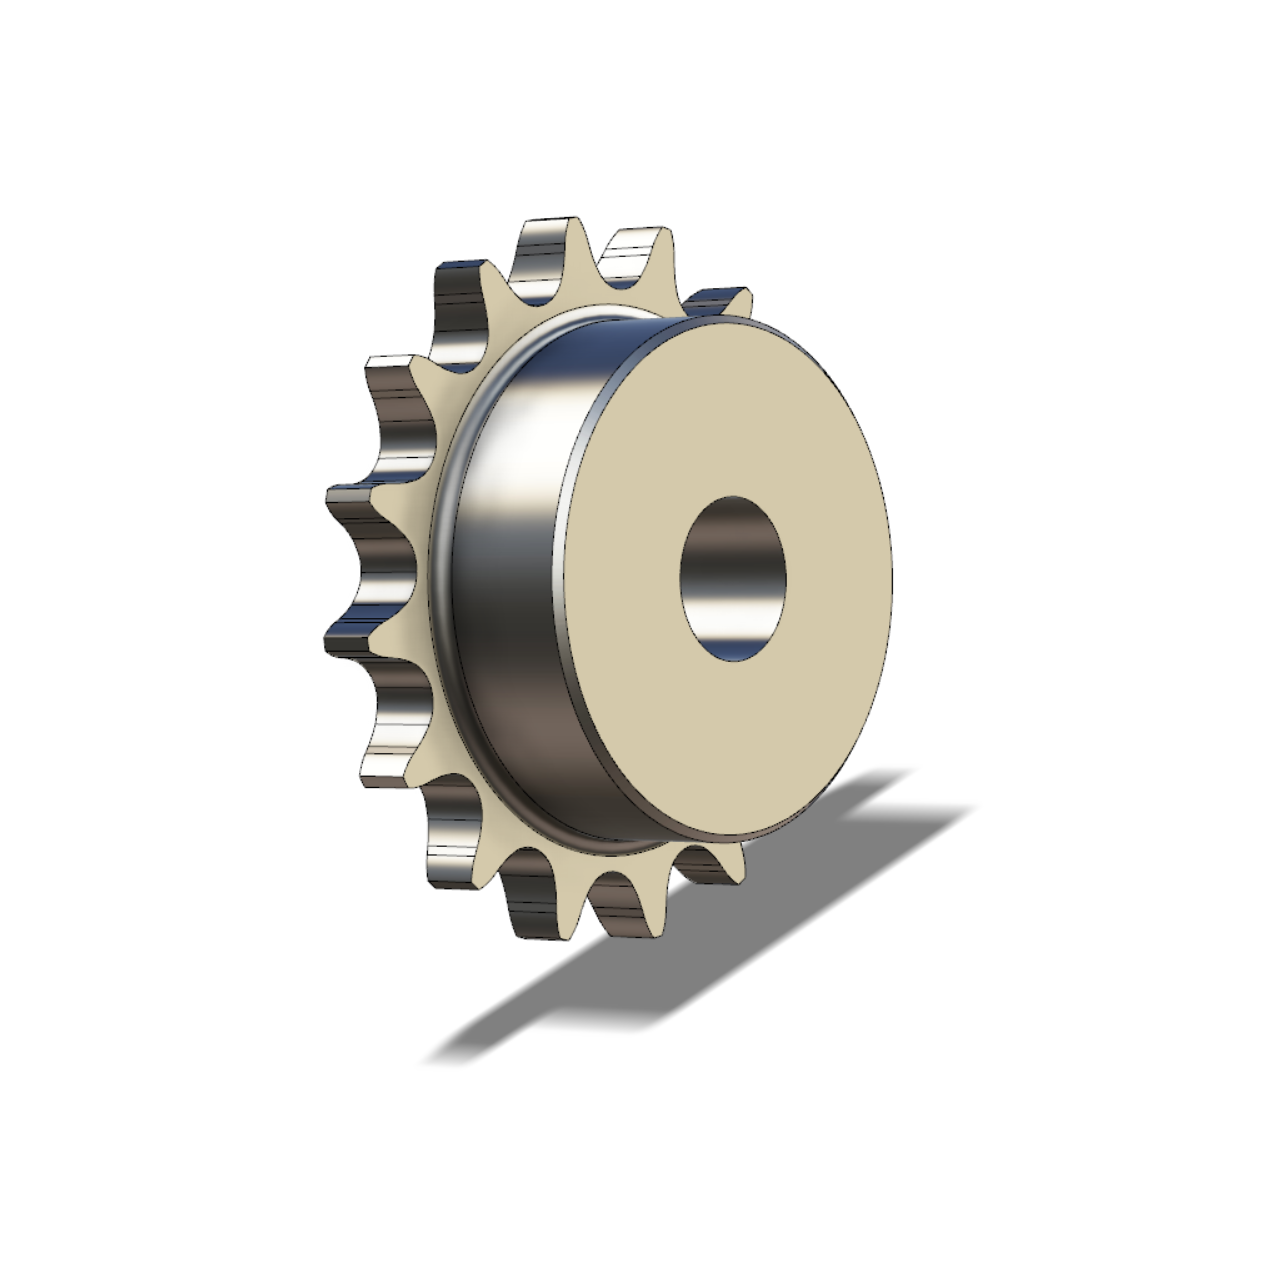
Create a sprocket to explore advanced sketching techniques.

In this lesson you will learn about:
  • Creating complex sketches
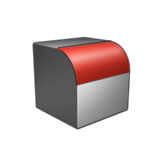
  • Using the two distance round type
  • Using advanced options of radial symmetry
Set the Units to Inches

  1. Start Inspire Studio. Or if it is already open, click the New model tool on the File icon.


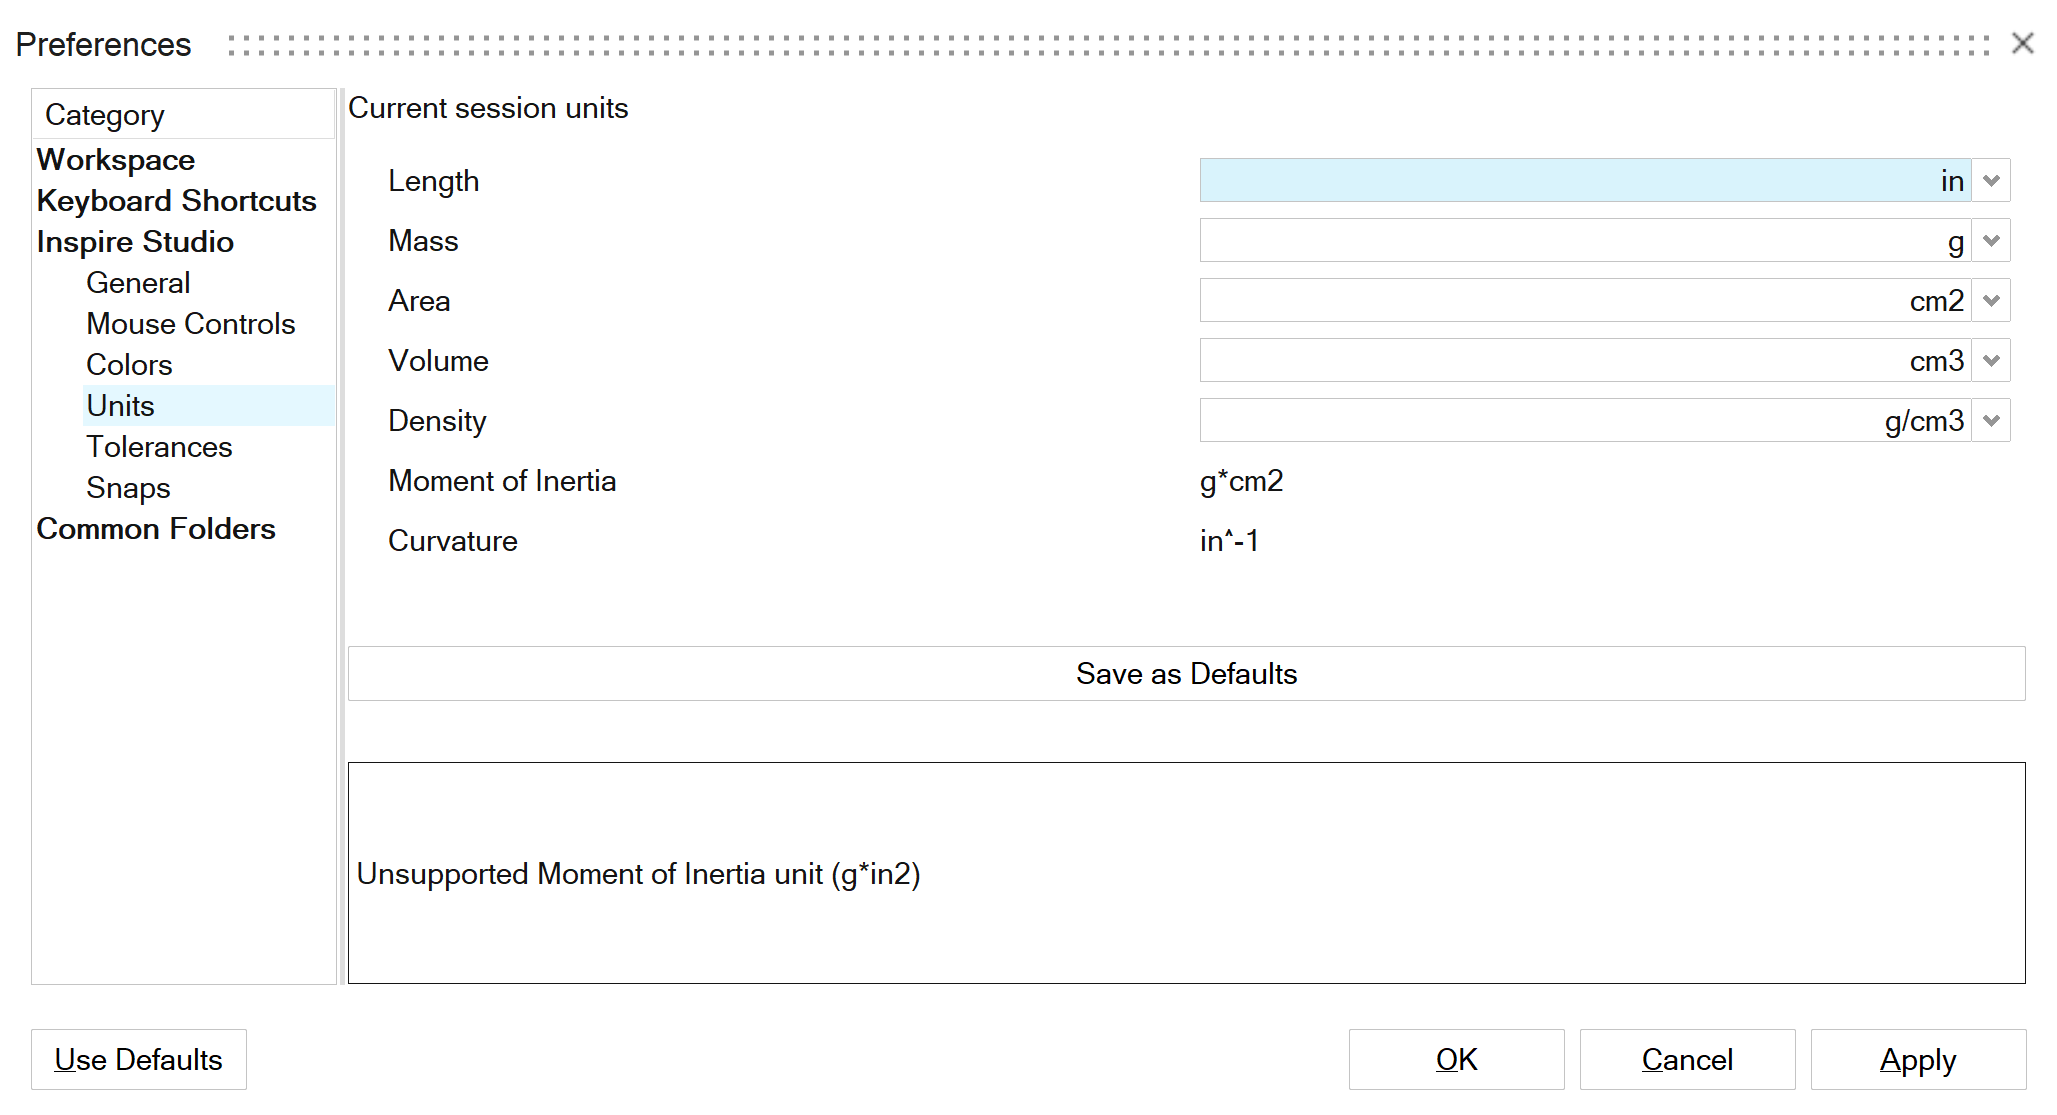
  2. On the File menu, click the Preferences button.
  3. Under Category, select Inspire Studio > Units.
  4. Change the Length to inches.


Draw the Main Sketch

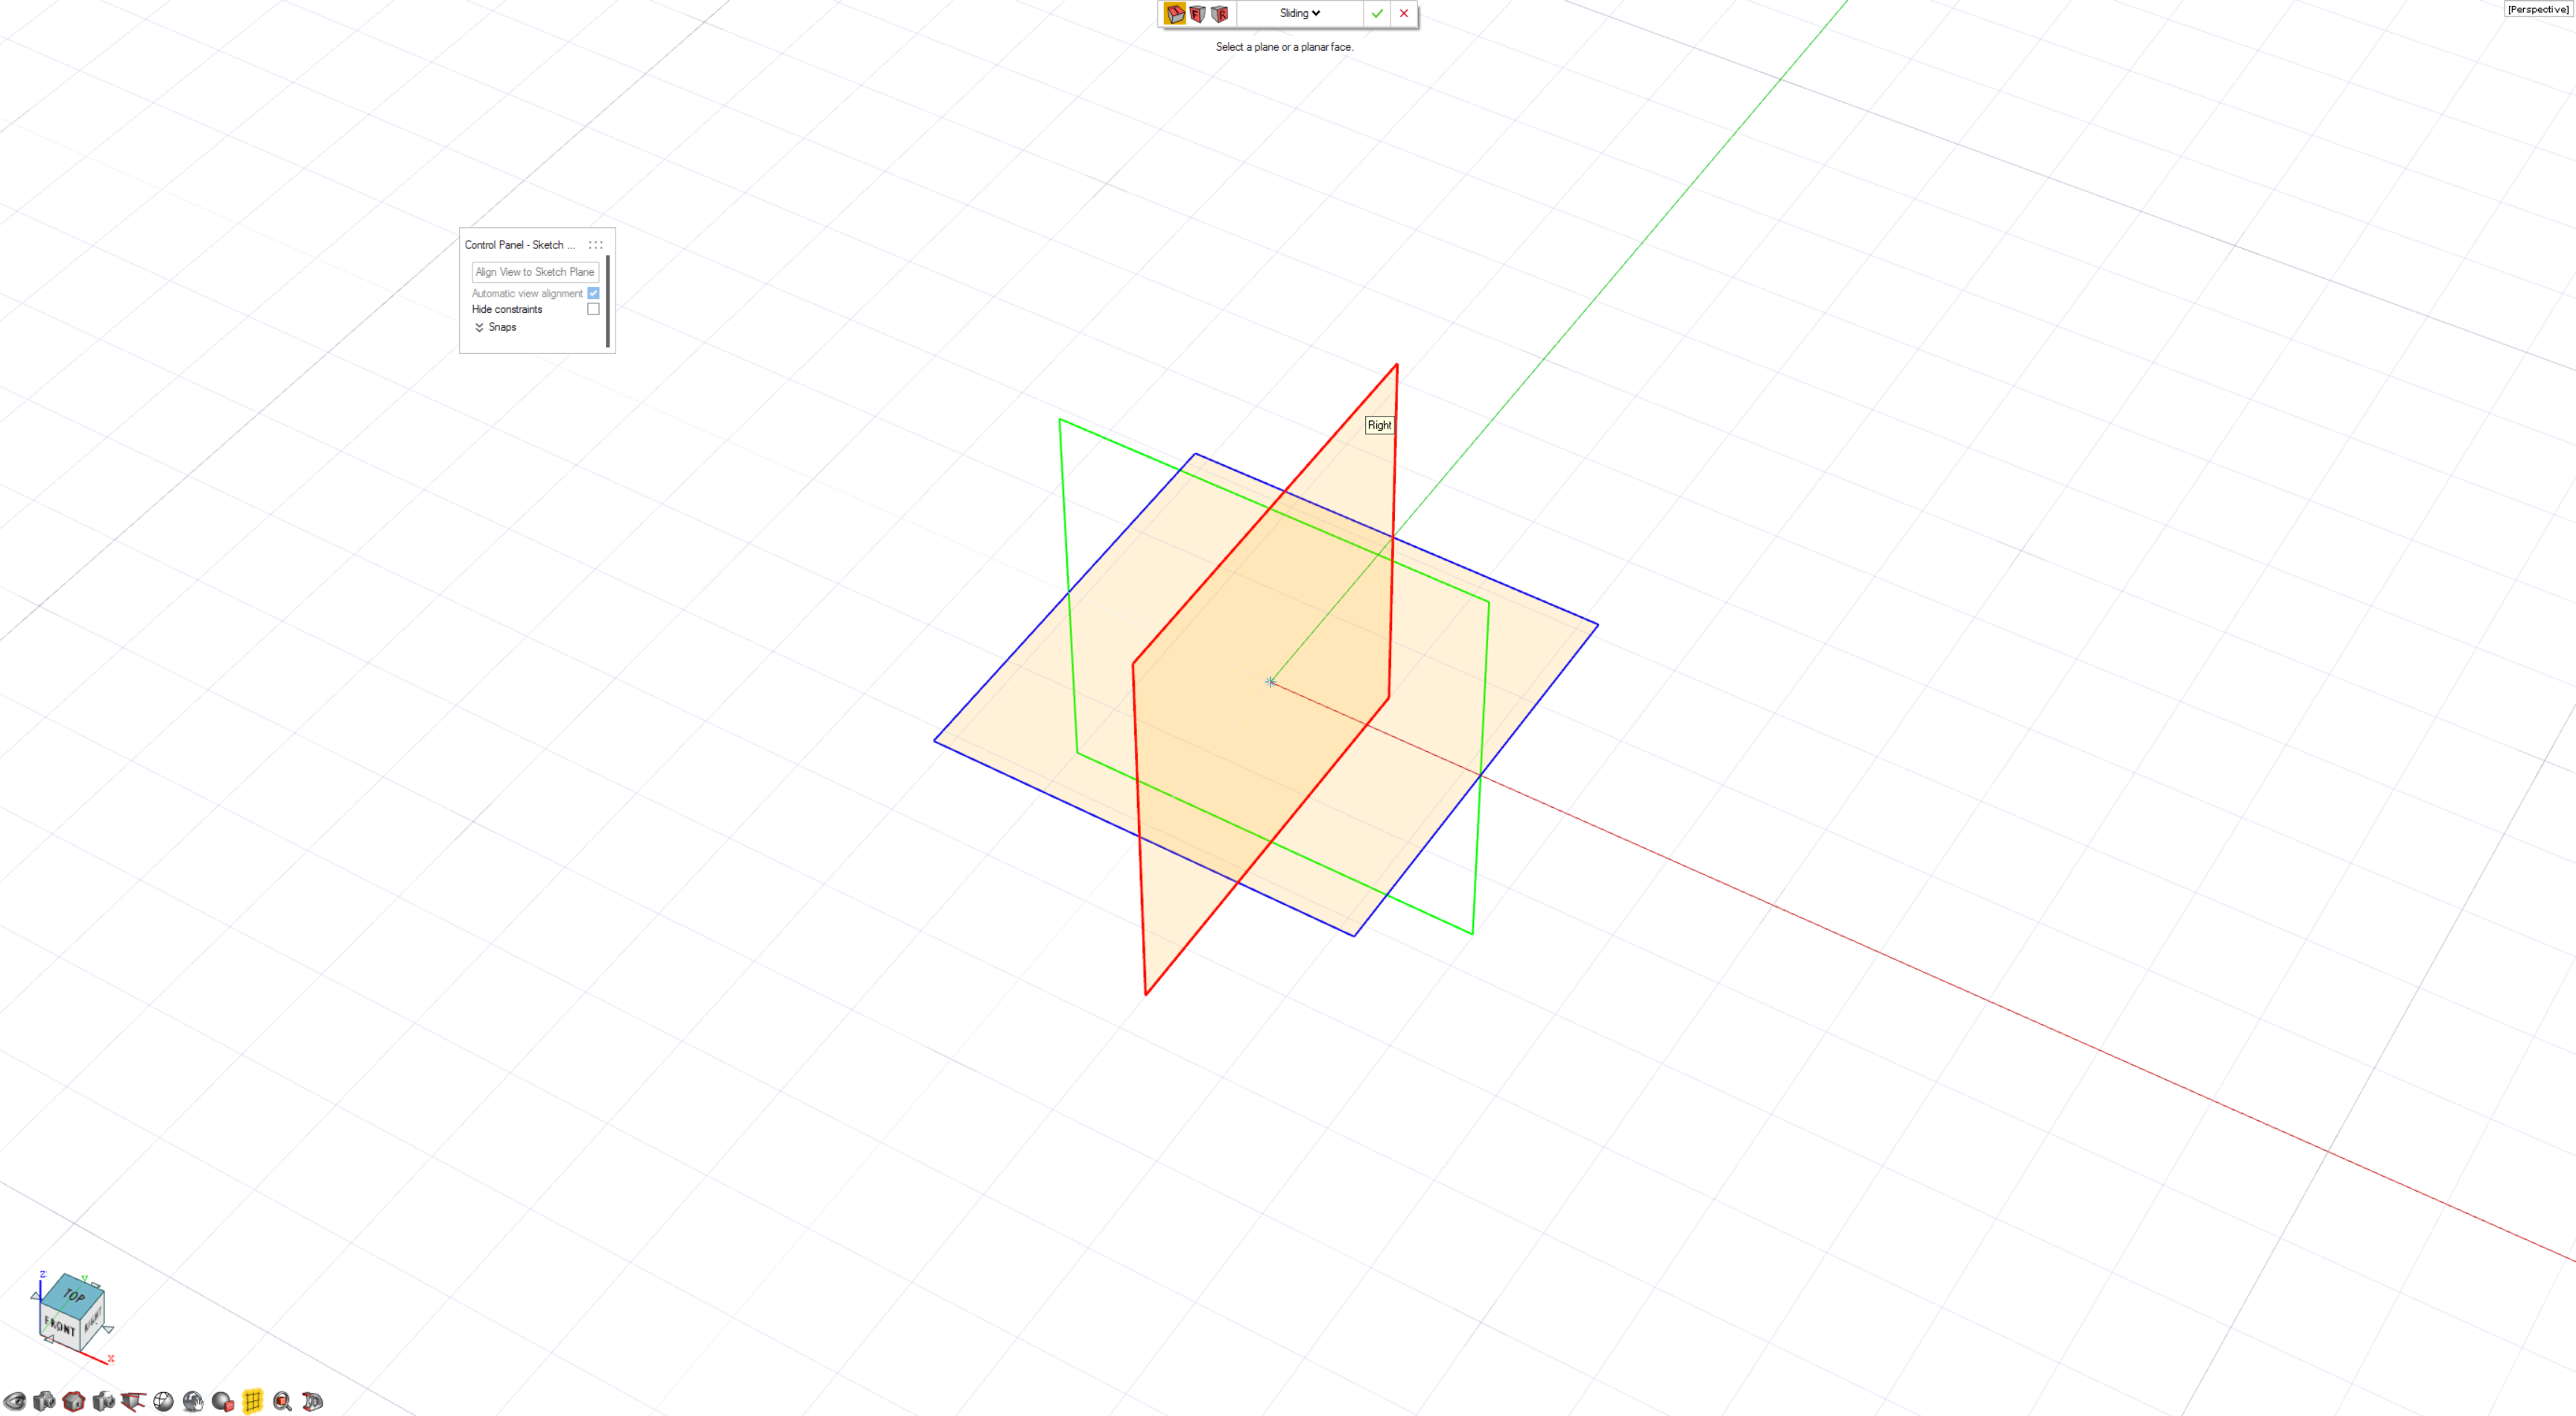
  1. From the Sketching tab, select the Corner Rectangle tool.

  2. Select the Right sketch plane.

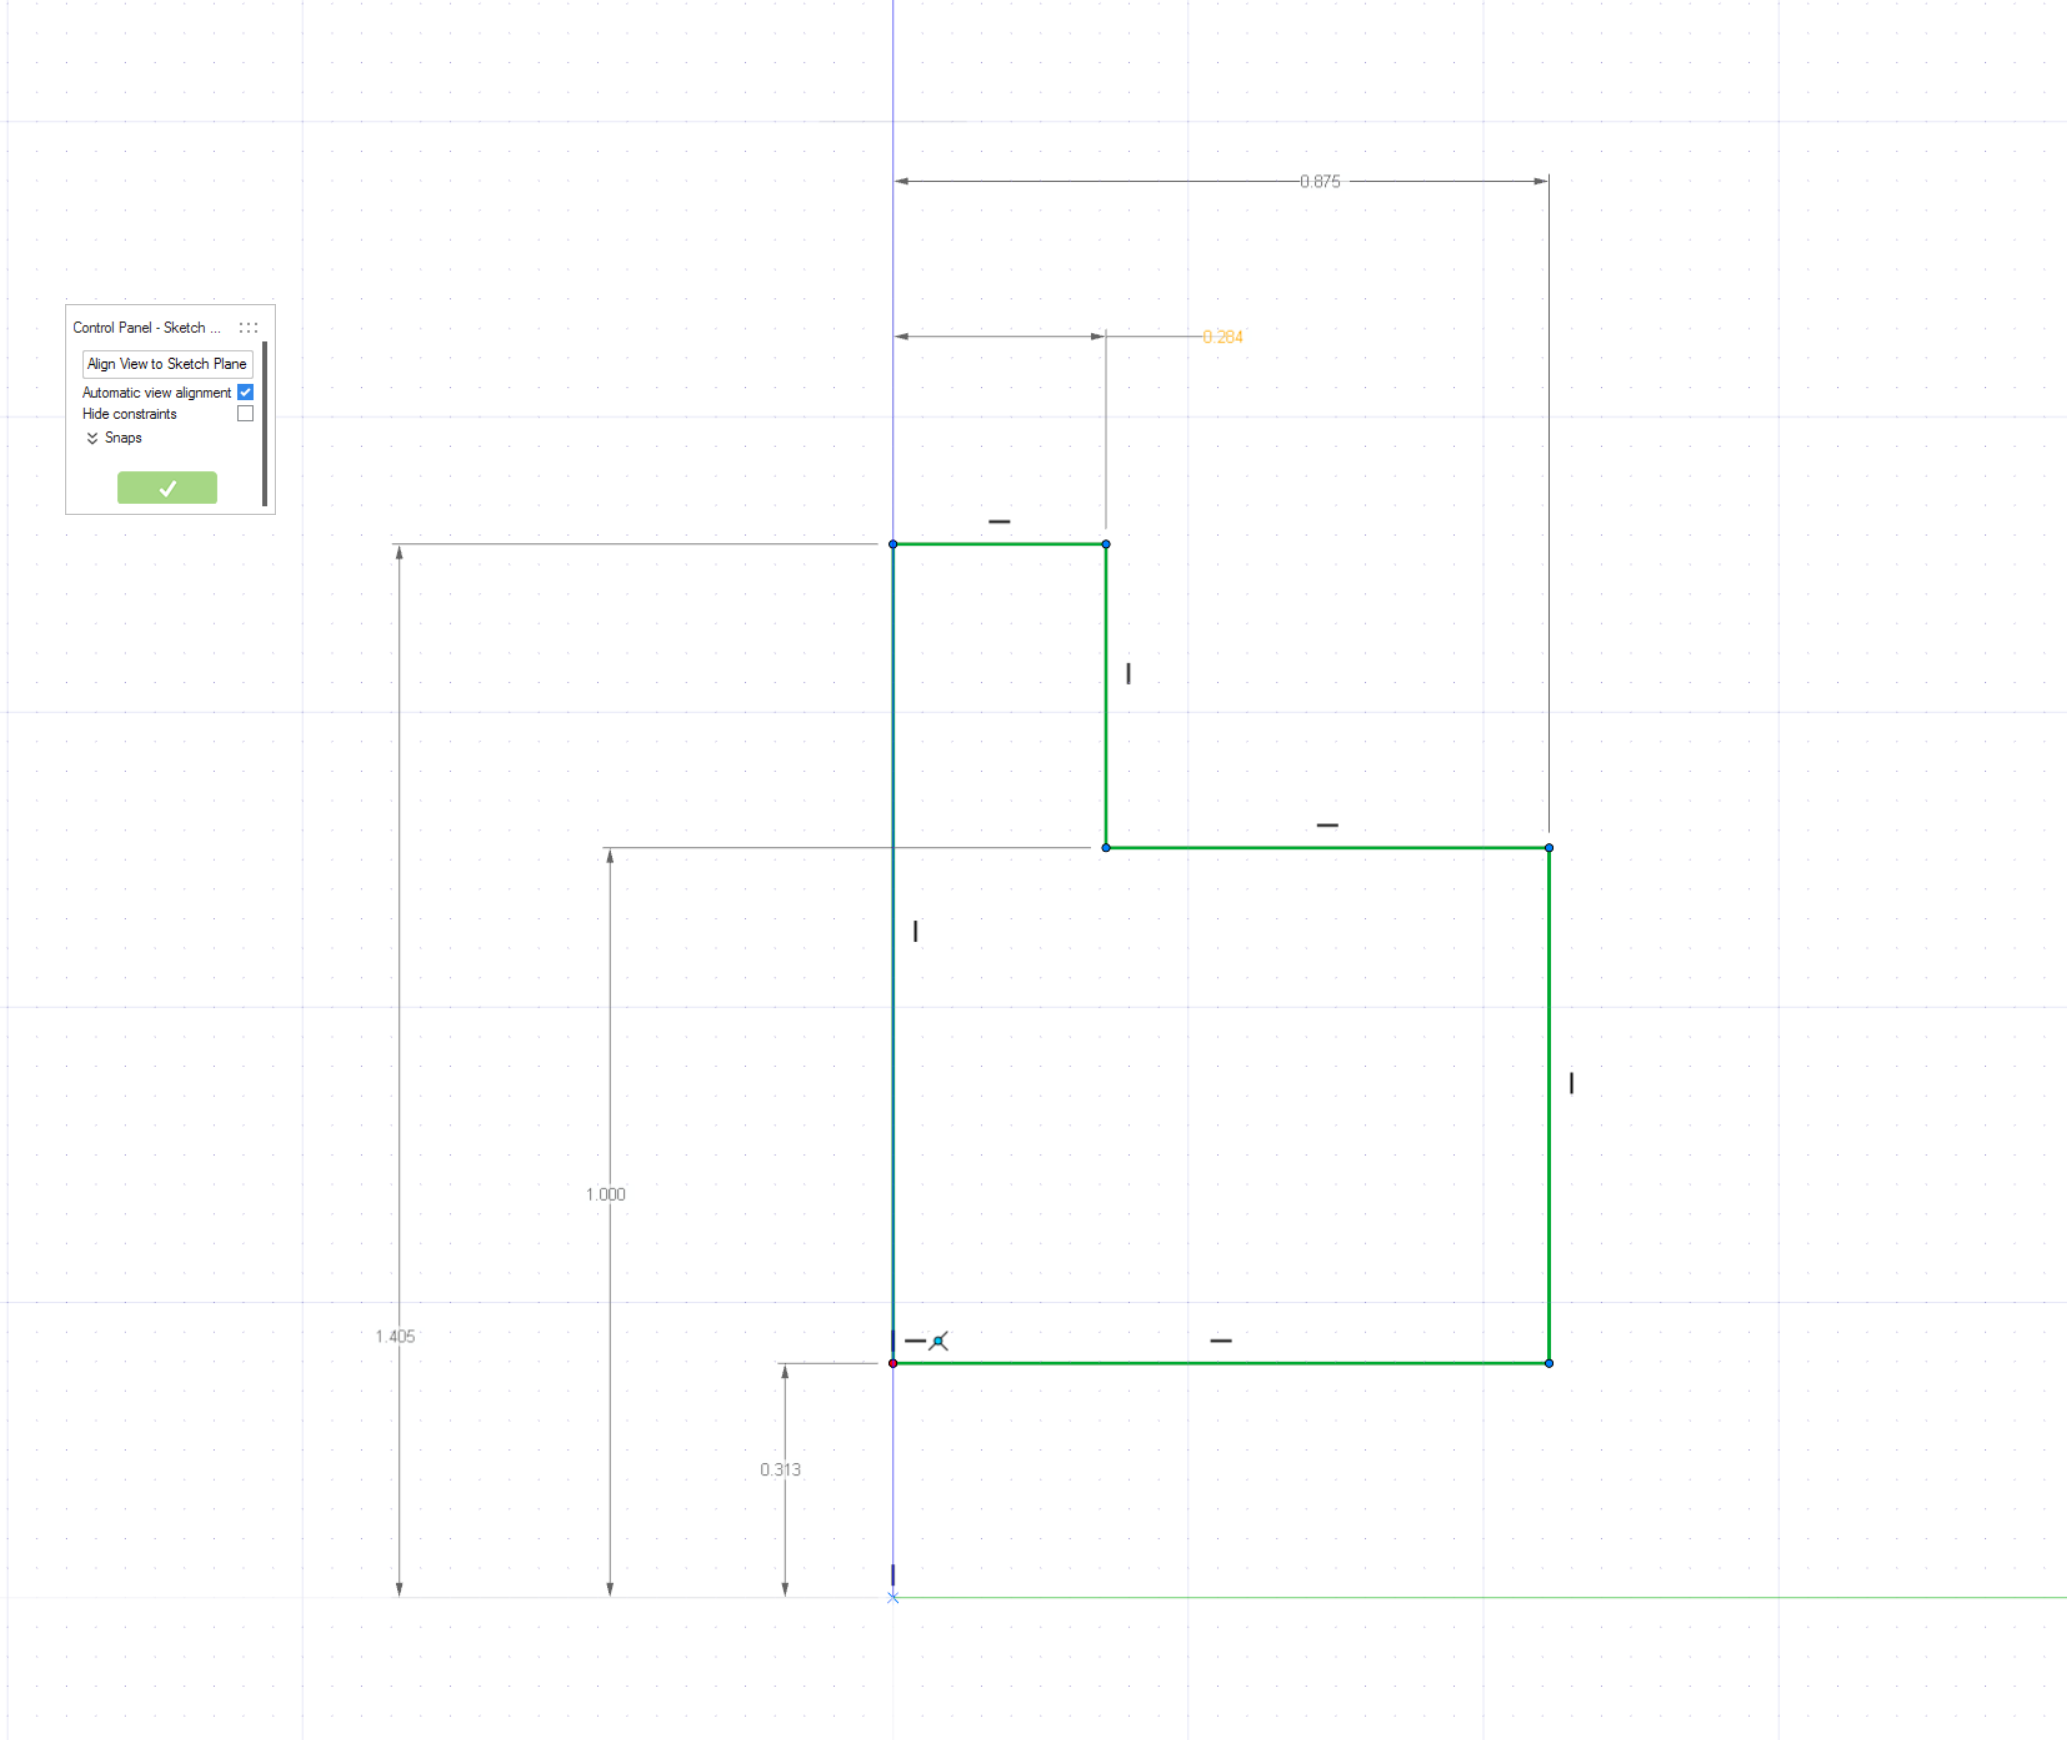
  3. Create a sketch and dimension as shown.

    Note: Fully defined sketches are drawn in green. Although it is not mandatory to fully define sketches, it is good practice. In some cases, a horizontal or vertical constraint with the origin point may be needed to fully define a sketch.

Revolve

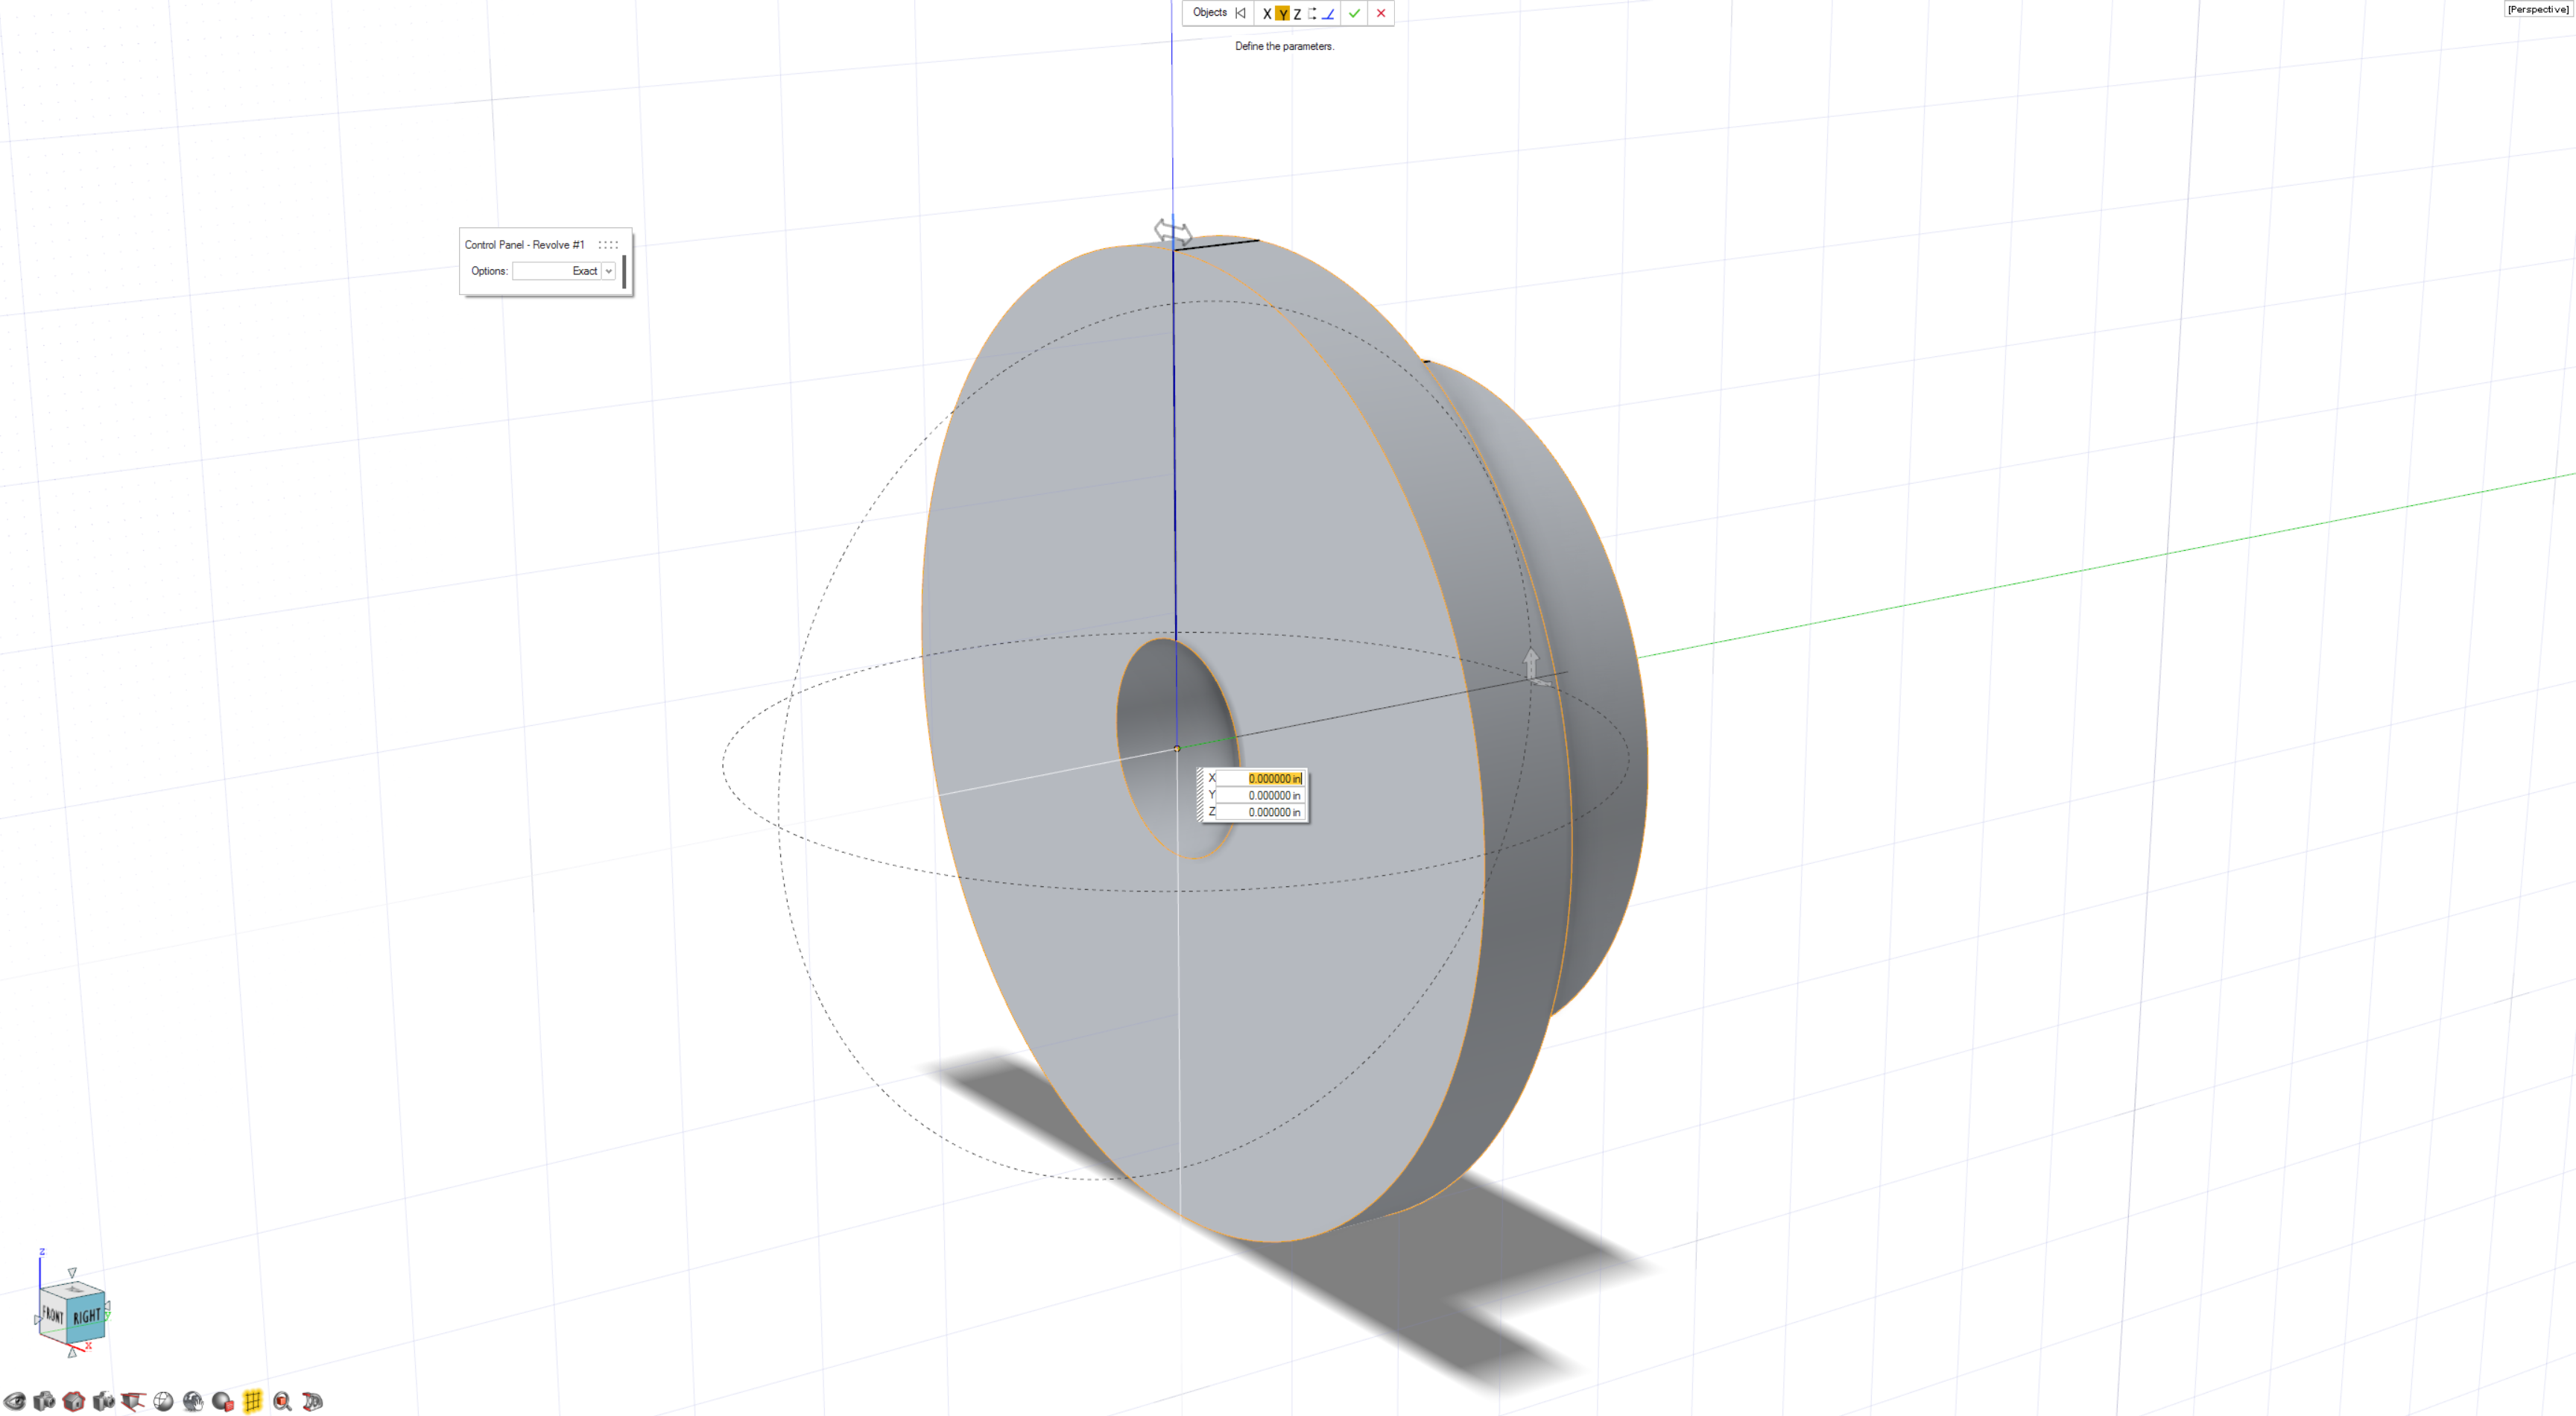
  1. On the Surfaces tab, select the Revolve tool.
  2. Revolve the sketch around the Y axis. To center the revolution, select the origin point and change the X, Y, Z values to 0, 0, 0.
  3. Right-click and mouse through the check mark to exit, or double-right-click.


Add Rounds

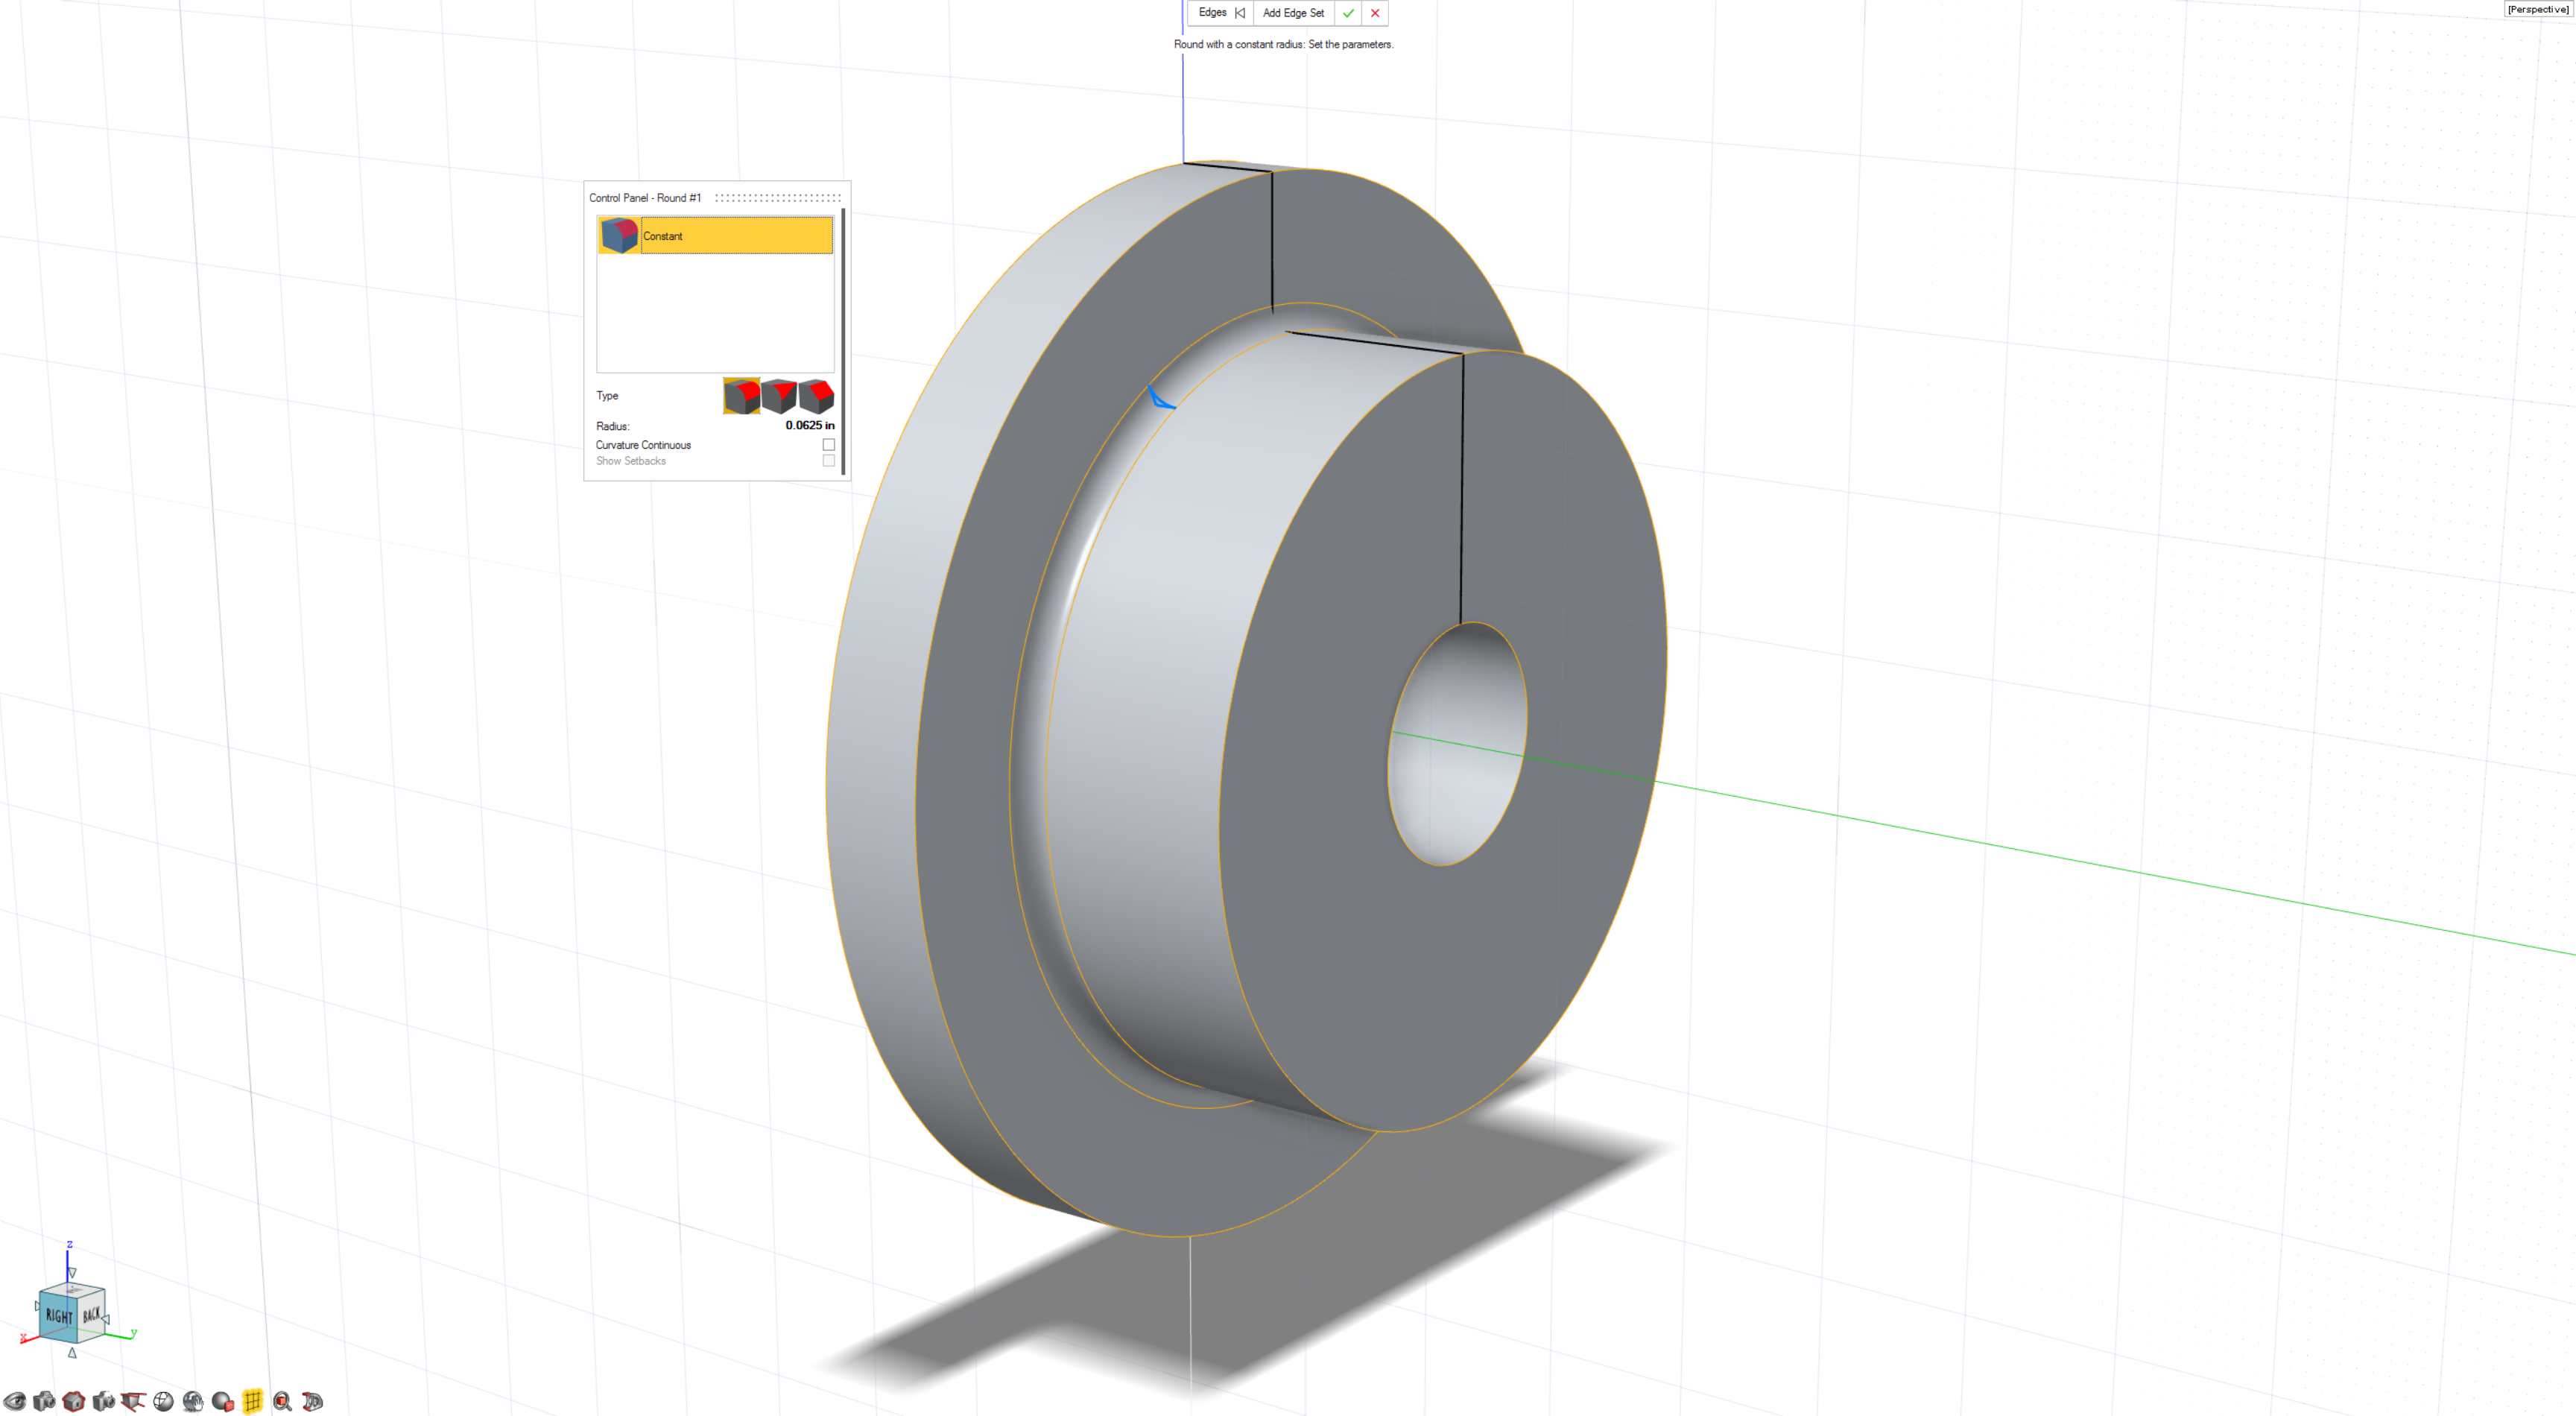
  1. On the Modify tab, select the Round tool.

  2. Add a radius of 0.0625 in where the hub meets the sprocket body.
  3. Right-click to complete edge selection.

  4. Click Add Edge Set in the guidebar to add a new edge.
  5. Select the outer edge of the sprocket body and add a radius of 0.03125 in.
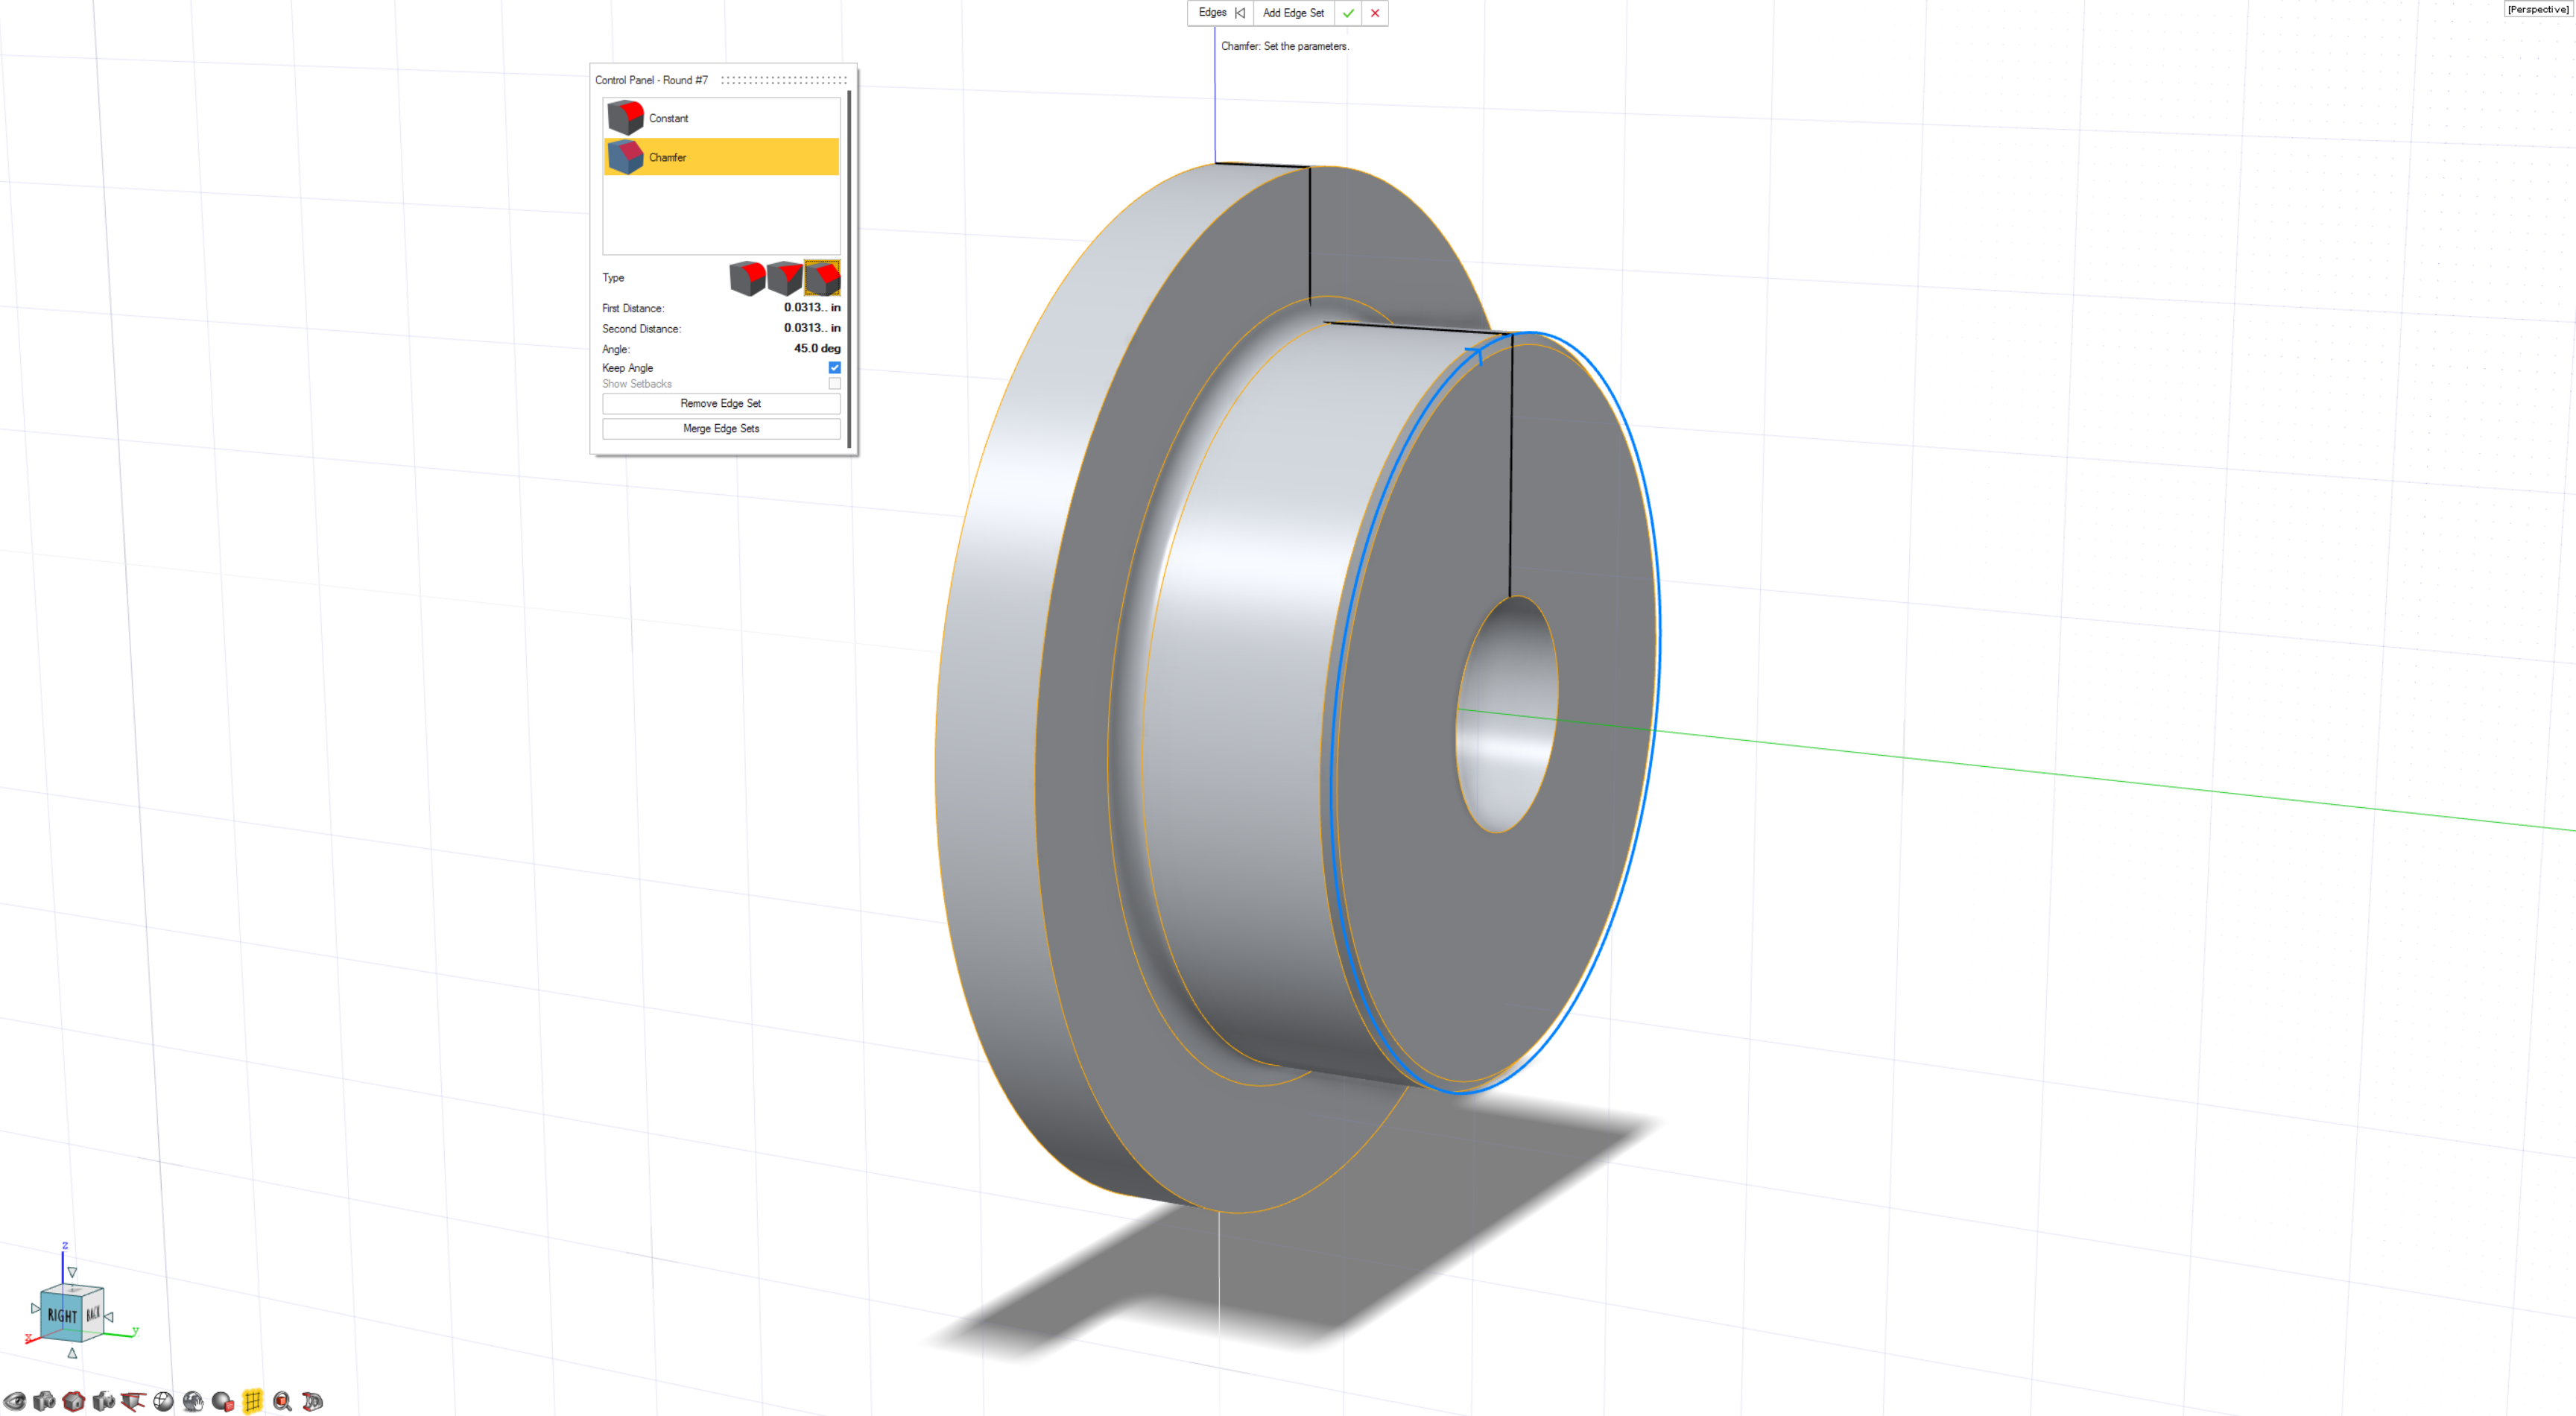
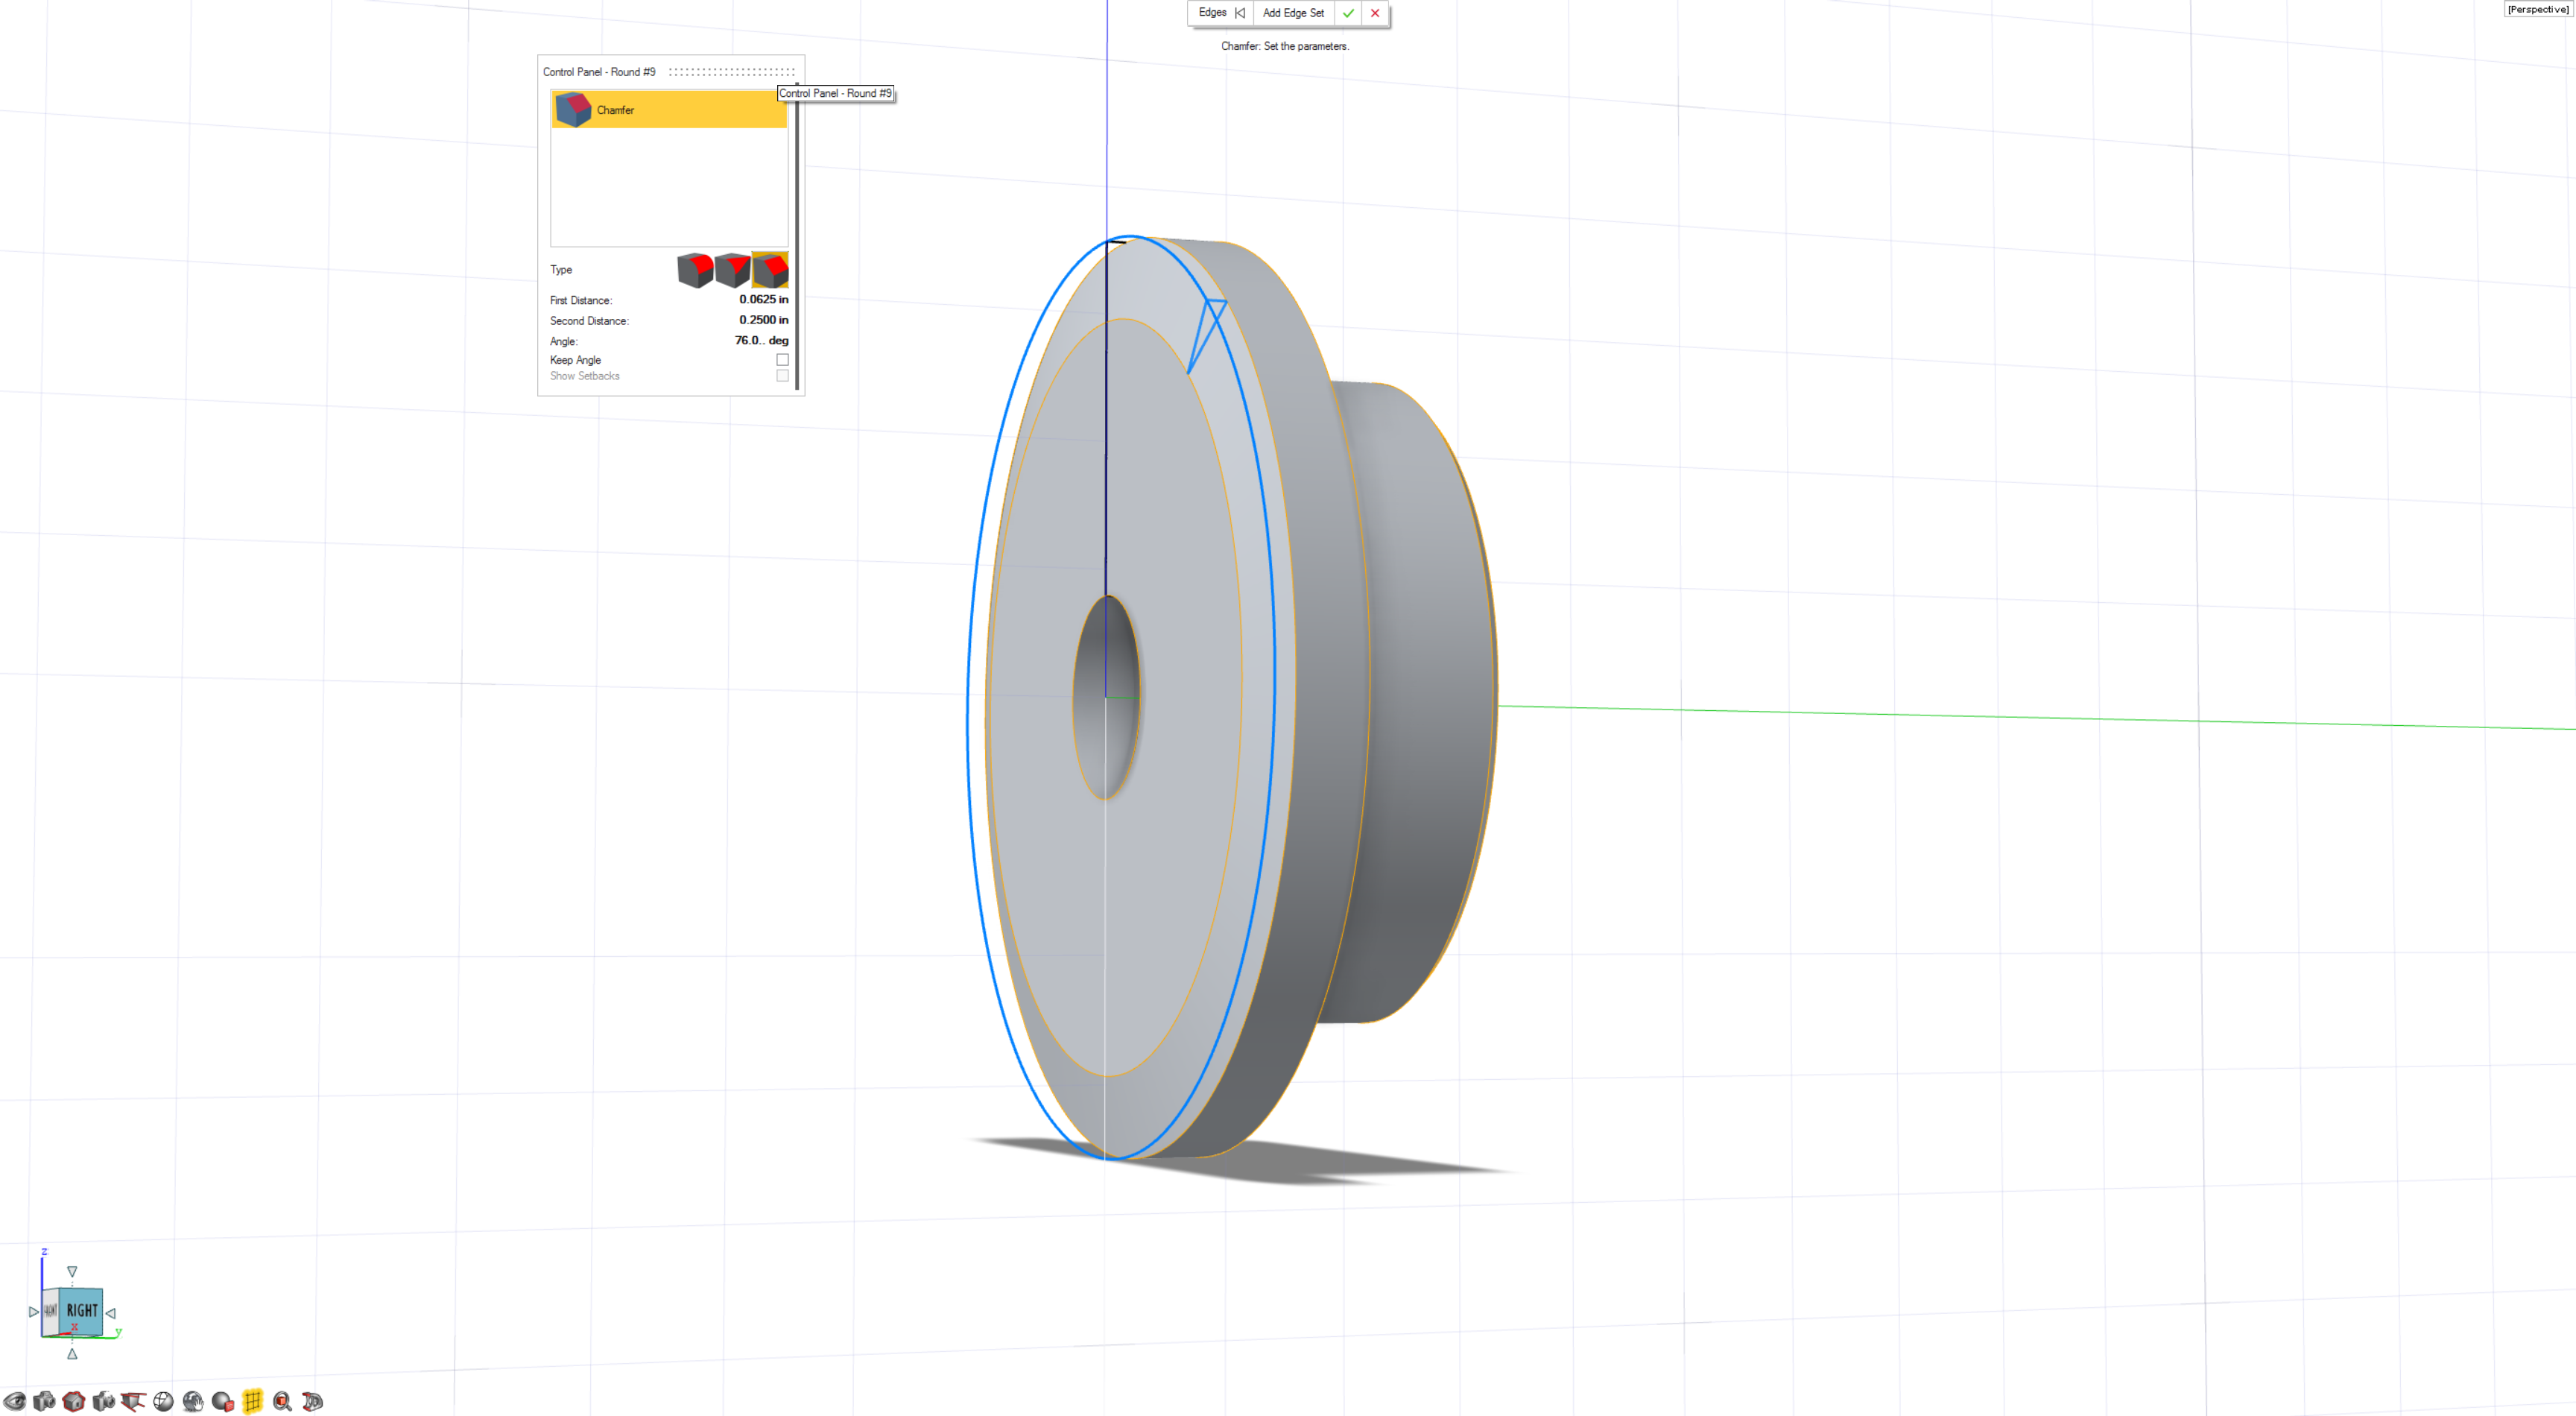
  6. Right-click to add the edge and change the round type to Chamfer.
  7. Right-click and mouse through the check mark to exit, or double-right-click.


  8. Right-click in the modeling window and select the Repeat last command option to bring up the Round tool again.
  9. Select the back edge of the hub and right-click to accept the edge.
  10. In the Control Panel, change the type to Chamfer and uncheck the Keep Radius option.
  11. Enter 0.0625 inches for the First distance and 0.25 inches for the Second distance.
  12. Right-click and mouse through the check mark to exit, or double-right-click.


  13. This part is complete. We have the basic shape of the sprocket. Next we will create the teeth.

Creating the Teeth Profile

Although the teeth profile is simple, it contains a number of entities and dimensions that need to be laid out in a sketch.

For more information on exact specifications, you can also refer to the machinery handbook.
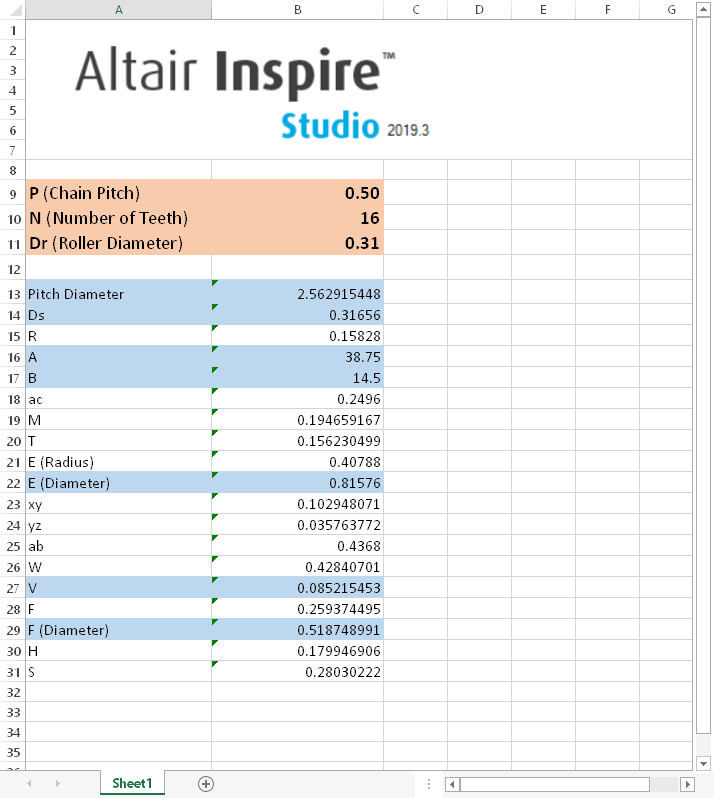
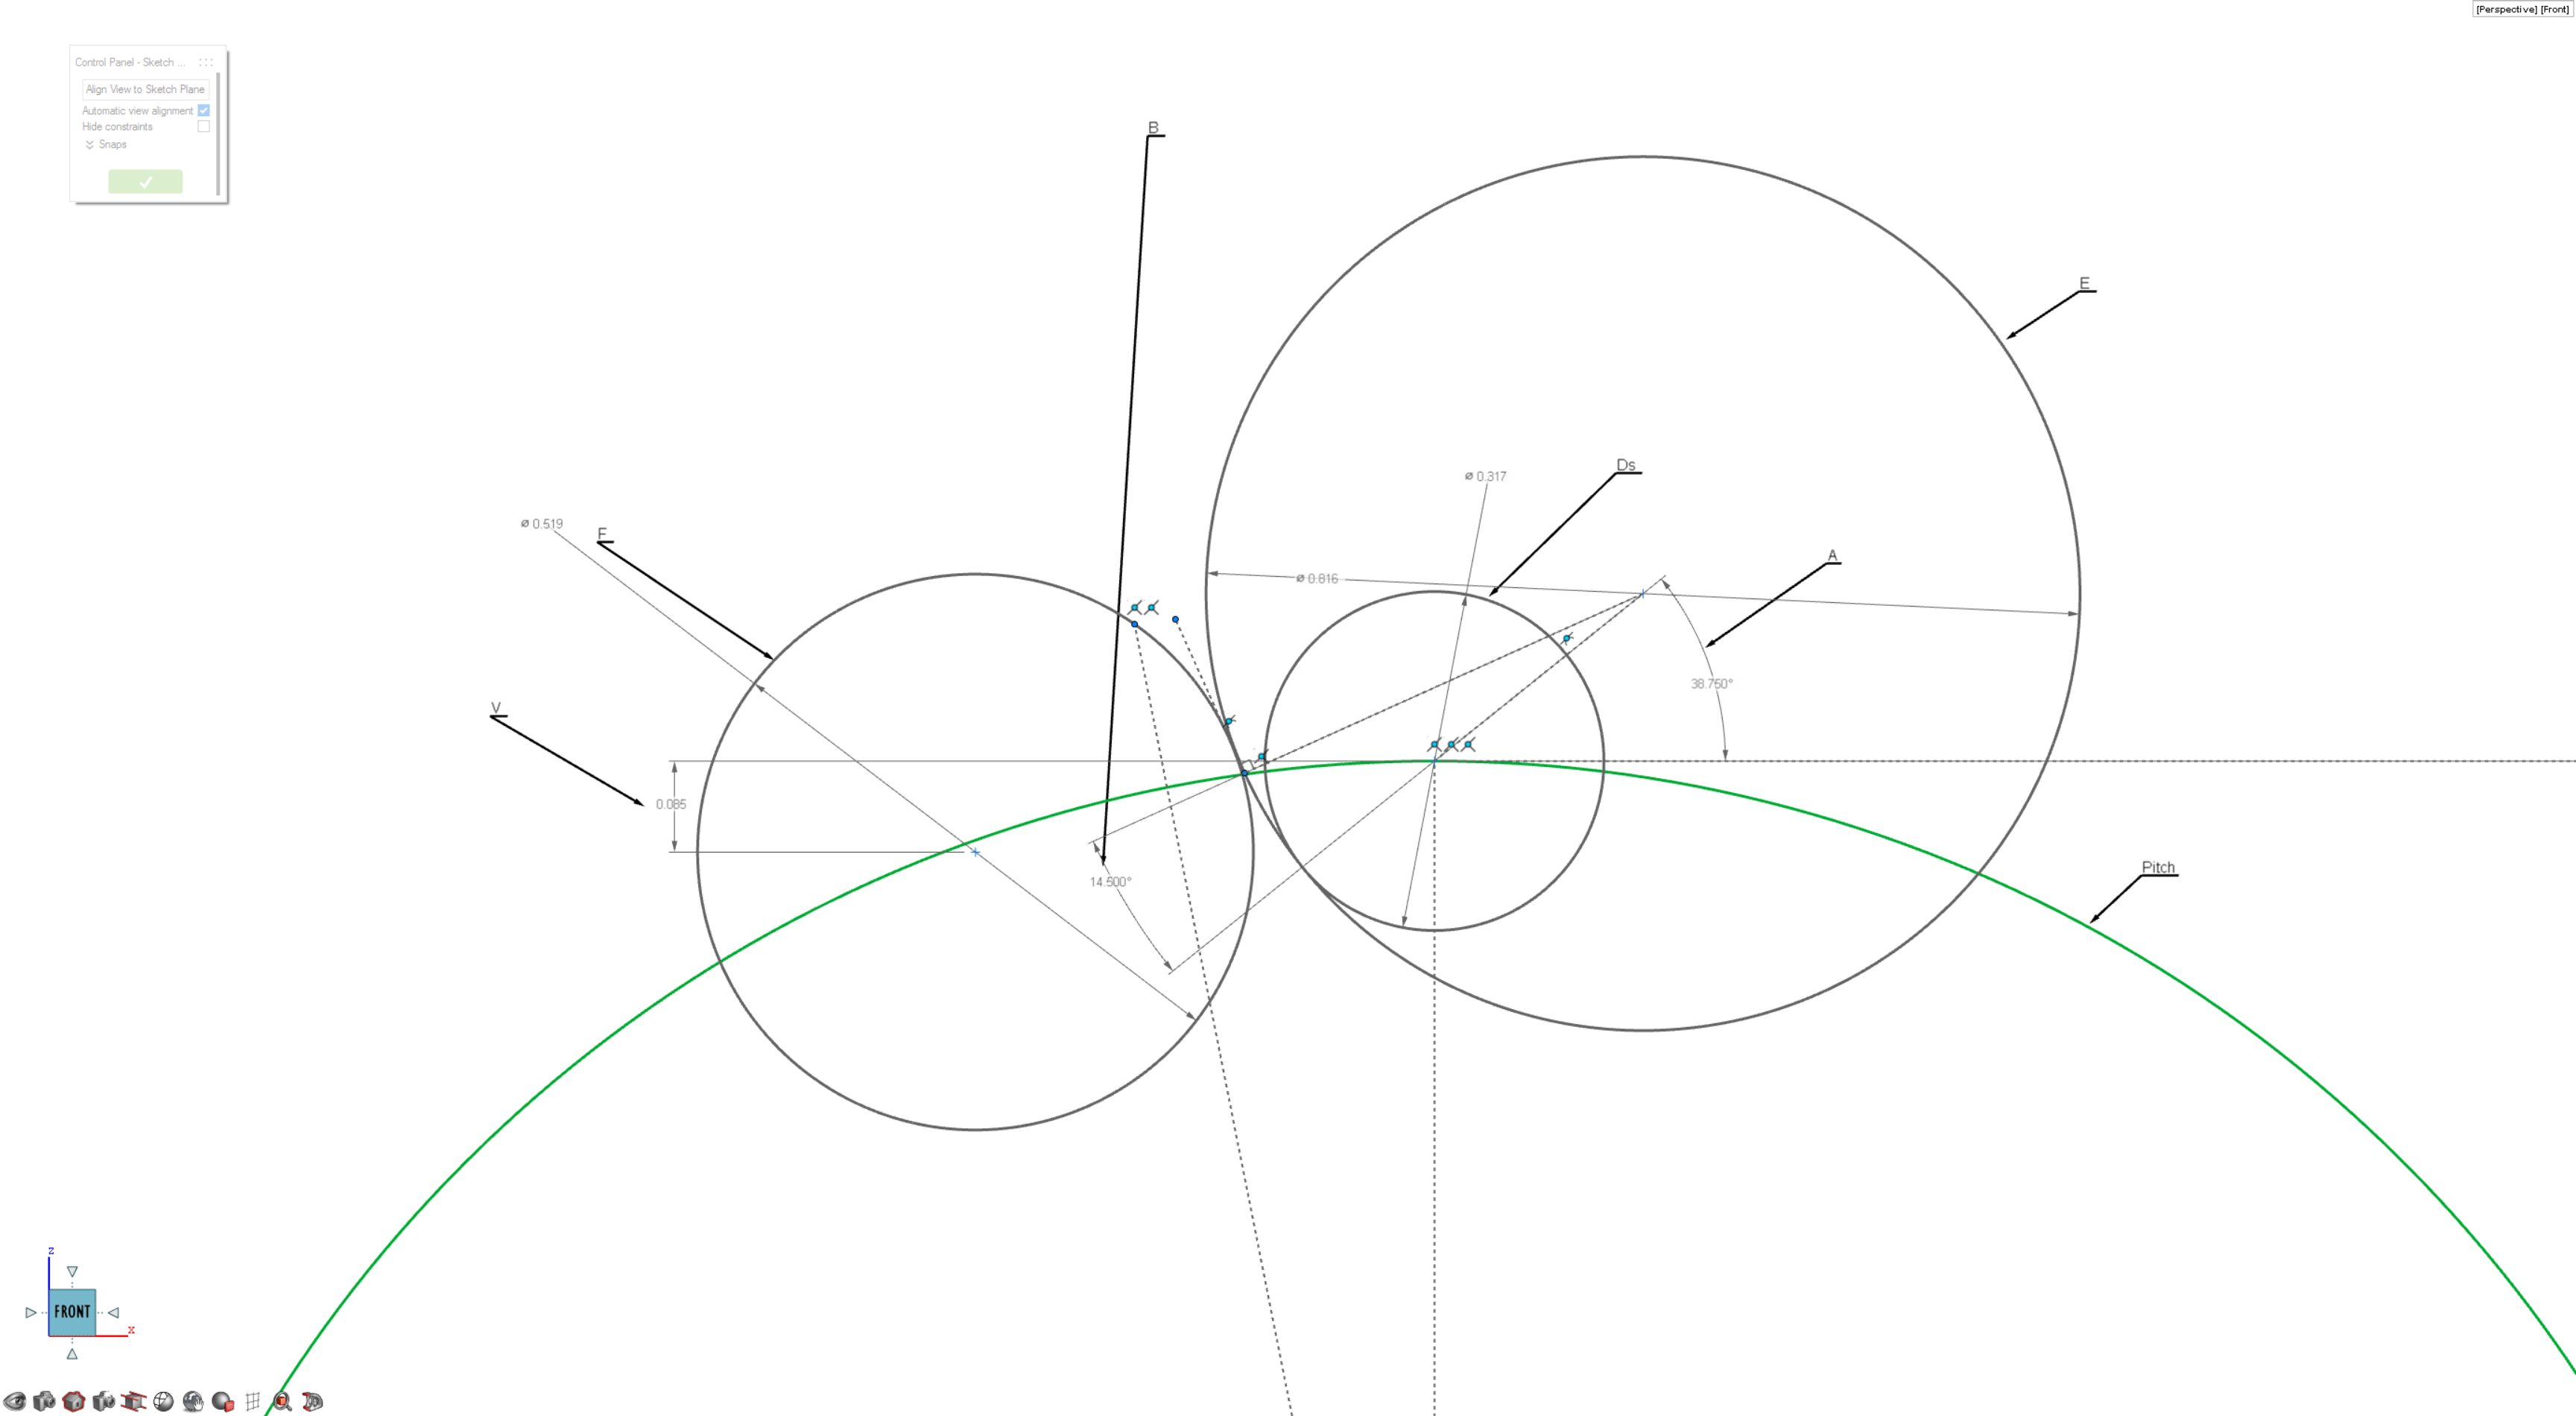
For this example, we will use the following variables highlighted.

Hide the two objects in the scene.

  1. On the Sketching tab, select the Circle tool.

  2. Choose the Front sketching plane.
  3. Create a circle. This circle will represent the pitch diameter of the sprocket.
  4. Create a second, smaller circle, placed along the circumference of the first circle (make sure its center lies on the circumference).
  5. Draw a vertical and horizontal line and set them as construction lines.
  6. Dimension the bigger pitch circle 2.562 inches and the smaller circle 0.3165 inches.
  7. Following the machinery handbook, we need 3 additional lines to help locate the center of the secondary circles that make up the tooth profile. Sketch and dimension as shown.
  8. The last circle offset from the center by 0.085 inches and has a diameter of 0.5187 inches.
  9. This last circle is also tangent to the line segment we created in the previous step.
  10. Finally, we will draw a line segment as construction from the center of the pitch circle to the top of the last circle at an angle of 11.25 degrees or 180/(number of teeth = 16).

Split the Sketch

The completed sketch will look like this. The next step is to split the sketch to retain only the main parts of the teeth profile.

  1. Split this sketch and retain only the entities that will drive the tooth creation.
  2. From the Modify ribbon, select Radial Symmetry. For the input objects, click the sketch in the view. Make sure to turn on the grid snaps to help finish this section.
  3. From the Model Browser, show the hidden sprocket body.
  4. Use the Trim tool, box select the radial symmetry objects, click on the sprocket to add them as input objects.
  5. Right-click to accept and remove the outer portion of the trimmed body.