Create a job profile, a customized shortcut for submitting a job.
If you submit multiple jobs to the same application with the same arguments,
it makes sense for you to create a job profile that has these arguments pre-populated for
you - streamlining the process of job submission.
Click the Jobs tab located in the upper left-hand of the
page.
A list of applications are displayed at the top of the Job Monitoring
page.Figure 1. List of Applications/Solvers
Double-click an application.
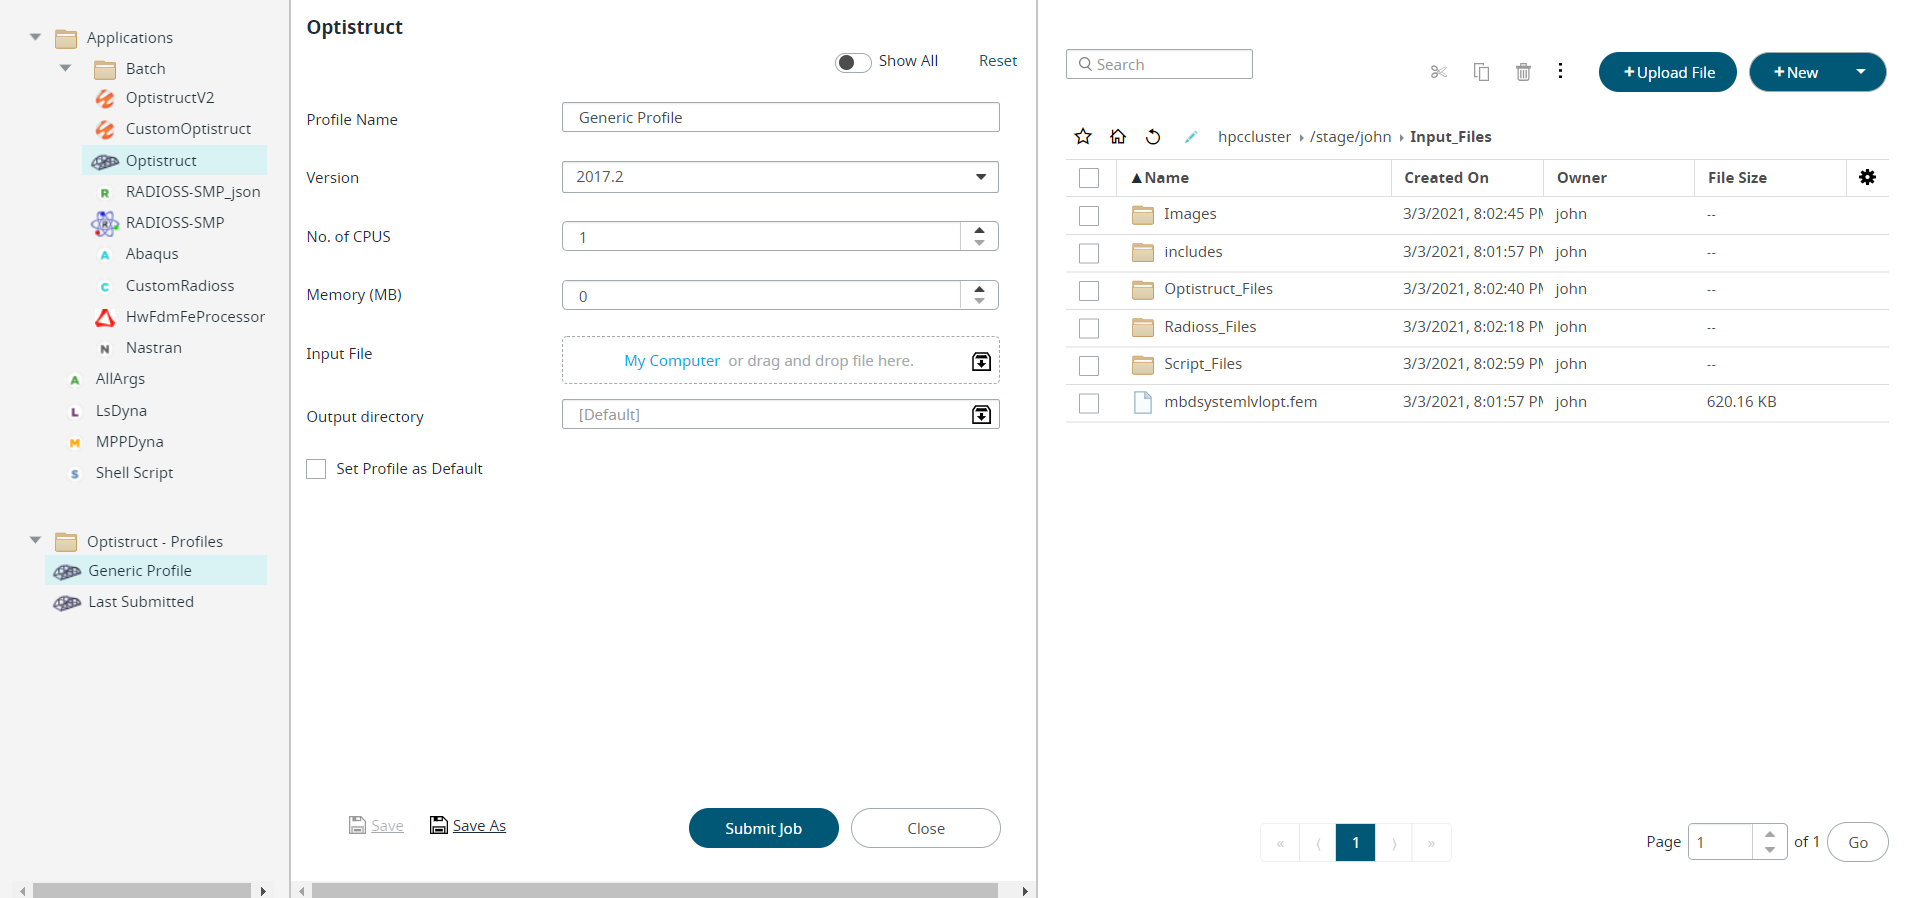
A job submission form is displayed. Figure 2. Job Submission Form
The following panes are displayed in the Job Submission form:
Left pane - Displays the list of Solvers based on the category and
Profiles pertaining to that Solvers. First time when you select an
Application, Generic Profile is selected and subsequent time Last
Submitted profile is selected.
Center pane - Displays the Job Submission Form.
Right pane - Displays the File Management section. You can perform all
the file related activities in this section. For example, selecting a
file as an input file or include files, selecting a directory as an
output directory, editing a file, uploading a files, searching a file
from the list.
Note: By default, only the Required Fields are displayed.
Click All Fields to display all available application
arguments.
Note: Application Arguments are based on the application selected.
Fill in the following required application arguments:
Note: Click Show Help check-box at the top of the job
submission form to get the description of application arguments.
Note: Click Reset at the top right-hand corner of the job
submission form to reset the values of the application arguments.
Select the Server from the drop-down list.
Note: If you change the server, then the profiles pertaining to that the
server and based on the application selected will be displayed in
the left pane.
Select the version of the solver from the drop-down list.
Enter the number of CPUs and Memory in MB required to run the
job.
The selected input file will be displayed in the Input File. The input
file can be replaced from the Remote or Local locations.
Note: An inline
progress bar will be displayed while uploading an input
file.
Tip: If a Master File is selected as an
input file, then the include files will be listed by default.
Tip: You can change the input file and include
files. Navigate the File Management on the right of the Job
Submission Form to select an input file or include files. Right
click on the file and select Add as Input
File from the context menu to change the input file
or Add in Include Files from the context menu
to add a new include file.
Enter the Output Directory.
By default, the output directory is created in the same location where
the input files are located.
Tip: You can change the default Output directory. Navigate
the File Management on the right of the Job Submission Form to
select a directory. Right click on the directory and select
Add as Output directory from the context
menu.
Click Set Profile as Default to
set this profile as a default profile.
Click Save As.
Tip: Solver arguments that are left blank when creating a profile
can later be populated when submitting a job by displaying the job
submission form.
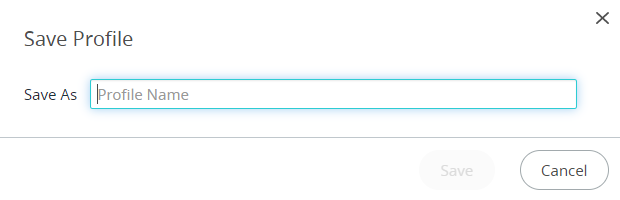
The Save Profile dialog box is displayed. Figure 3. Save Profile
Note: When you are saving the profile if the solver arguments are left
blank in Job Submission form, then the Saved Profile name is suffixed with
GUI while displaying the Profile name in the context menu.
Enter a profile name.
Click Save.
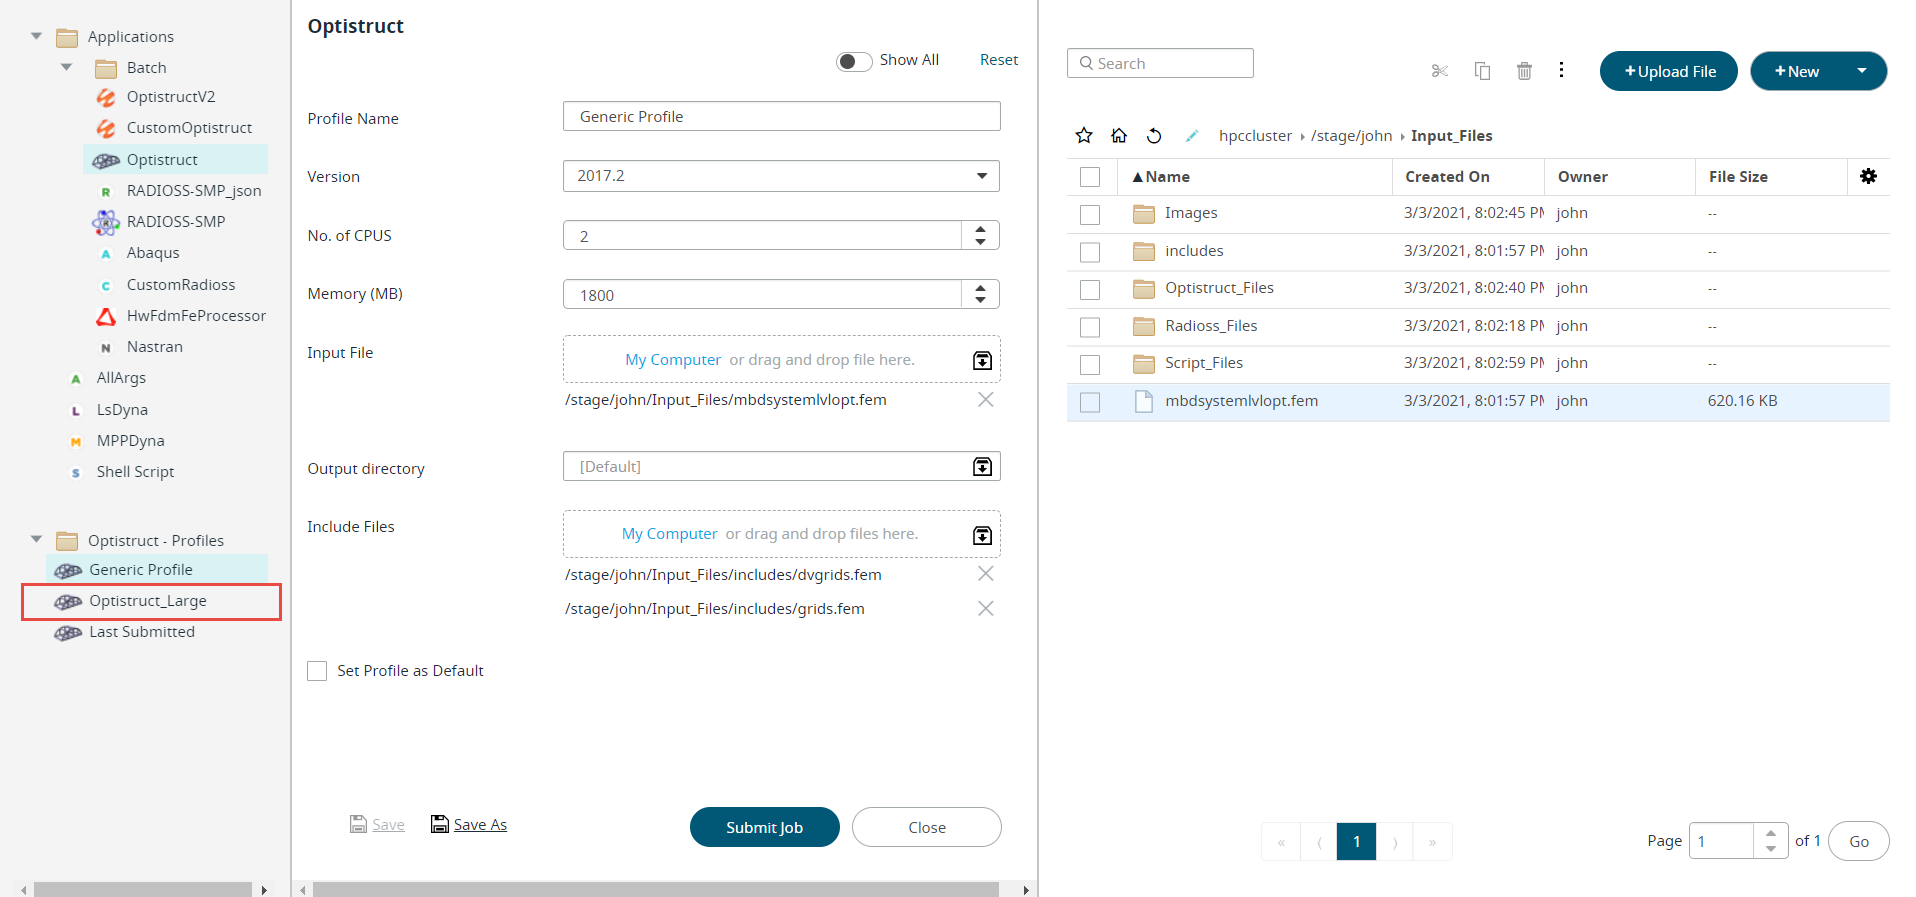
The saved profile is displayed in the application profile list. Figure 4. Saved Profile