


|
Appending Tables via the Appending Stage
You can append two or more tables by selecting Append as a Combine Stage. Note that the append operation here matches by name and data type.
Steps:
-
Click Combine > Append on the Data Prep Studio toolbar to launch the Appending Stage.
The Appending Stage displays.
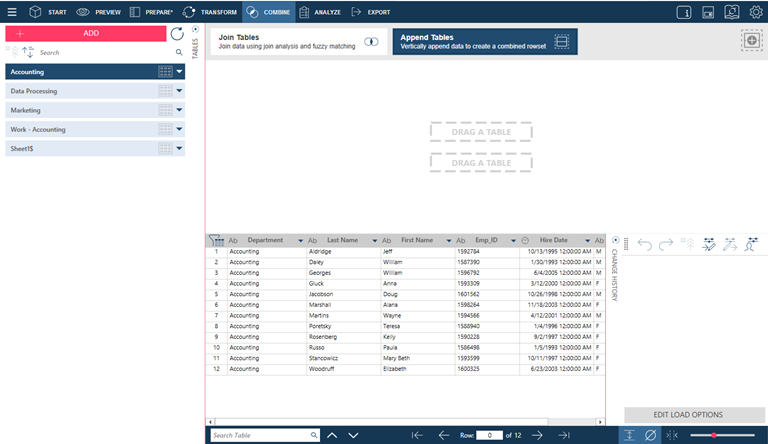
-
Using your mouse, drag the two tables you wish to append and drop them into the fields marked DRAG A TABLE in the work area. Each table should occupy one field.
-
If you wish to add another table to the append operation, repeat Step 2.
-
Click the button marked Click to Append to complete the append operation.
The appended table displays in the table selector, ready for further data preparation operations.
Monarch Data Prep Studio assigns sequential default names to the Append result, i.e.: Append, Append(1), Append(2). Rename the result as needed, following the steps in Renaming a Table.
If you wish to create a new append, click the Create
New Append  icon.
When you do so, all tables added to the work area are cleared and
you can begin constructing a new append.
icon.
When you do so, all tables added to the work area are cleared and
you can begin constructing a new append.
Notes:
-
The tables you want to append must via the Appending Stage must have the same number of columns with matching data types and names.
-
If you wish to append tables with greater flexibility (e.g., only specific columns are desired or columns do not have matching data types or names, use the Append features within the Prepare Window instead.
Related Links