Entity Overview
Capture and add images illustrating the overview of various entities such as component, property, and materials to the Model Description section of any report.
These entities are present either in the entire model or any specific sections of the model. The overview of entities is usually displayed by creating a note at each desired entity with its name.
An Entity Overview can be added to the report at the report level or added to a chapter depending where you want to see the overview in the report.
From the Report Ribbon, Add Modules tool group, click
 and select Entity Overview
module.
and select Entity Overview
module.Or
Right-click at the Report or Chapter level and select .- Below are the properties associated with the Entity Overview module.
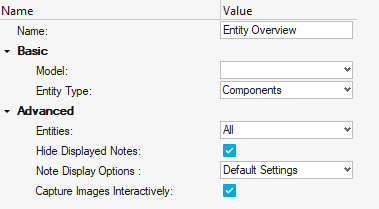 Figure 1.
 - Name: Provide the name for the Entity Overview module.
Basic Options
- Model: Select the required page or window from the HyperWorks session.Note: Since note creation is only available in HyperView, only HyperView pages and windows can be selected in the drop-down.
- Entity Type: Select the type of entity that an overview is required
for.
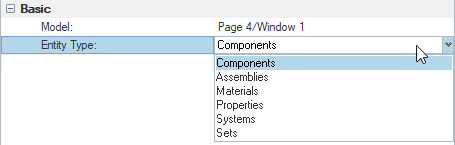
Figure 2.- For Assemblies, enter the level of assembly to be captured.

Figure 3.Note: Based on the assembly hierarchy of the model, the number levels of assembly present in the model populates. For example,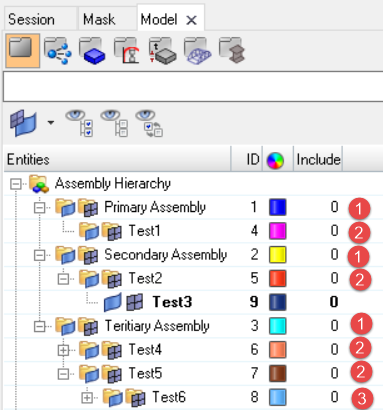
Figure 4. - For Materials and Properties, import the model file along with
the result file and select Advanced from
the Result-Math template drop-down.

Figure 5. - For Set, specify the set type.

Figure 6.- SETS ID POOL: The sets that are created by using standard HyperView capabilities. For example, 1D, 2D, 3D, and orphan node sets.
- User Set: The sets that you create. These sets can include element set, node set, or component set.
Advanced Options
- For Assemblies, enter the level of assembly to be captured.
- Entities: Select the entities that this module requires to be
executed.

Figure 7.- All: Select all the entities available in the model.
- Displayed: Select only the displayed entities in the page or window.
- Hide Displayed Notes: Select this checkbox to hide the currently
displayed notes. Upon execution of this module, the images are captured
only with new notes.

Figure 8. - Note Display Options: Select the note display style to be used.

Note: Default note settings are predefined in the HyperView session. For example, refer to the Model Info note in HyperView. - Capture Images Interactively: Select this checkbox if the images are to
be captured in interactive mode.

Figure 9.Note: You can either reset the notes, which orients the notes to minimize overlapping of notes on one another, or update the visibility of notes with respect to displayed entities or both to aid in the image capture process. - Click Execute.
- If the Capture Images Interactively checkbox is not selected, you can capture only the default image.
- If the Capture Images Interactively checkbox is selected,
the Capture Images window is displayed.Once the notes for
the specified entities are created, use the following
options to customize the output image view:
- Re-Position and Update Notes: Reposition and update the notes after modifying the orientation or zoom value of the model, or by hiding undesired sections of the model.
- Update Notes: Update the notes after hiding the unwanted sections of the model.
- Re-Position Notes: Reposition the notes after changing the orientation or zoom value of the model.
- Capture Image: Capture multiple images using this option.
- Name: Provide the name for the Entity Overview module.
Below are a few example outputs of the Entity Overview module.
- Component Overview
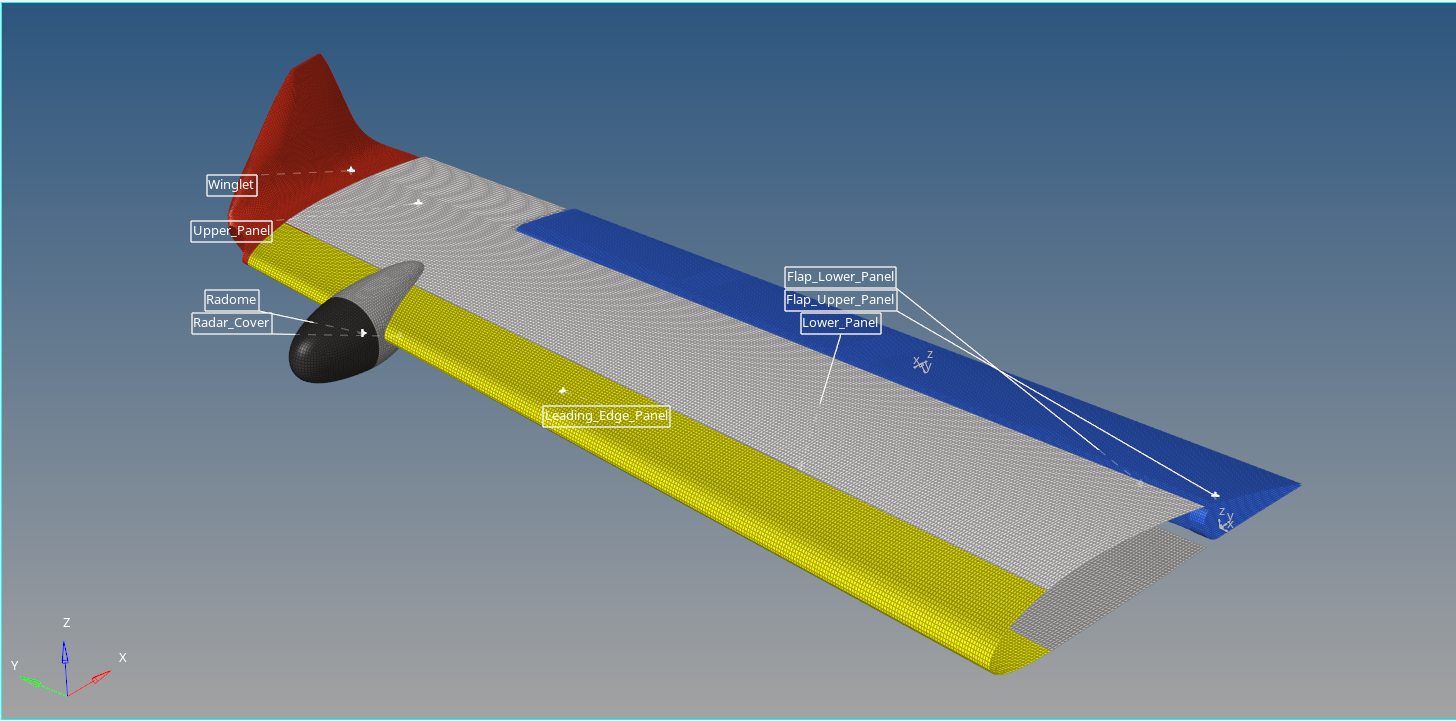
Figure 10. - Assembly Overview
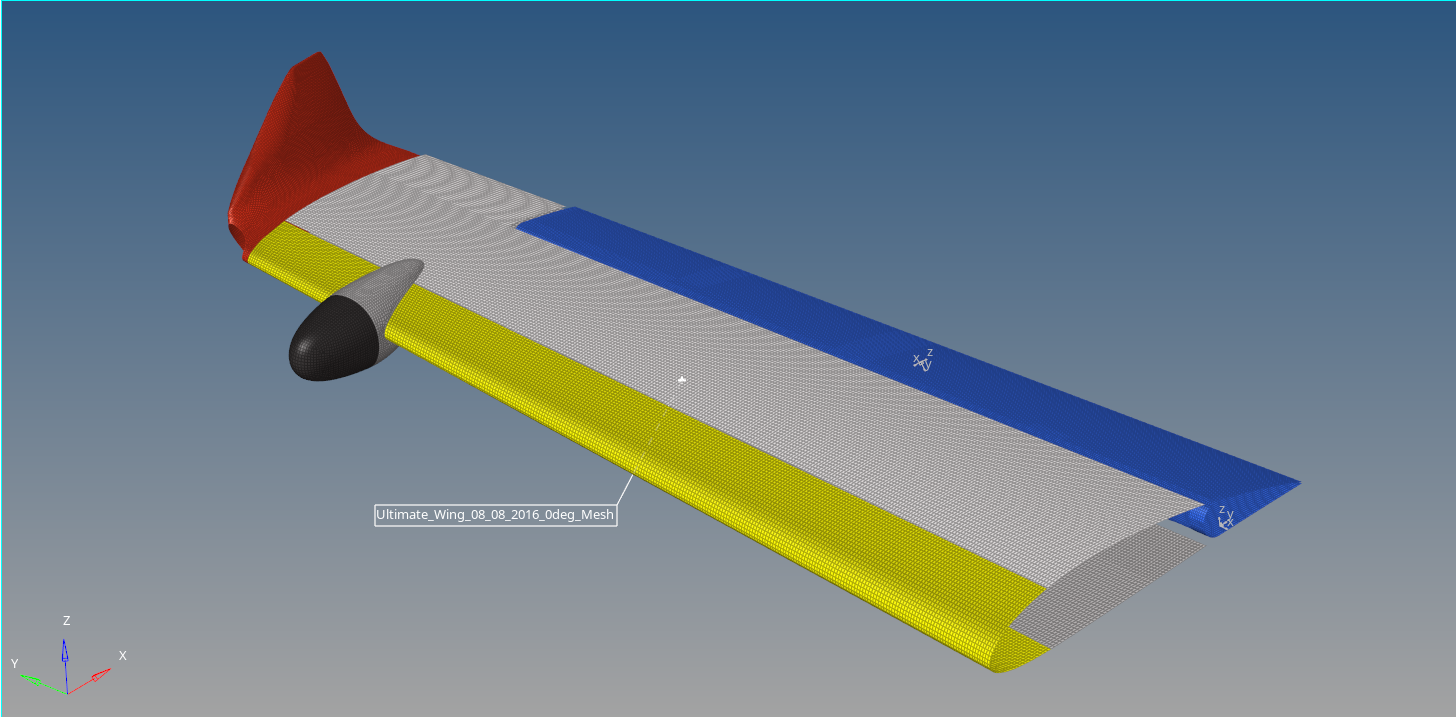
Figure 11. - Materials Overview
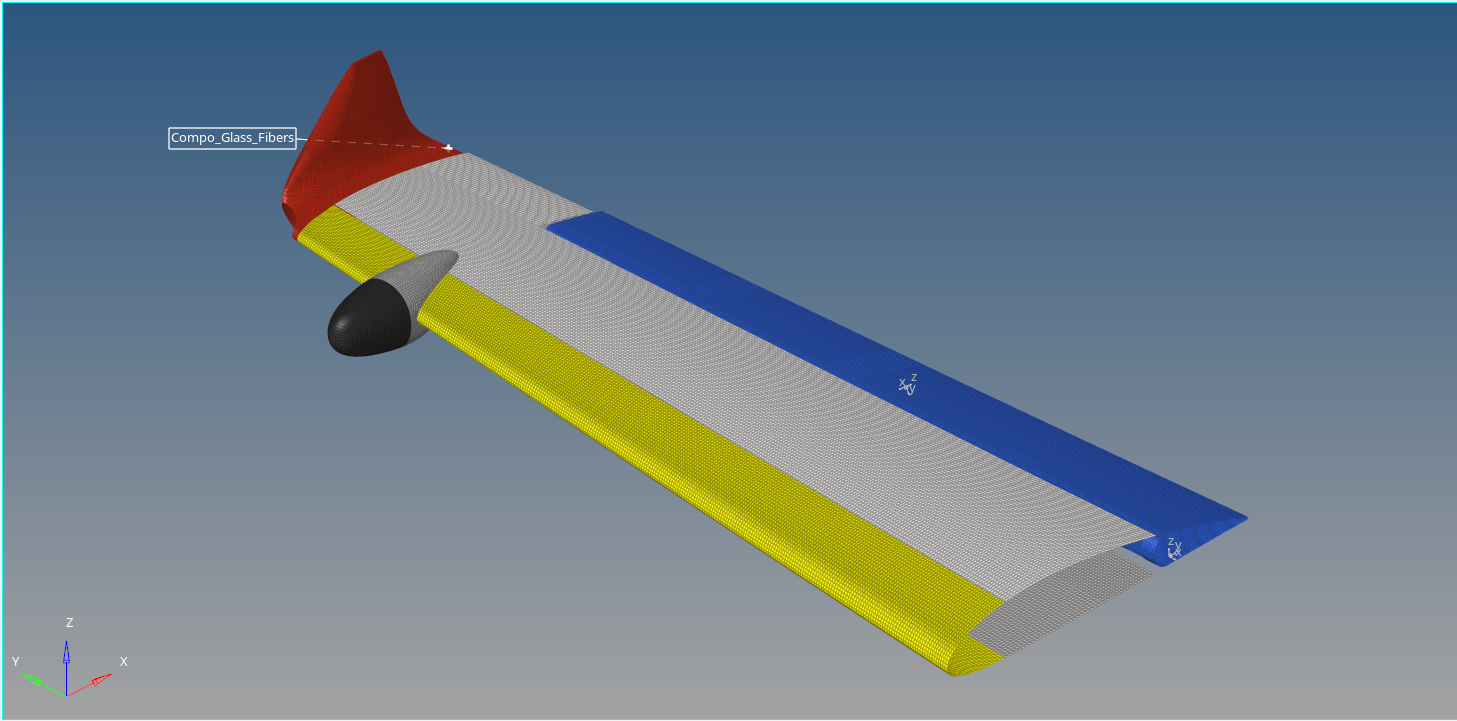
Figure 12. - Properties Overview
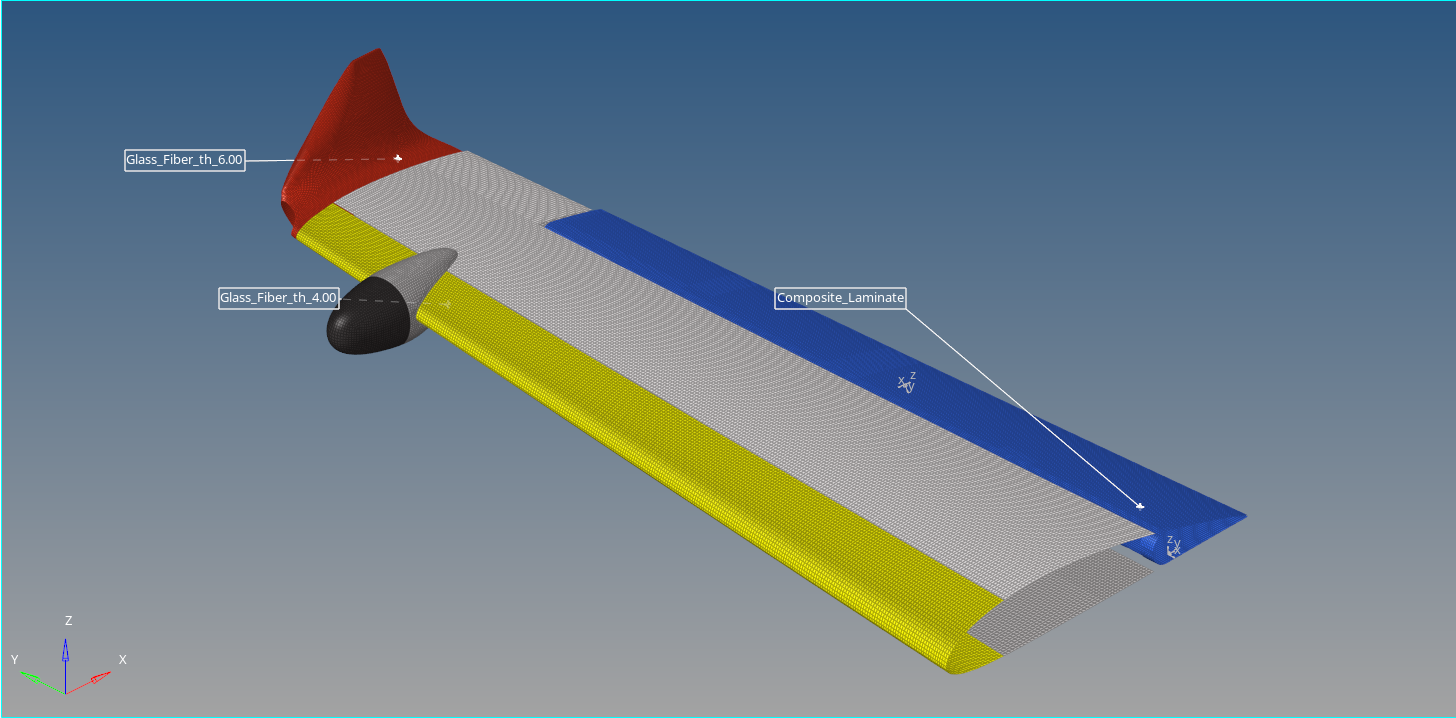
Figure 13. - Systems Overview
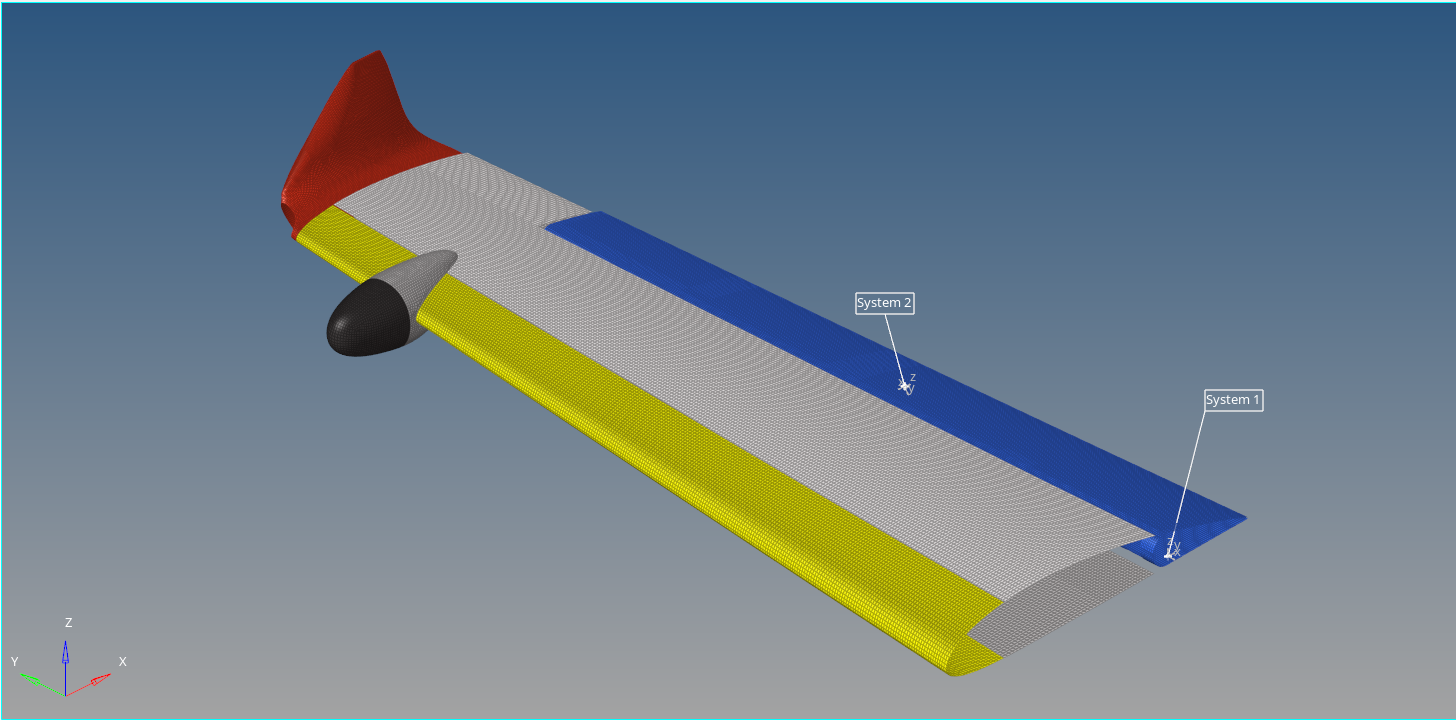
Figure 14. - Sets Overview
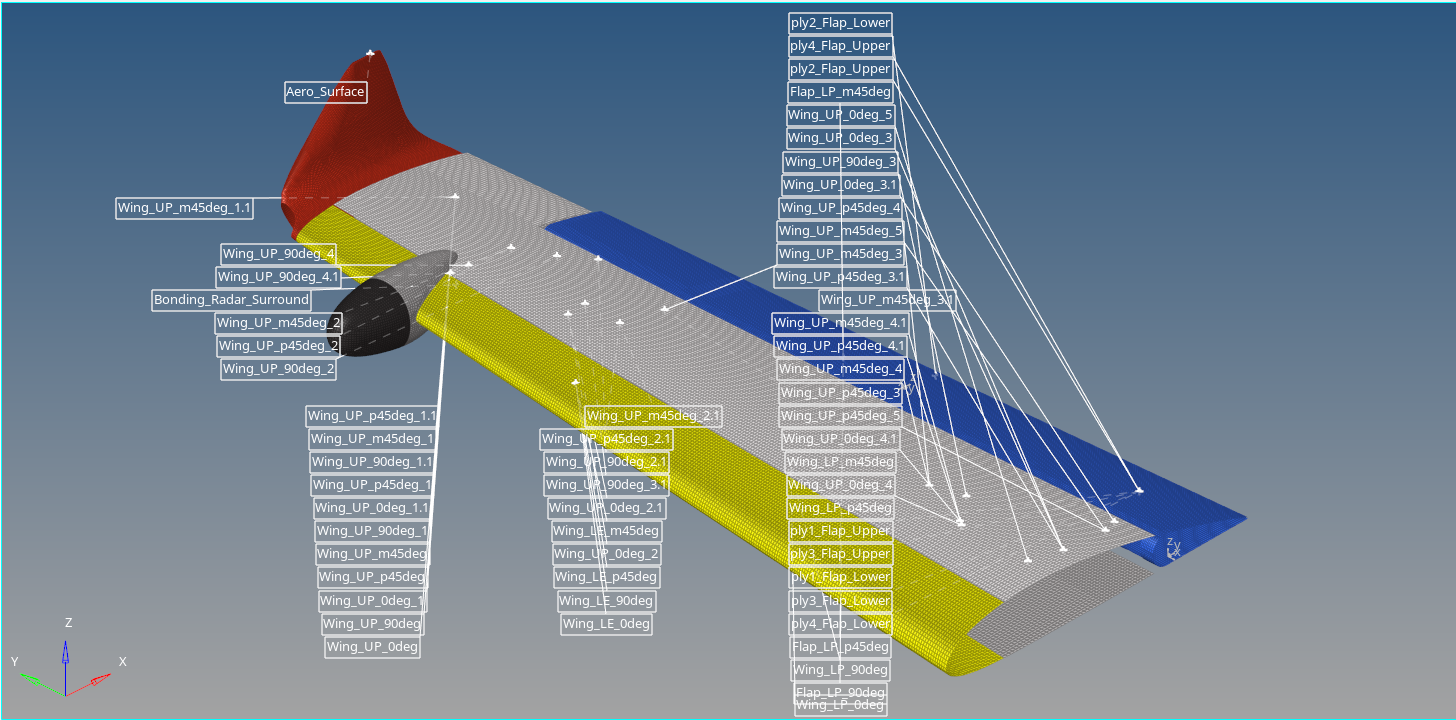
Figure 15.