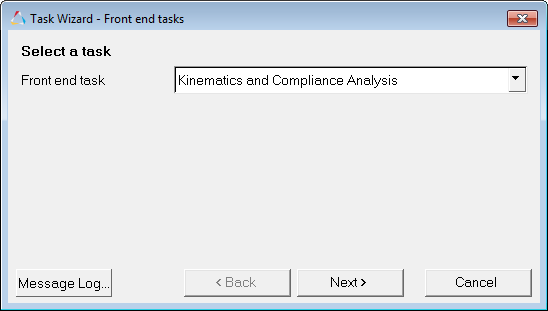
The Task Wizard dialog allows you to select the analysis tasks to be run.
The dialog displays options related to the current model in a series of panels. For
example, if you have assembled a standalone powertrain model, the task wizard only
displays powertrain analysis options. Figure 1. Task Wizard Dialog
Next
Moves to the next panel.
Back
Returns to the previous panel for review or edit.
Cancel
Closes the Task Wizard.
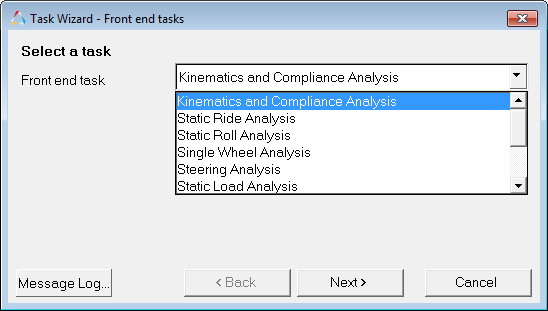
Front End Tasks
Figure 2.
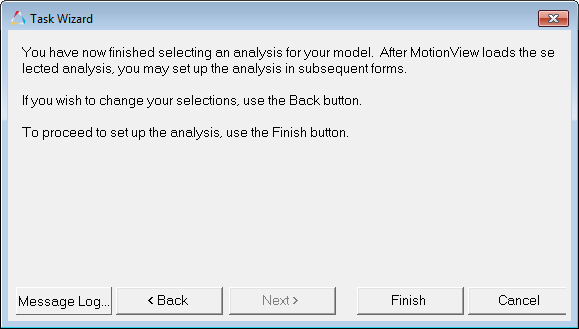
Analysis Setup
Figure 3.
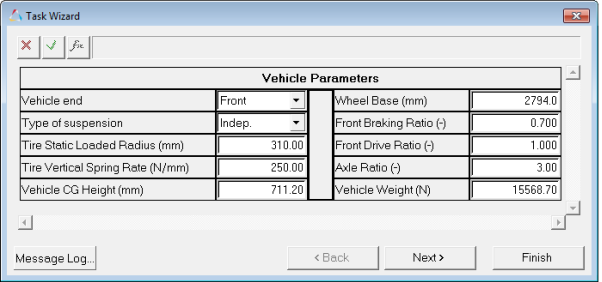
Vehicle Parameters
Figure 4.
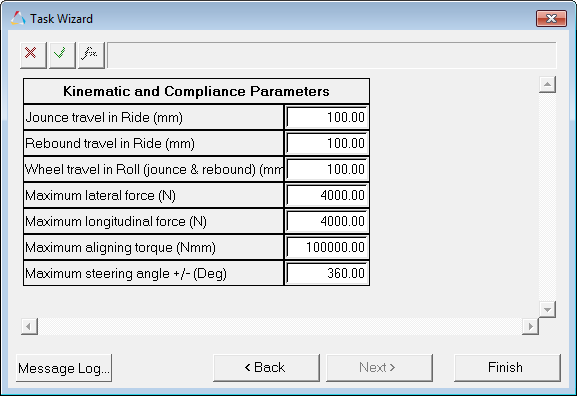
Kinematic and Compliance Parameters
Figure 5.
Additional Options and Conditions
Figure 6.
Any number of analysis tasks can be loaded into a model using the Task Wizard.
Analysis tasks are displayed in the Project Browser. The
analysis task is added to the model file when the model is saved so that it is
loaded each time you open the model file.
Add an Analysis Task
From the Model-Main toolbar right-click on the Systems/Analyses panel
icon.
Tip: You can also right-click on Model in the
Project Browser and select Manage Assemblies/Systems > Add New System
The Add System dialog is displayed.
Next to Parent:, double-click System.
The Select a System dialog is displayed.
Select a parent system from the model tree. This is the system to which you
want to add the entity.
Click OK.
The parent system name is displayed in the System field.
Enter a label in the Label: field, if you want to use a different label name
than the default.
The label name can be changed at any time.
Enter a variable name in the Variable: field, if you want to use a different
variable name than the default.
The variable name is required and cannot be changed after it is
defined.