|
»Click here to display Table of Contents«
|

Remesh |

|

|

|

|
|
Remesh |
|
|

|

|
|
»Click here to display Table of Contents«
|
Remesh |
|
|
|
|
|
Remesh |
|
|
|
|
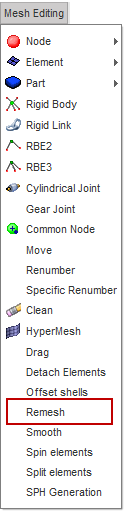
Location: From the Menu Bar, select Mesh Editing > Remesh.
The Remesh option lets you make modifications to the mesh of a model without leaving the HyperCrash user interface. The Remesh option uses the functionality, Automesh, selection by elements, from HyperMesh. For more information, see Automesh Panel in the HyperMesh User's Guide.
The following examples show you how to use Remesh:
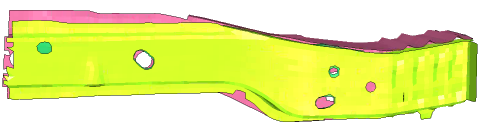
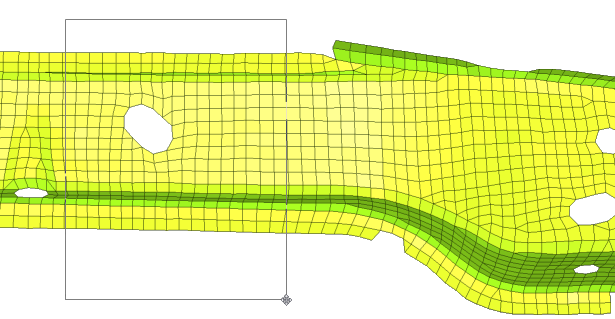
The following is an example of a model that includes several parts:
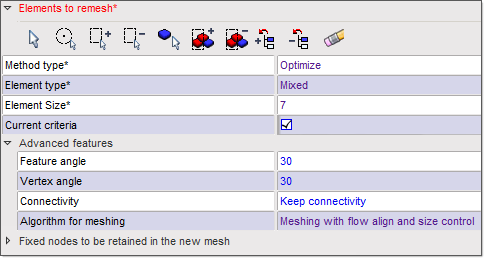
The Mesh Edit panel appears:
The following example shows an area of a part to select for remeshing:
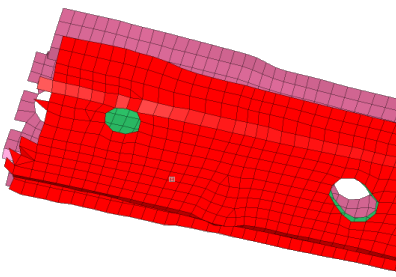
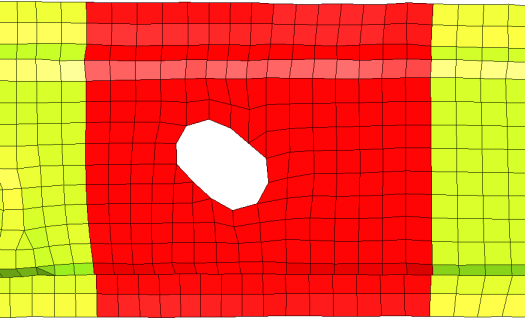
The selected elements appear in red on your screen:
The HyperMesh startup screen appears for a moment, and then disappears. Though HyperMesh is running in the background, your session remains inside of the HyperCrash environment.
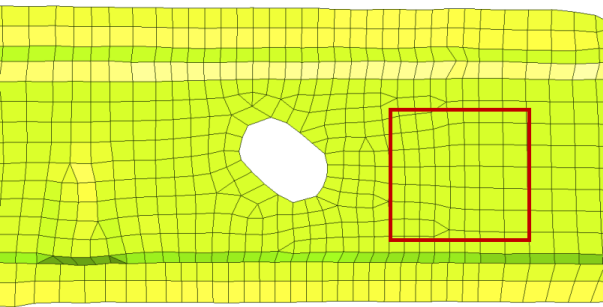
The area selected in the image in Step 4. is remeshed as below:
Notice the square outlined in red. The area in the left part of the square includes elements that were remeshed. These elements are much finer than the ones in the right area of the square, which were not remeshed.
|
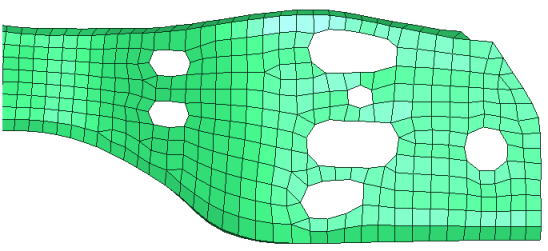
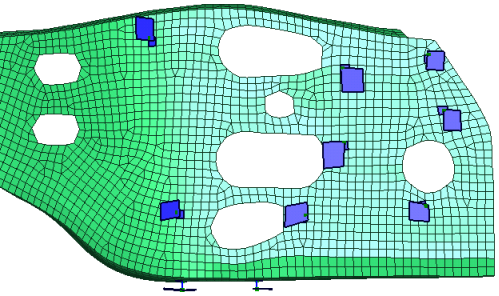
If you remesh a part of a model that includes connections to other parts, HyperCrash automatically tries to re-establish the connections during the remesh operation. The following images show a model before a remesh operation, after a remesh operation, and after a remesh operation with connections maintained between elements on the part and other elements in the model:
Before Remesh
Preview After Remesh
Remesh with Connections Maintained
|