HM-3150: Mesh a Model Using Shrink Wrap
You can use the Shrink Wrap tool to generate an enclosed volume or solid mesh. This tool is typically used to approximate and simplify an existing model.
In HyperMesh, you can shrink wrap elements, components, surfaces, or solids. The shrink wrap allows for wrapping of multiple components if they are selected. The selection provides the option to wrap all nodes, elements, components, surfaces, points, or solids, or only a certain portion of the model if desired. The input to the shrink wrap (that is, the model parts that you wish to wrap) can consist of 2D or 3D elements along with surfaces or solids.
The shrink wrap is able to stitch over very bad geometry to generate an enclosed volume mesh for tetra-meshing. The shrink wrap tool can work from elements (whether 2D or 3D) or geometry. Thus, in the case of an "unclean" geometry model with many released (free) edges, you can either generate any arbitrary mesh on the unclean geometry using the automesh functionality beforehand and then create shrink wrap or you can simply select the surface or solid without meshing the geometry first; either of these steps will yield good output mesh. The key in such cases is to ensure that the element size used for the shrink wrap is large enough to stitch over the unclean surface edge splits so that an enclosed volume can be created.
The element size affects the ability of the shrink wrap to follow the geometry of the model. The larger the element size, the more simplified the model will appear. With a smaller element size, the shrink wrap will more closely follow the model. The jacobian value for the solid mesh follows the same type of pattern. As the jacobian value gets smaller, the shrink wrap more closely follows the profile of the model. The smaller the jacobian value, the longer it takes to generate the mesh.
Shrink wrap mesh can be generated as a surface mesh, or as a full-volume hex mesh, by use of the Shrink Wrap panel. The distinction between surface or volume mesh is a check box labeled generate solid mesh.
- loose shell shrink wrap
- tight shell shrink wrap
- tight solid shrink wrap
This exercise uses the shrinkwrap.hm file, which can be found in the hm.zip file. Copy the file from this directory to your working directory.
Open the Model File
In this step you will open the model file, shrinkwrap.hm.
- Start HyperMesh Desktop.
- From the menu bar, click .
-
In the Open Model dialog, open the
shrinkwrap.hmmodel file.
Create a Loose Shell Shrink Wrap
In this step you will create a loose shell shrink wrap mesh in the loose_gap component.
-
If the model's geometry and surface edges are not shaded, click
 on
the Visualization toolbar.
on
the Visualization toolbar.
-
From the graphics area, review the surface geometry.
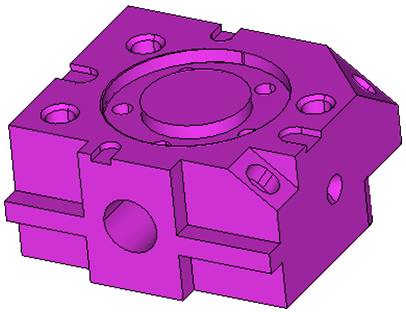
Figure 1. -
In the Model Browser, Component folder, right-click on
surfaces and select Hide from
the context menu.
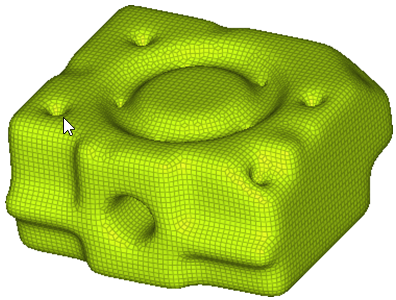
Figure 2.
Review the Solid Geometry
In this step you will review the solid geometry.
-
From the graphics area, review the model to see the features.
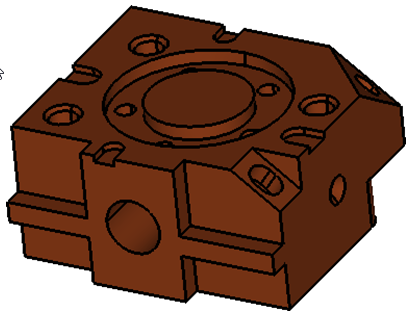
Figure 3.
Create a Loose Shell Shrink Wrap in Loose Component
In this step you will create a loose shell shrink wrap mesh in the loose component.
-
Click mesh.
HyperMesh generates the shrink wrap.
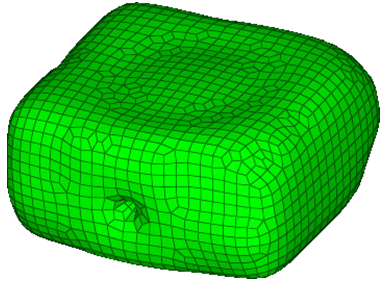
Figure 4. -
Click mesh.
HyperMesh generates the shrink wrap.
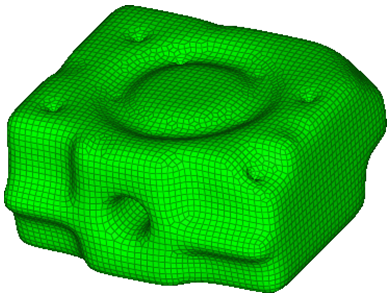
Figure 5. -
Click mesh.
HyperMesh generates the shrink wrap.
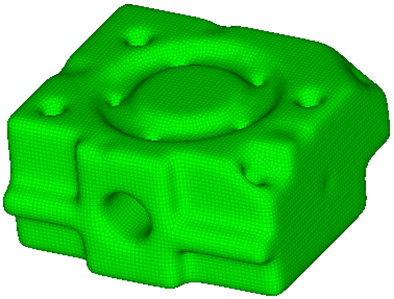
Figure 6.
Create a Tight Shell Shrink Wrap
In this step you will create a tight shell shrink wrap in the tight_shell component.
-
Click mesh.
HyperMesh generates the shrink wrap.Note: The tight mesh conforms much more closely to the model's geometry than the loose mesh did, even at the same element size.
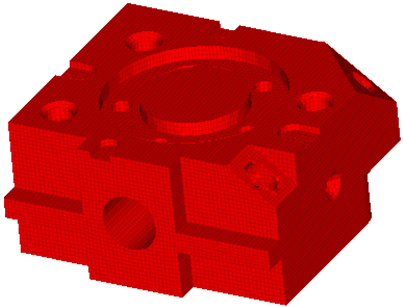
Figure 7.
Create a Tight Solid Shrink Wrap
In this step you will create a tight solid shrink wrap in the tight_solid component.
-
Click mesh.
The resulting mesh is very blocky due to the high jacobian value.
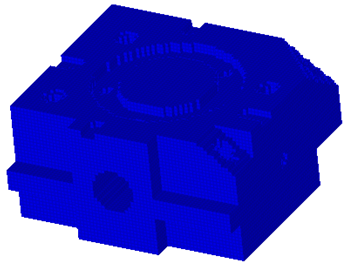
Figure 8. -
Click mesh. The shrink wrap is generated.
Note: This mesh is smoother than it was when the minimum jacobian was set at 1.0.
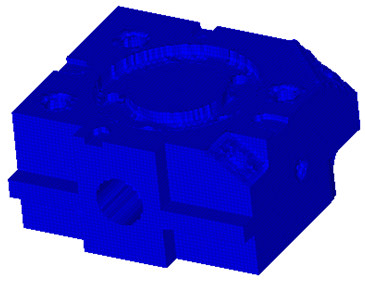
Figure 9. -
Rotate the model to verify that the mesh generation was a solid mesh, with 3D
elements throughout the model.
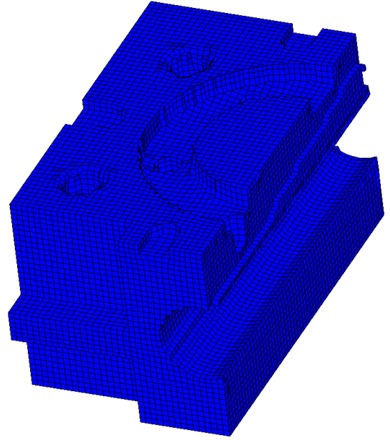
Figure 10.
Change the Optimized Mesh
In this optional step you will change the minimum jacobian to 0.3 for optimized mesh.
You should still be in the mask panel.