Material Datafile
The interface of the Materials Mapping panel when using a custom Material Database file is as shown in the figure below.
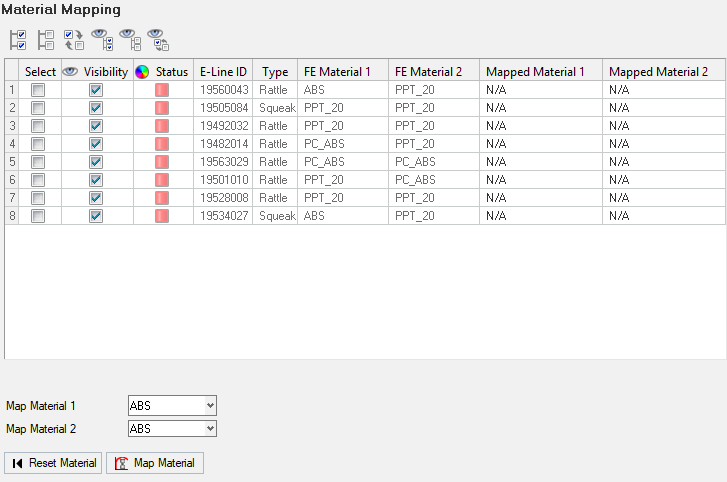
Figure 1.
The materials available in the material data file, will be available for selection in the drop down list.
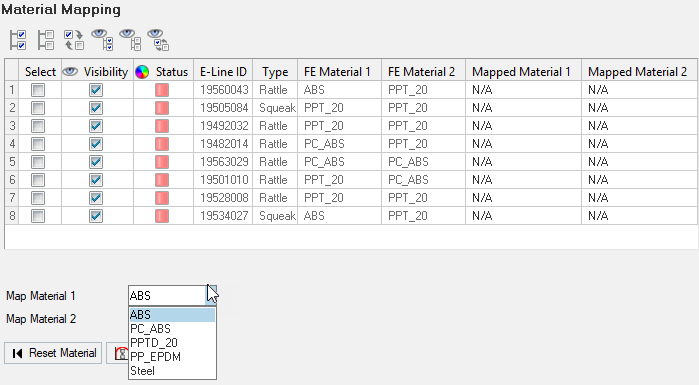
Figure 2.
Select Materials from the Material Data File
- To assign material properties to the master component, click the required material provider name from the Map Material 1 drop down list.
- Repeat the same process to select the material for Map Material 2.
- To map the materials selected in the to an interface line, click to select
the required interface line by clicking the corresponding row in the
interface lines table and click the Map Material button.
The status of the mapping is indicated in the Status column. The status color turns to green.
- Repeat these steps for all the interface lines in the model.
Reset Material Selection
- Click Reset Material.
The material selections made in the Provider, Manufacturer and Brand drop down lists will be reset for both Part1/Master Material and Part2/Slave Material.
Note: After the completion of the material mapping, you have the freedom to select
the required load case type to be setup for the model. You can select any load
case setup work flow by selection the load case buttons at the top of the
panel.
- Static -
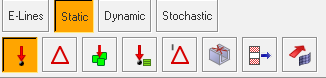
Figure 3. - Dynamic -

Figure 4. - Stochastics/DoE -
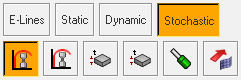
Figure 5.