Exercise 1: Define Model Data for the Head and A-Pillar Impact Analysis
In this exercise, you will become familiar with defining LS-DYNA materials, sections, and parts in Engineering Solutions. Also, you will set up model data for a LS-DYNA analysis of a hybrid III dummy head impacting on A-pillar.
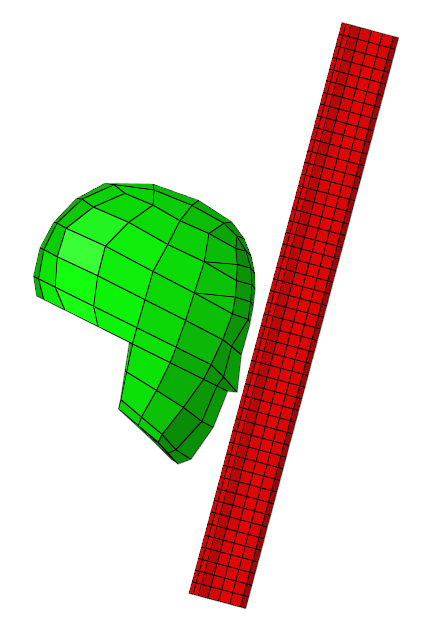
Figure 1.
Load the LS-DYNA User Profile
In this step, you will load the LS-DYNA user profile in Engineering Solutions.
- Start Engineering Solutions Desktop.
- In the User Profile dialog, set the user profile to LsDyna.
Retrieve the Engineering Solutions File
In this step, you will open the Engineering Solutions model file.
-
Open a model file by completing one of the following options:
- Click from the menu bar.
- Click
 on the Standard toolbar.
- In the Open Model dialog, open the head_start.hm file.
Define the *MAT_ELASTIC Material
In this step, you will define a new material for the A-pillar and head.
-
In the Solver Browser, right-click and select from the context menu.
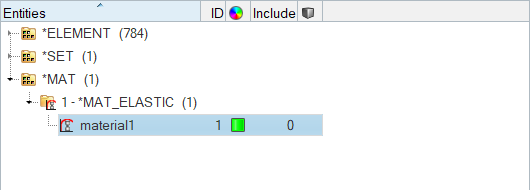
Figure 2.Engineering Solutions creates and opens a new material in the Entity Editor. -
For PR (Poisson's ratio), enter 0.26.
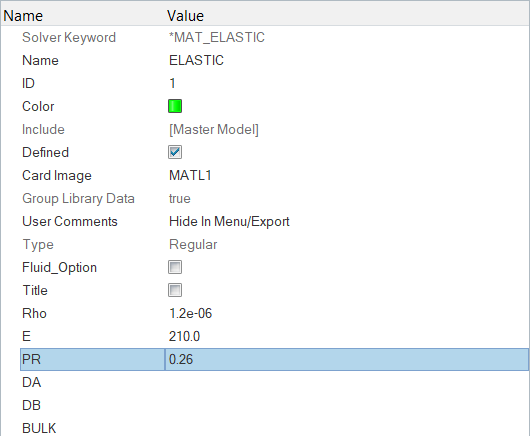
Figure 3.
Define *SECTION_SHELL
In this step, you will define a property with a 3.5 mm thickness for the A-pillar.
-
Expand NonUniformThickness, and enter 3.5 for T1.
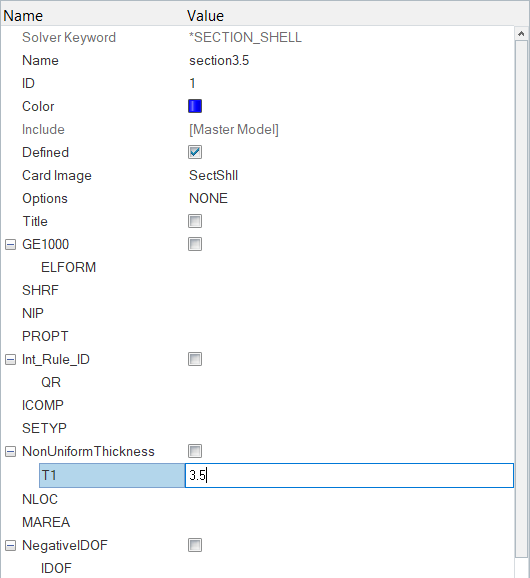
Figure 4.
Define *SECTION_SOLID for the Head
In this step, you will define *SECTION_SOLID for the head of the model.
Define *PART for the A-pillar
In this step, you will define the *PART for the A-pillar in the model.
-
In the Component folder of the Model Browser, click
pillar.
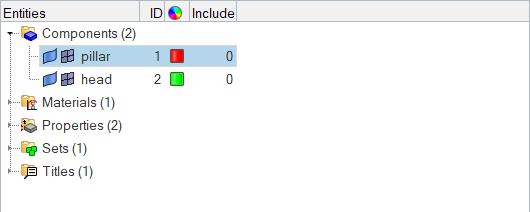
Figure 5.The Entity Editor opens, and displays the component's corresponding data. -
For Material, click .
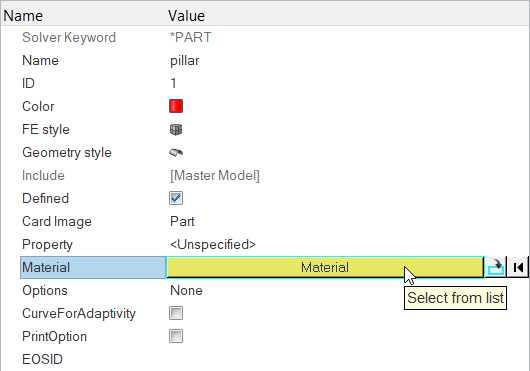
Figure 6. -
In the Select Material dialog, select
ELASTIC and then click OK.
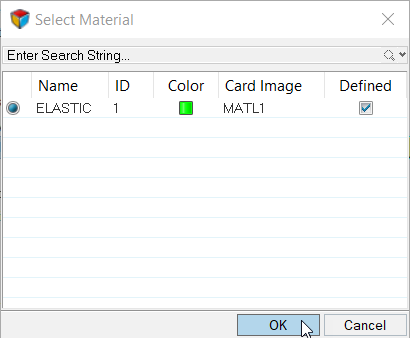
Figure 7.Engineering Solutions assigns the material Elastic to the component pillar.
Define *PART for the Head
In this step, you will define the *PART for the head of the model.
-
In the Component folder of the Model Browser, click
head.
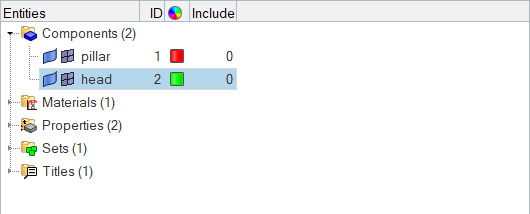
Figure 8.The Entity Editor opens, and displays the component's corresponding data. -
Set Property to solid.
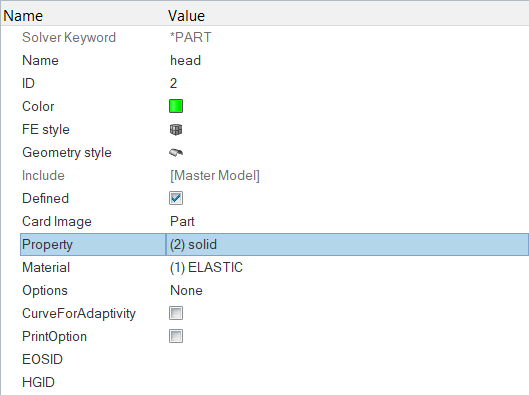
Figure 9.
Save Your Work
In this step, you will save your work.