Drawing Buildings
Trace building outlines on the imported aerial photograph to draw buildings.
-
Trace the building in the X/Y window using one of the following
workflows:
- On the Objects menu, click .
- On the Objects toolbar, click
the
 Add Polygonal Objects icon.
 - Press F7 to use the keyboard shortcut.
-
Repeat Step 2 to
Step 4 and trace
multiple buildings.
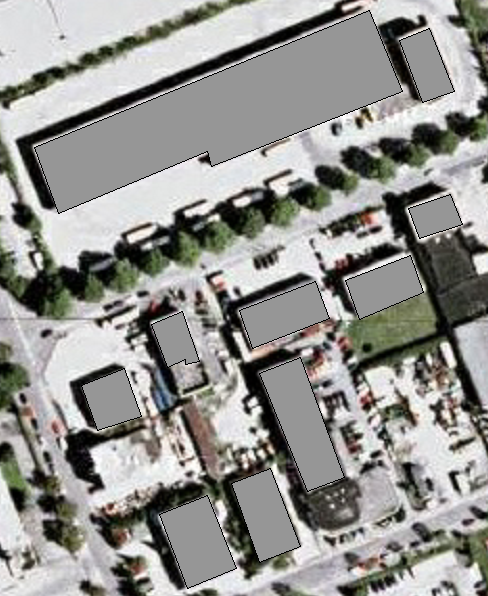
Figure 1. Drawn buildings are indicated in grey. -
Exit the draw mode using one of the following workflows:
- On the Objects menu, click .
- On the Objects toolbar, click
the
 Select Object icon.
 - Press F10 to use the keyboard shortcut.
-
Select the building by clicking on the outline of the building.
A selected object is indicated in red.
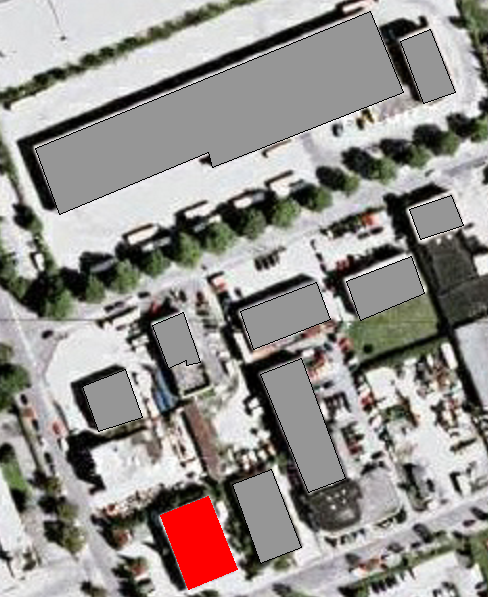
Figure 2. A selected building is indicated in red. -
Right-click on the selected building and from the right-click context menu, click Properties.
The Object Properties dialog is displayed.
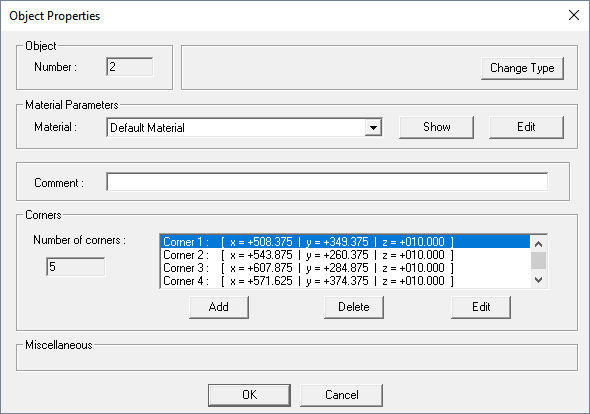
Figure 3. The Object Properties dialog. -
Under Corners, select a corner and click
Edit to modify the height of the buildings.
Note: You can modify the height of any corner to change the height of the building.
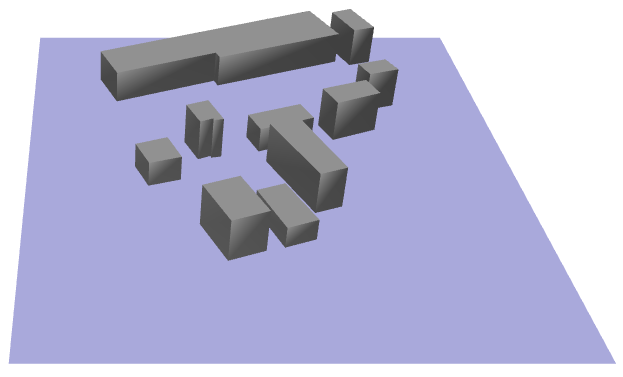
Figure 4. The 3D view of the buildings after their heights were modified. The aerial photograph was hidden for demonstrative purposes.