Create an HDRI in Altair Inspire Studio
Create your own HDRI directly in Inspire Studio and use it as an environment map to truly customize the lighting in your scene.
- On the ribbon, click the Rendering tab.
-
Click the Environment icon.

- If you don't want the HDRI to be visible in the final rendering, select Ground. This is what we did for the examples below.
- Click the Maps tab.
- Set the Illumination, Background Map, Reflection Map, and Refraction Map to None.
-
On the Rendering tab, click the Camera/Rendering
icon.

- In the Control Panel, on the Camera tab, select 360° Panoramic. (Use the default rendering settings for all other parameters.)
-
On the Rendering tab, click the Render Image icon. Inspire Studio automatically connects with and opens
Darkroom.

- In the Image Browser at the bottom of the window, click the image.
- Click Export as.
- Select the output format HDRI (.hdr) before saving your file in the desired location.
Examples of HDRIs
 Figure 1. Example 1: HDRI created in Inspire Studio
 |
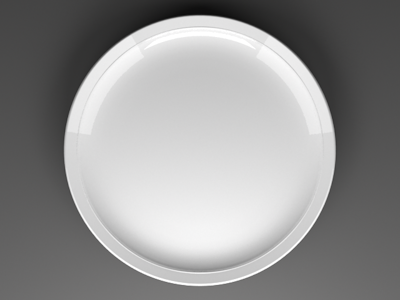 Figure 2. Example 1: Final Rendering Using the HDRI created in
Inspire Studio
Figure 2. Example 1: Final Rendering Using the HDRI created in
Inspire Studio |
 Figure 3. Example 2: HDRI created in Inspire Studio
 |
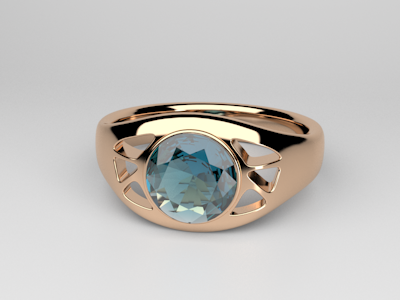 Figure 4. Example 2: Final Rendering Using the HDRI created in
Inspire Studio
Figure 4. Example 2: Final Rendering Using the HDRI created in
Inspire Studio |