Tutorial: Motion Contacts and Force Explorer
Create a motion contact between multiple parts and visualize forces using the Force Explorer.
In this lesson you will learn how to:
- Create a motion contact between multiple parts
- Run a motion analysis
- Visualize forces using the Force Explorer
- Modify the contact to include friction
- Individualize a contact
- Plot motion contact results
- Save a model with motion results
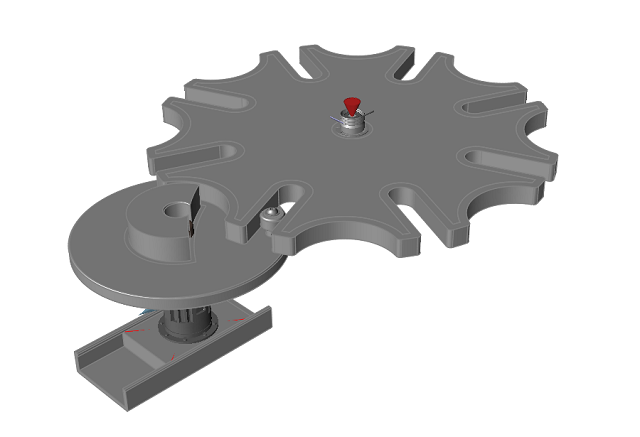
Open the Altair Inspire Model
-
Double-click the M07_GenevaWheel.stmod file in the Motion
folder to load it in the modeling window.
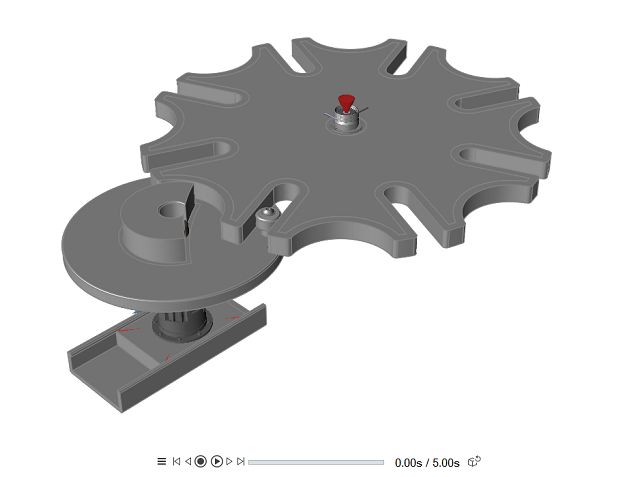
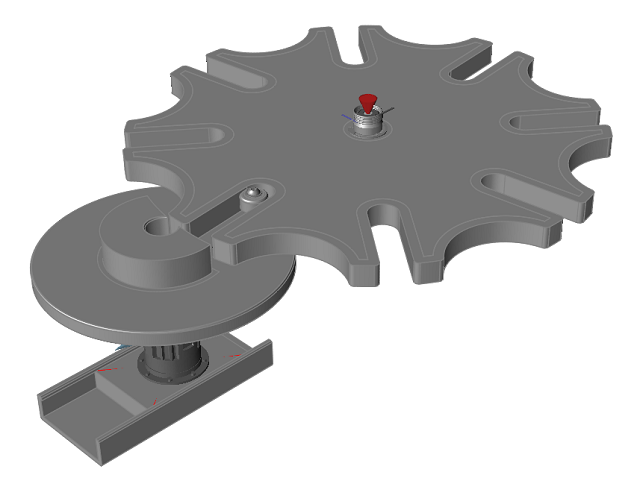
Run Motion Analysis to View Mechanism Behavior
-
Click the Quick Run button on the Analyze Motion tool to
see the model in motion, and let the model run to completion.

The striker part passes right through the Geneva wheel because the contact between the parts has not been defined yet. The slider pulls away from the Geneva wheel after a while.
-
When the analysis has finished, click the
 icon
on the animation toolbar to play back the motion results.
icon
on the animation toolbar to play back the motion results.
-
Right-click in the modeling window, or left-click the Review Motion
Results tool to exit review mode.

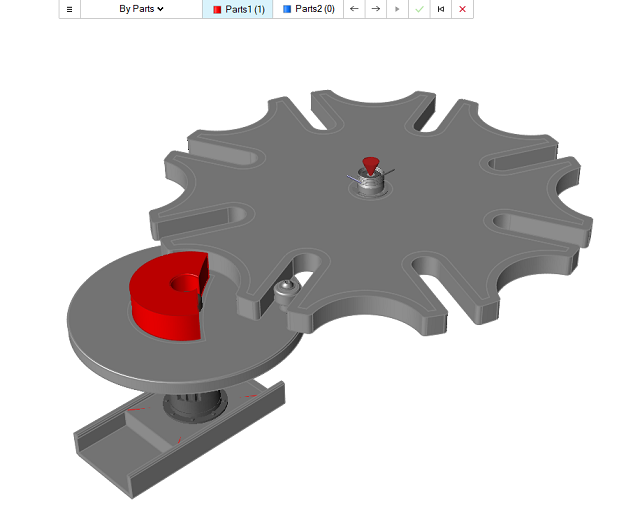
Create a Motion Contact Between Three Parts
-
Click the motion Contacts tool.

-
Click the Cam part.
The part turns red, and the Parts1 button now has a count of (1) part.
-
Click the Striker part.
It turns red and the Parts1 count is incremented to (2).

-
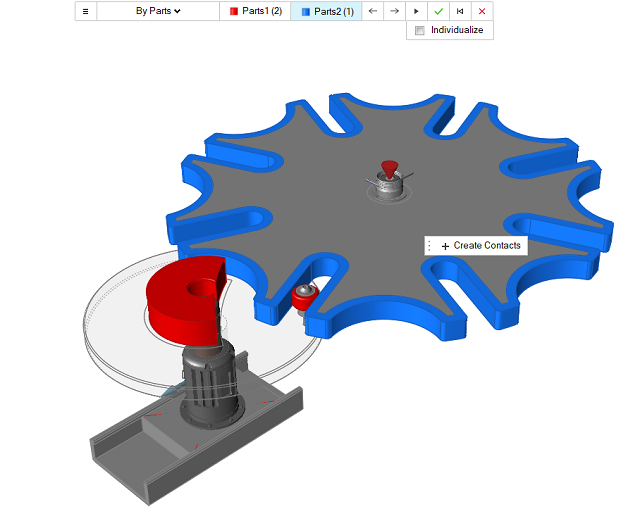
Click the Geneva Wheel Partition 2 part at the periphery
of the Geneva wheel assembly.
The part turns blue, and the Parts2 button now has a count of (1) part.
-
Click the
 button. One contact is created as shown in the
counter on the ribbon, and you are placed in edit mode.
button. One contact is created as shown in the
counter on the ribbon, and you are placed in edit mode.
Run a Motion Analysis with the Motion Contact Defined
-
Click the
 icon in the view
controls.
icon in the view
controls.
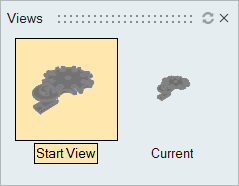
-
Click the stored view called Start View, then close the
Views window.
-
Click the Quick Run button on the Analyze Motion tool to
see the model in motion. Let it run to completion, but do not exit review mode.
This time the parts are not passing through each other, and you are seeing 3D
contact behavior.
Review Motion Analysis Results Using the Force Explorer
-
Change the Time on the animation toolbar to
0.30 s by entering a value in the field or by
dragging the slider bar.

-
Click Run on the Motion ribbon, and then click
Force Explorer.
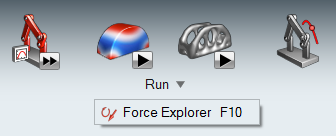
The Force Explorer appears. To undock the Force Explorer, click the title area and drag to the graphics area.
-
Press F to fit the model in the view.
-
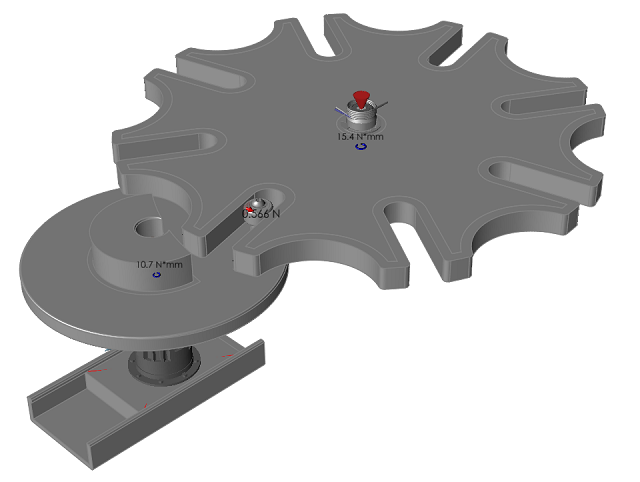
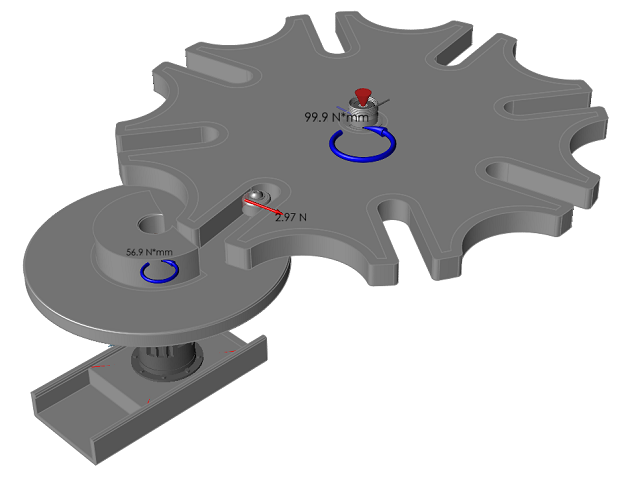
Press the Play button on the animation toolbar. Notice
how the contact forces and torques in the motor and torsion spring develop as
the Geneva wheel is indexed around its axis.
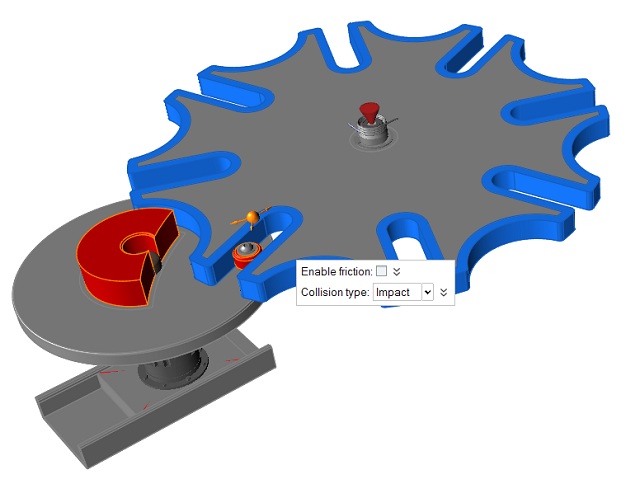
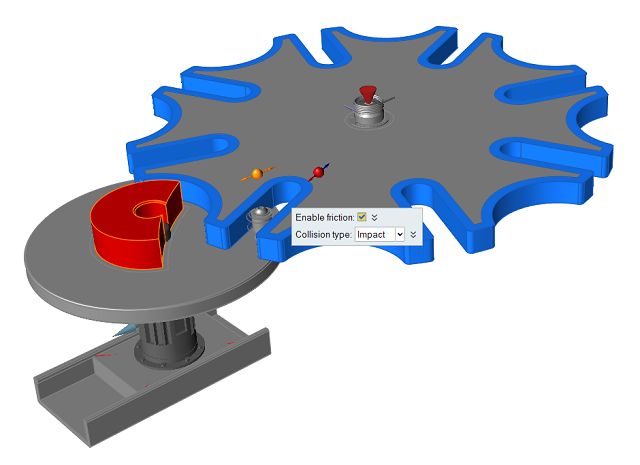
Edit the Motion Contact to Include Friction
-
Hold Ctrl while clicking the motion
Contacts tool. This puts you in edit mode for Motion
Contact 1.
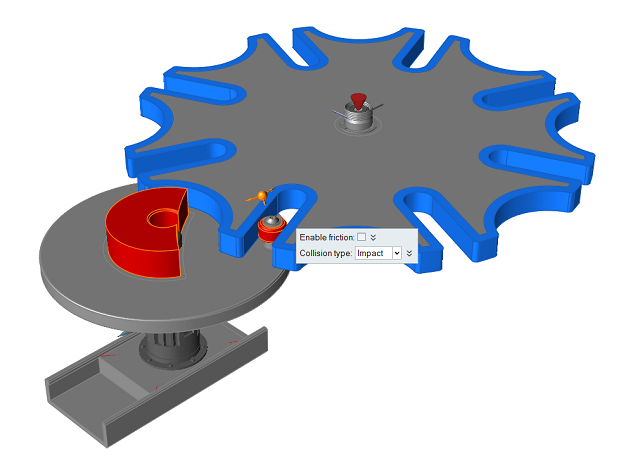
The contact is selected in the Model Browser, and the red and blue contact pairs are shown.
 Tip: Alternatively, you can enter edit mode while in the motion Contacts tool by selecting a contact in the Model Browser or selecting the motion contacts glyph in the modeling window.
 -
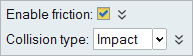
Select Enable friction.
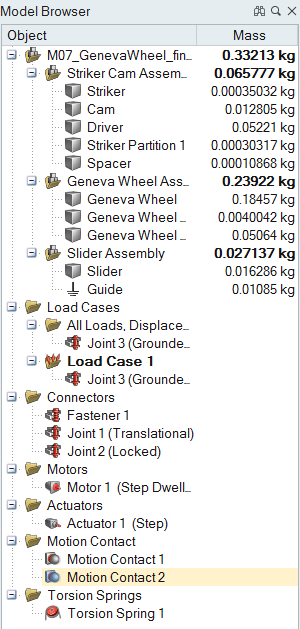
Individualize the Motion Contact
-
Click the Individualize check box on the guide bar and
click the button.

The counter on the Contacts icon now reports that there are two contacts in the model. This operation separates the single contact between three parts into two contacts between two part pairs. The reason that you would individualize contacts is to plot the motion contact results for each contact pair.
-
Click the arrow buttons
 on the guidebar to navigate
between each contact pair.
on the guidebar to navigate
between each contact pair.
Run a Motion Analysis and Animate the Results
-
Click the Quick Run button on the Analyze Motion tool to
see the model in motion, and let the analysis run to completion.
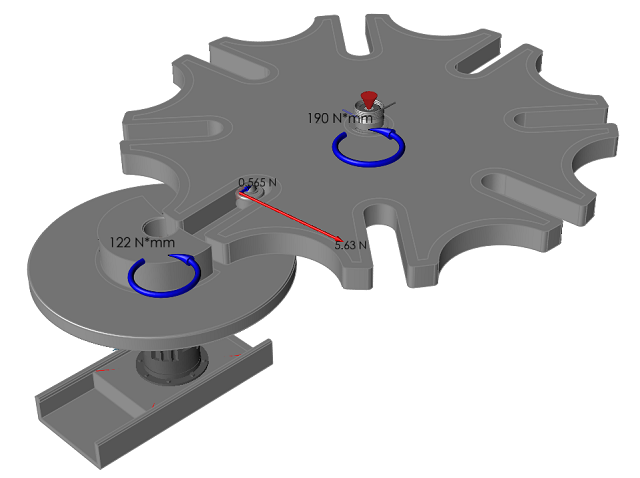
-
The force vectors at the contact regions now show the tangential component
(representing the friction) with straight blue arrows and the normal force
component in red.
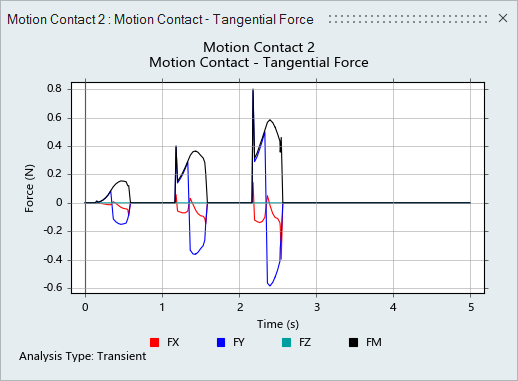
Plot Motion Contact Results
-
In the Model Browser, click Motion Contact 2.
-
Right-click the plot again, then click Pop Out.
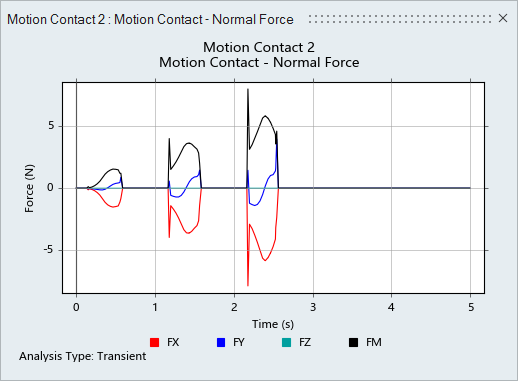
-
Right-click the plot, then click Tangential Force.
Save the Model with Motion Results
-
Select and save the model as
M07_GenevaWheel_wResults.
