Add/Edit Nozzles
Add or edit a nozzle system that includes travel paths or stationary points for releasing the foaming chemicals into the mold, nozzle size, foam injection direction, mass flow rate, and material-flow start and end times.
-
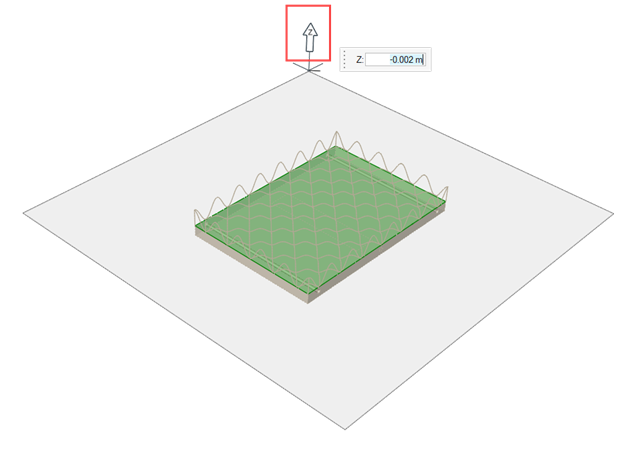
Click the Nozzle icon.

A plane appears for you to define the location of the nozzle relative to the part. -
Adjust the plane with the Move tool or enter the value in the
microdialog.
Tip: Zoom out on your model if the Move tool is hidden from view. Alternatively, click once outside of the part on the plane.
-
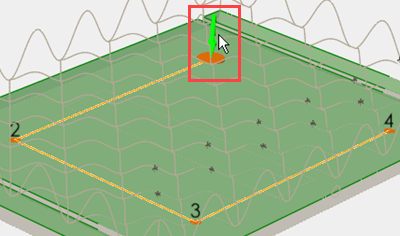
To modify the location of a point, click the Move button
 for the point in the table.
-
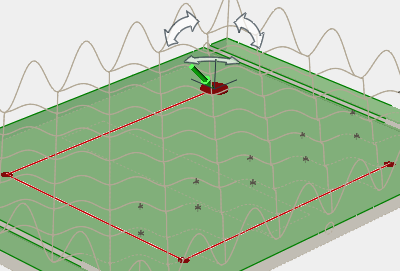
To modify the foam injection direction for a path or point, double-click the
green arrow.
-
Click and drag the arrows of the Move tool to change the injection direction or
enter new coordinates for the X, Y and Z directions in the microdialog.
-
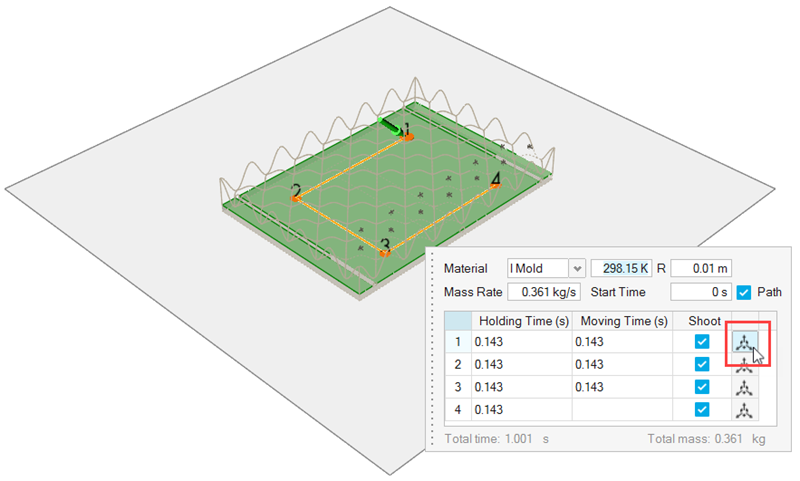
After defining the nozzle path, points, and injection direction, define the
remaining parameters in the dialog for the foaming material and injection
process.
Parameter Description Material Select a foaming material from the menu. Temperature Enter the temperature of the selected foaming material. R Enter the radius of the nozzle. Mass Rate Enter the mass rate (Flow rate * density) for the material. Start Time Enter the start time for the material to flow. Path Select the check box to create a nozzle path, rather than a stationary point. Shoot Select to open the shoot and enable material to flow from the nozzle into the mold. Clear to close the shoot and stop the flow. Holding Time Enter the time that the nozzle should remain on the path point. Moving Time Enter the time for the nozzle to move from one point to the next on the path. Do this for each point in the table. Move Point Use the Move tool to change the location of a point.