Continuous Temperature/Displacement Mapping Example
This task is an example of how to map fields.
Continuous temperature or displacement mapping from a results file to a new
model.
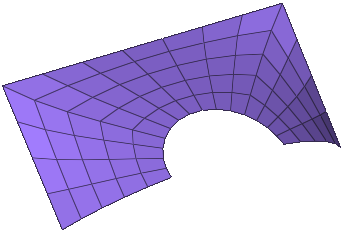
Import the model containing the new mesh into HyperMesh.
Figure 1.
In the Model Browser, right-click and select Create > Field from the menu.
In the Entity Editor, edit the field's corresponding
attributes:
Set Type to continuous.
Set System Type to real.
Set Source to results.
In the File field, locate the results file with temperatures or
displacements. Results files can be of type .opt,
.odb, .xdb, or any
HyperView results file.
In the Model Browser Field folder, right-click on the
field entity and select
Realize from the menu.
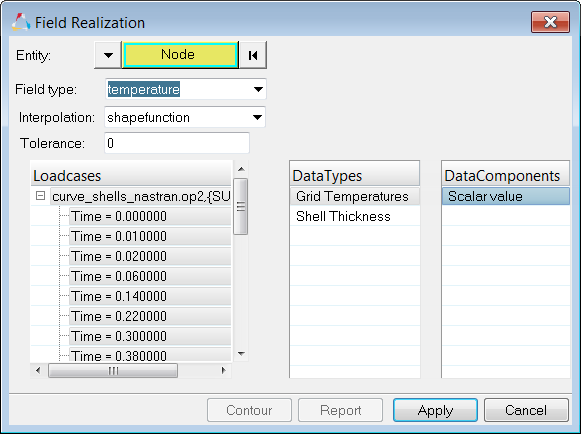
In the Field Realization dialog, define the realization
settings:
Figure 2.
With the Entity selector set to Node, select the target nodes (nodal
temperature loads) that you would like to map.
Set Field Type to temperature.
Set Interpolation to shape function.
Under Loadcases, select the loadcases you would like to transfer. Each
load case selection will create a new load.
Under DataTypes, select the temperature.
Under DataComponents, select scalar values or displacement x, y, and z
values.
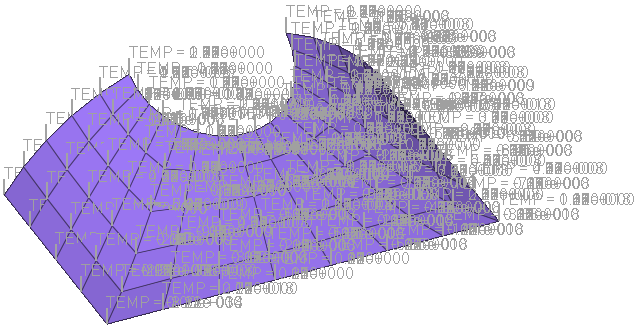
Click Apply.
Temperatures from the result file are now mapped to the new
mesh. Figure 3.
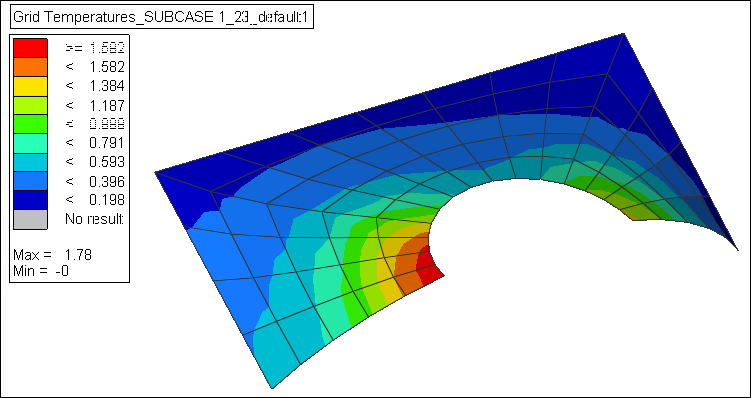
Click Contour to view the contour for each load case
(select the correct load case).