Submit a Job by Selecting an Input File
Submit a job by selecting a job input file from your project folder in Windows Explorer.
-
From the context menu, select Process with.
A list of solvers and saved job profiles along with the server name specific to the file type of the job input file are displayed.
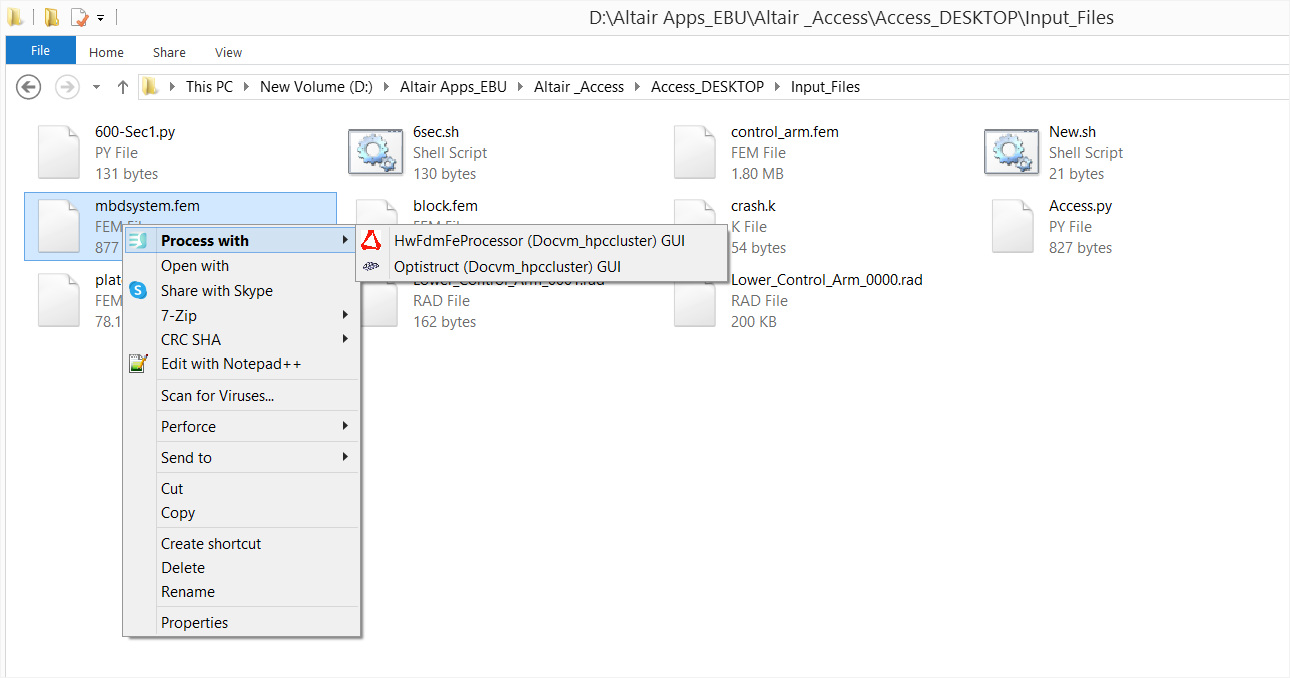
Figure 1. Solvers and Job Profiles Specific to the Job Input File Type - Click Submit.
The job is submitted and a notification is displayed providing the status of the job.
Tip: If the file is taking too long to upload or if you provided a wrong input file for the job, then you can cancel the file upload by clicking associated with the job and click
Remove from the context menu.
associated with the job and click
Remove from the context menu.
A job is submitted using an input file with the name
"file_name" in the format yyyy-mm-dd_hh-mm-ss. The
folder that is created is named "file_name_yyyy-mm-dd_hh-mm-ss".