Importing Geometry from a .DXF File
Import geometry representing a city from a .dxf file. Convert the geometry to a WinProp format.
-
Under Format of source file, in the Selection
of import filter
drop-down list, select AutoCAD (*.dwg,
*.dxf).
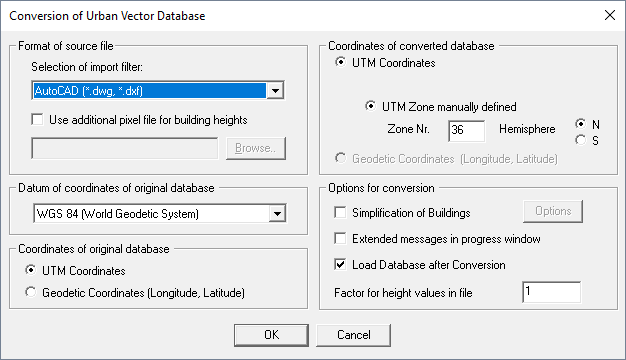
Figure 1. The Conversion of Urban Vector Database dialog. -
Specify the file name as Frankfurt.odb1 and click
Save.
The AutoCAD Conversion Settings dialog is displayed.
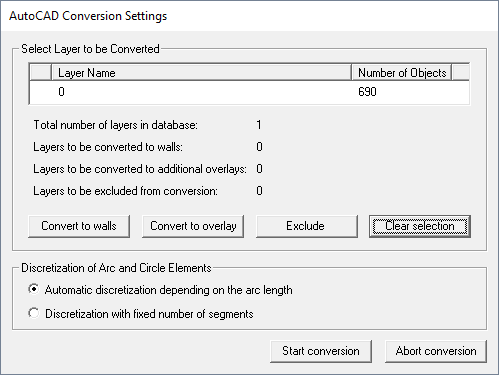
Figure 2. The AutoCAD Conversion Settings dialog. -
Under Select Layer to be Converted, click
Convert to walls.
The
 icon is displayed in column 1
for layer 0.
icon is displayed in column 1
for layer 0.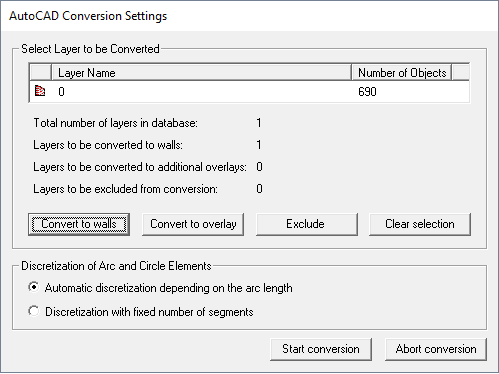
Figure 3. The AutoCAD Conversion Settings dialog with layer 0 converted to walls. -
Click Start conversion to convert to WinProp format.
The 2D object found dialog is displayed.
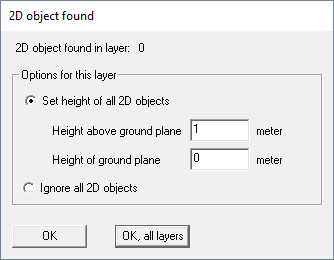
Figure 4. The 2D object found dialog.Note: The .dxf file for this example only contains 3D objects (no 2D objects). -
Click OK to close the 2D object
found dialog.
The Conversion of database finished... message is displayed.
Figure 5. The Conversion of database finished... message. -
Click OK to close the message.
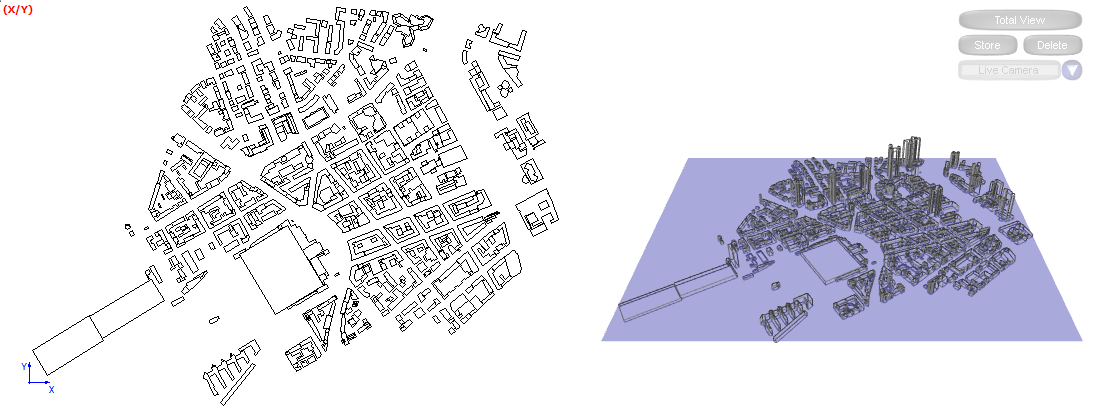
Figure 6. Top view of Frankfurt (on the left) and 3D view (to the right).
1 Project3_Urban_Scenario\Database\Frankfurt.dxf