Create Section Cuts
Create and view 2D section planes of your model.
-
From the View Controls toolbar, click
 .
A transparent section plane preview appears.
.
A transparent section plane preview appears. -
Drag the section plane to reposition it, or use the microdialog options to move, align, or flip the section
plane.
- By default, one side of the model is hidden. Click
 to hide both sides of
the model and show only the section plane.
to hide both sides of
the model and show only the section plane. - Reverse which side of the model that is hidden by clicking
 .
. - Translate or rotate the section plane using the Move tool by clicking
 . After
positioning, right-click to exit the Move
tool.
. After
positioning, right-click to exit the Move
tool. - Align the section plane to the x, y, or z-axis by clicking
 .
. - Reposition the section plane to the model center by clicking
 .
.
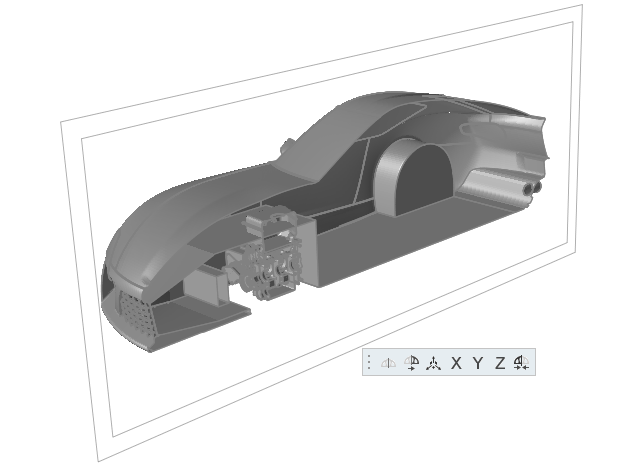
Figure 1. - By default, one side of the model is hidden. Click
-
In the Section Planes dialog, click
 to create additional
section planes.
to create additional
section planes.
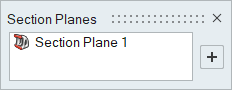
Figure 2.
Tip: Using the right-click context menu in the Section
Planes dialog to show/hide, delete, and rename section planes.
Keyboard Shortcuts and Mouse Controls
| To do this | Press |
|---|---|
| Hide a selected section cut | H |
| Add to or remove from a selection | Ctrl |
| Exit the tool | Esc or right-click |