Tutorial: Rendering
Learn about the basics of rendering: materials, labels, and lighting.
In this lesson you will learn how to:
- Apply materials from the Material Library
- Create custom materials
- Position textures
- Work with labels
- Create custom lighting environments using emitters
- Modify the default environment
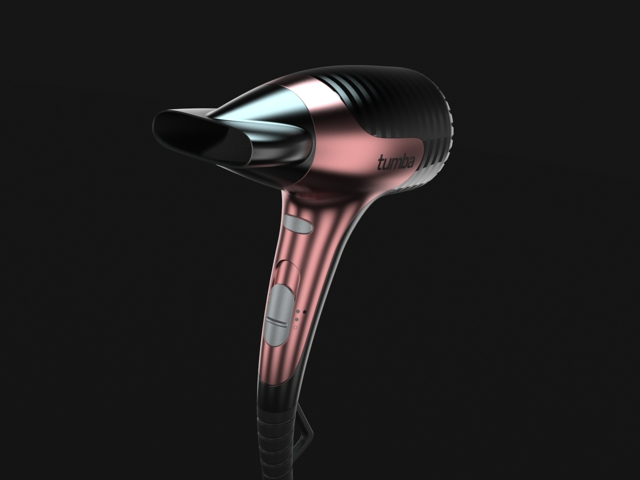
Open the File
Add Cameras
Add Materials
There are several ways to apply materials to objects in Inspire Render:
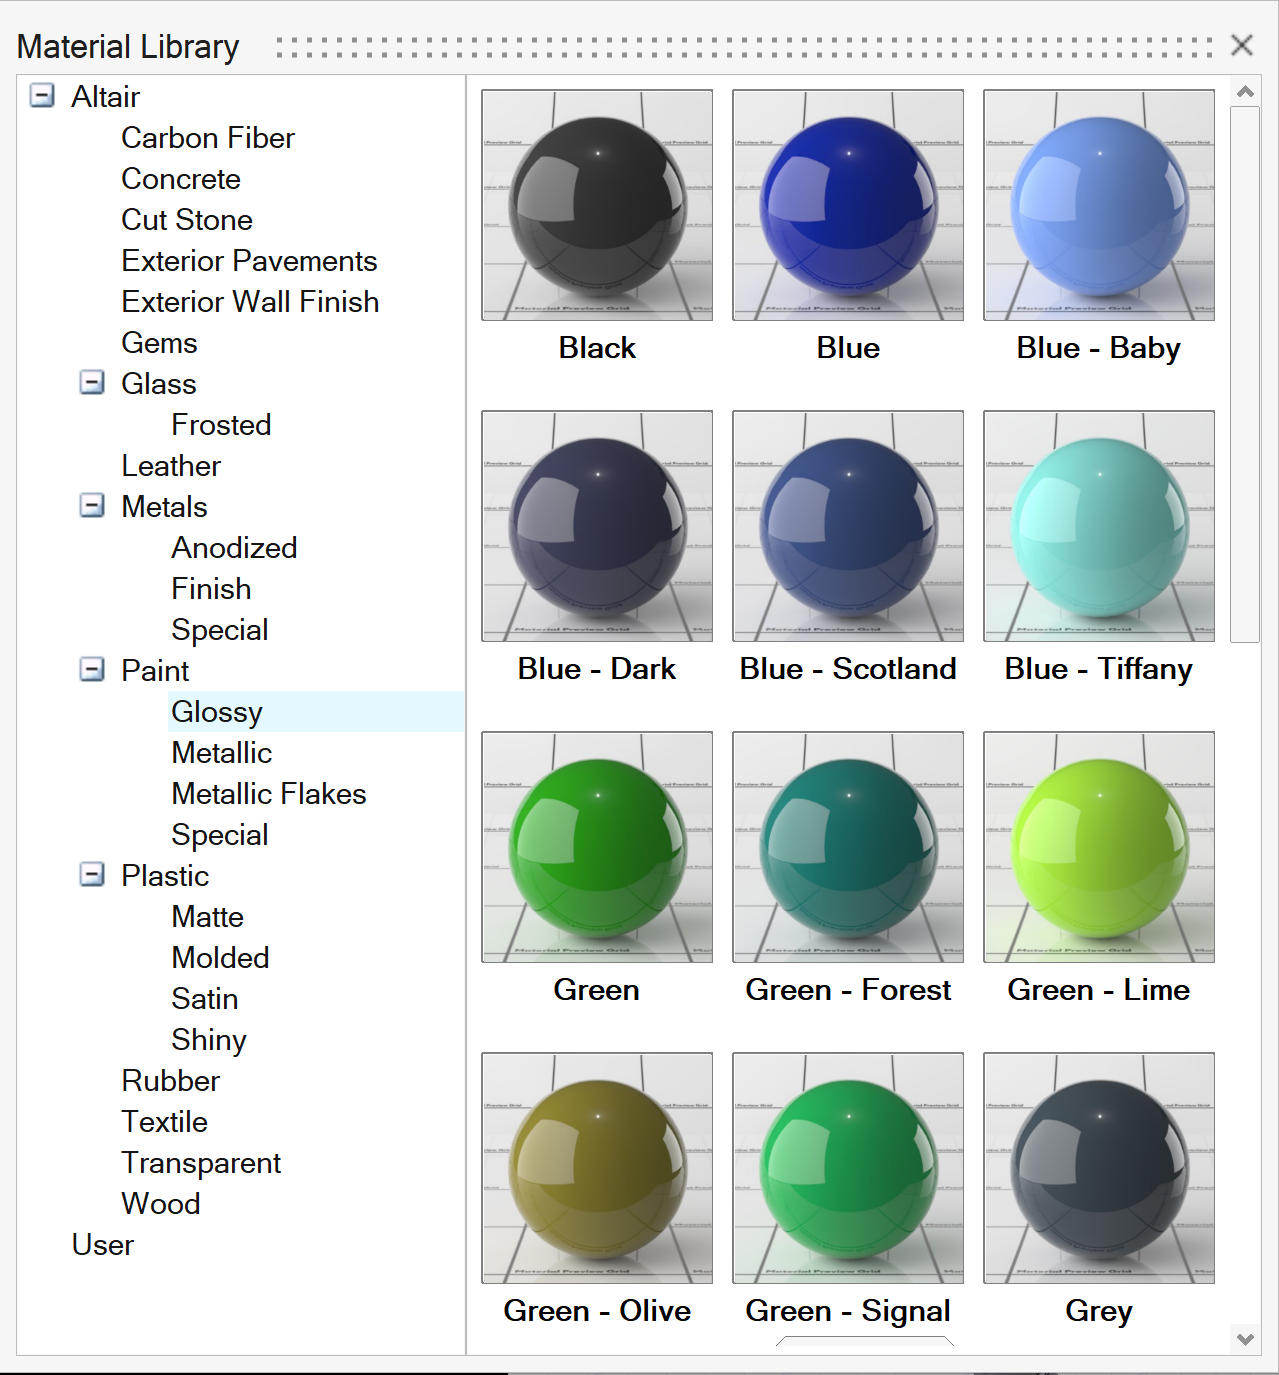
- Select preset materials from the built-in material library.
- Create simple materials.
- Create custom materials using different color, texture, and map combinations.
Apply a Customized Material from the Library
First, let's see how to apply a preset material and edit the color and roughness.
Now let's customize the preset material by editing the default material properties.
Apply the Saved Material to Other Objects
The Anodized Rose Gold material is now ready to be applied to other surfaces.
Create a Simple Material
Next, we will look at creating a simple material.
Clone a Material
Add More Materials to Other Parts
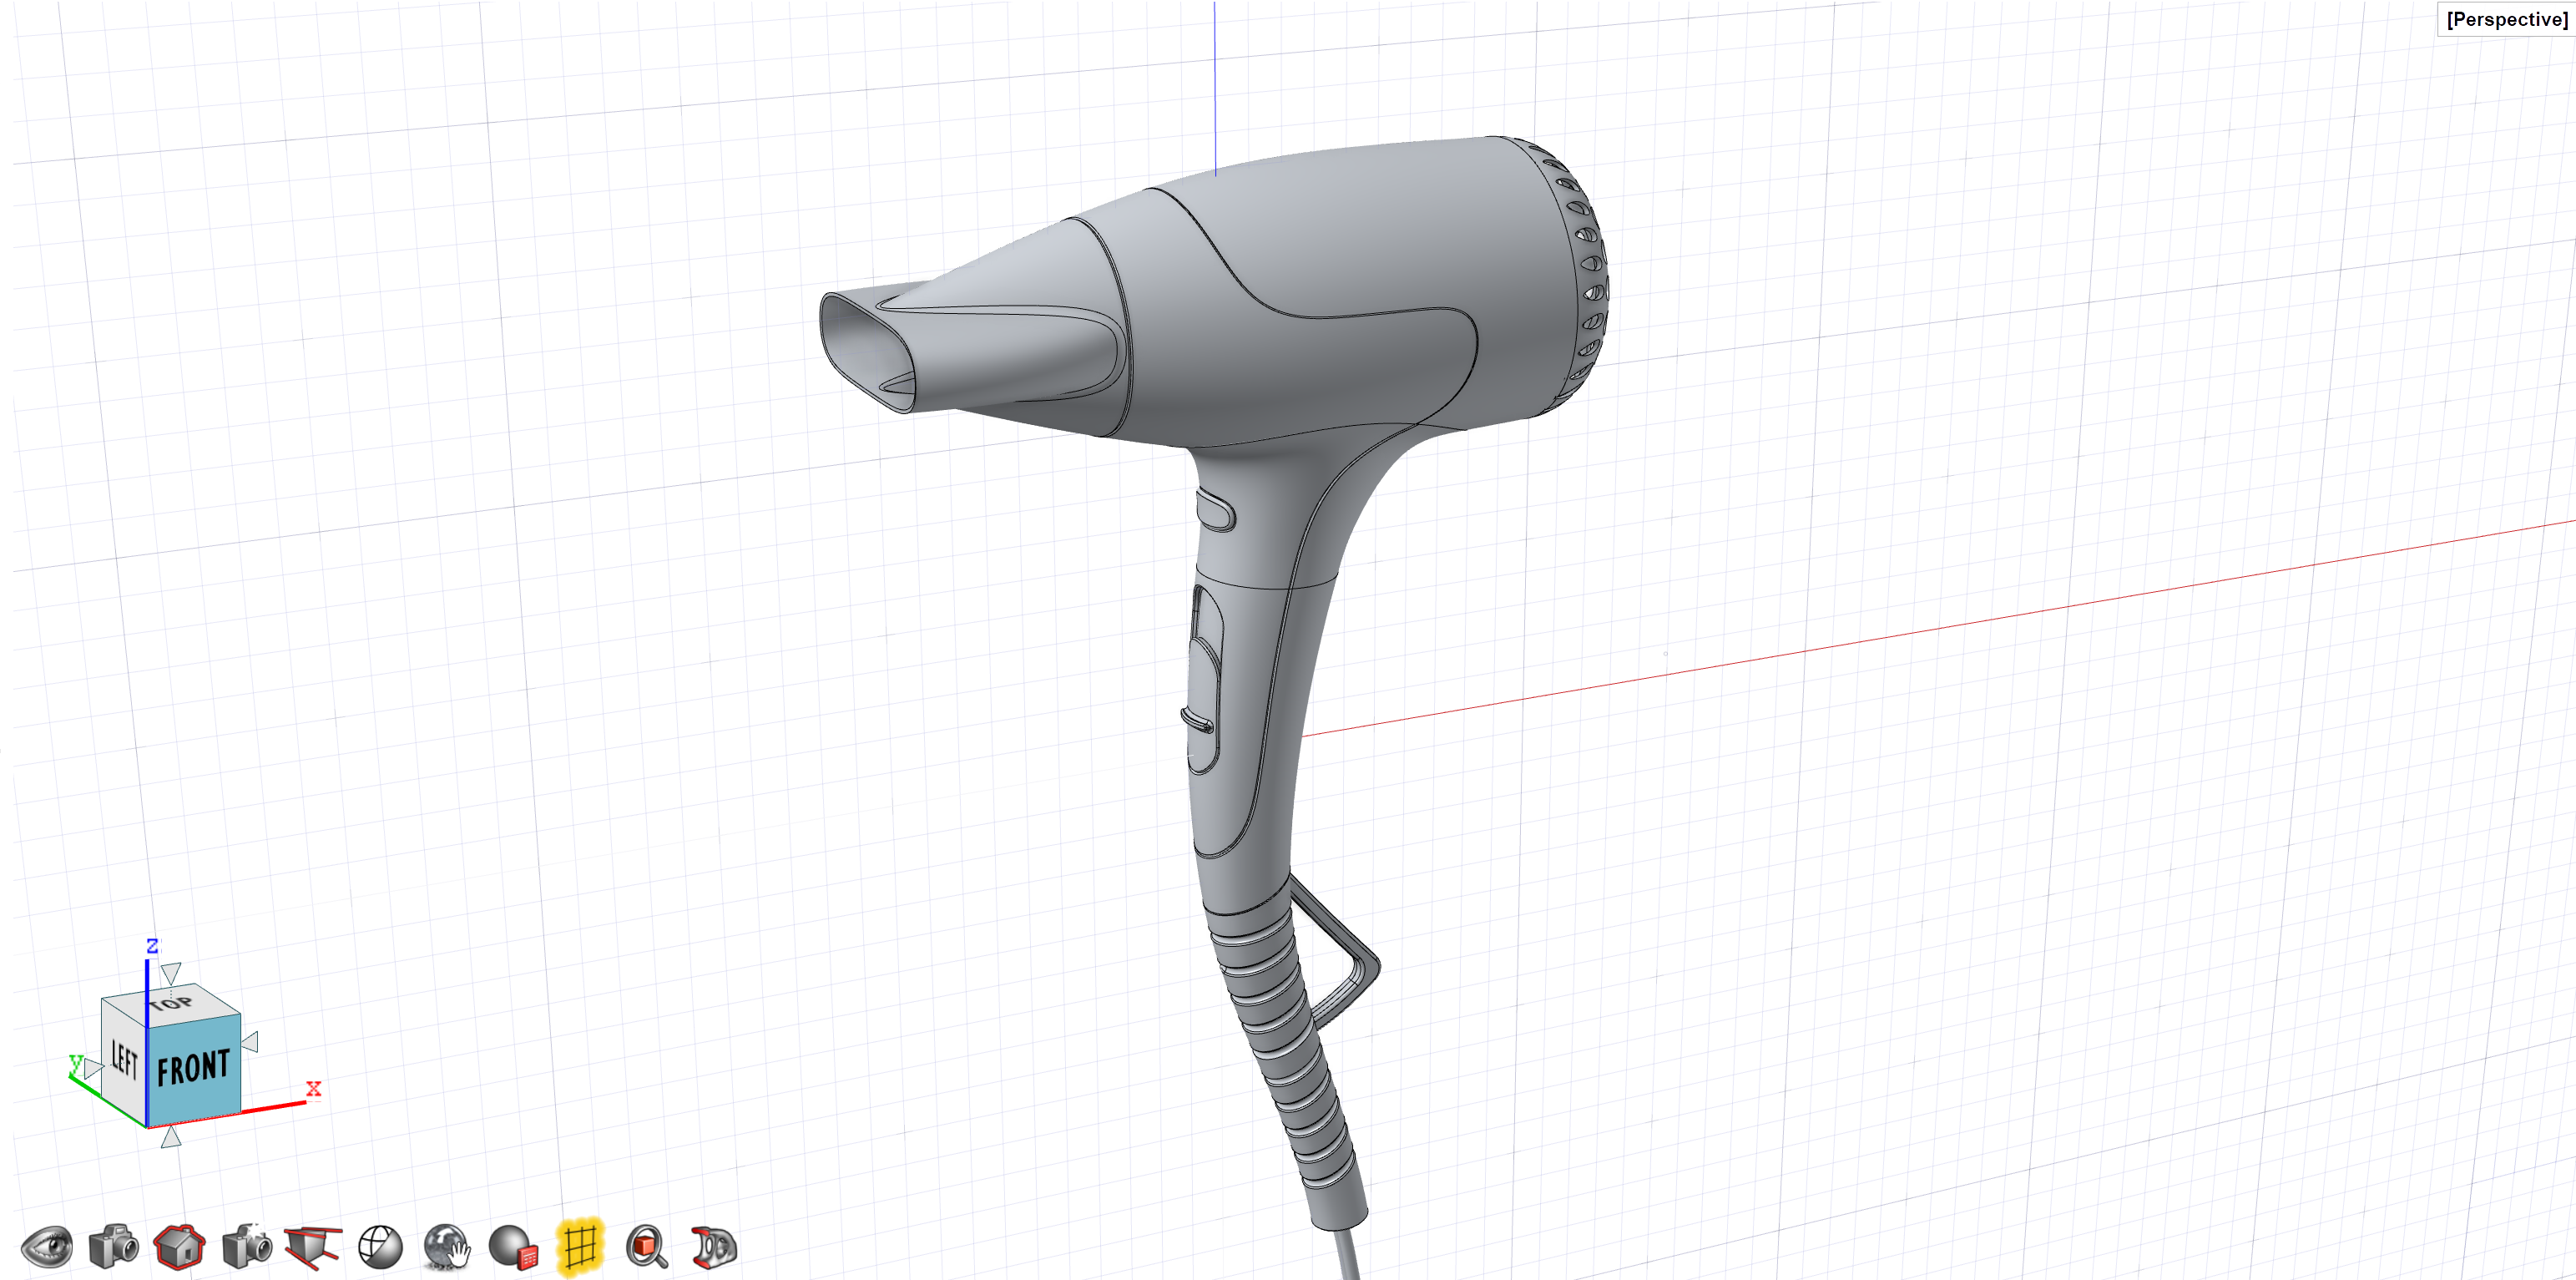
We can apply some more materials from the library to the hair dryer's On/Off and speed buttons.
Add Labels
The Texture Positioning tool allows you to quickly add multiple labels to surfaces with a high degree of control.
In this tutorial, we'll use a saved PNG logo file.
Create Dramatic Lighting
Here are some tricks for creating dramatic lighting.
The final look and feel of the materials rely on the lighting and environment. Inspire Render offers a lot of flexibility to create very dramatic lighting by leveraging the surfacing tools.
In this tutorial, we'll create a quick replicate of a plane around the hair dryer and assign an emitter material to it.
