Tutorial: Animation

Learn about key frame animation and how to render an animation.

In this lesson you will learn about:
  • Setting key frames
  • Key frame options
  • Animation options
  • Rendering animations

Open the File

  1. Browse to C:\Program Files\Altair\2021\InspireStudio2021\Evolve\Assets\Scenes.
  2. Open the animation_ball_start.iStudio file.
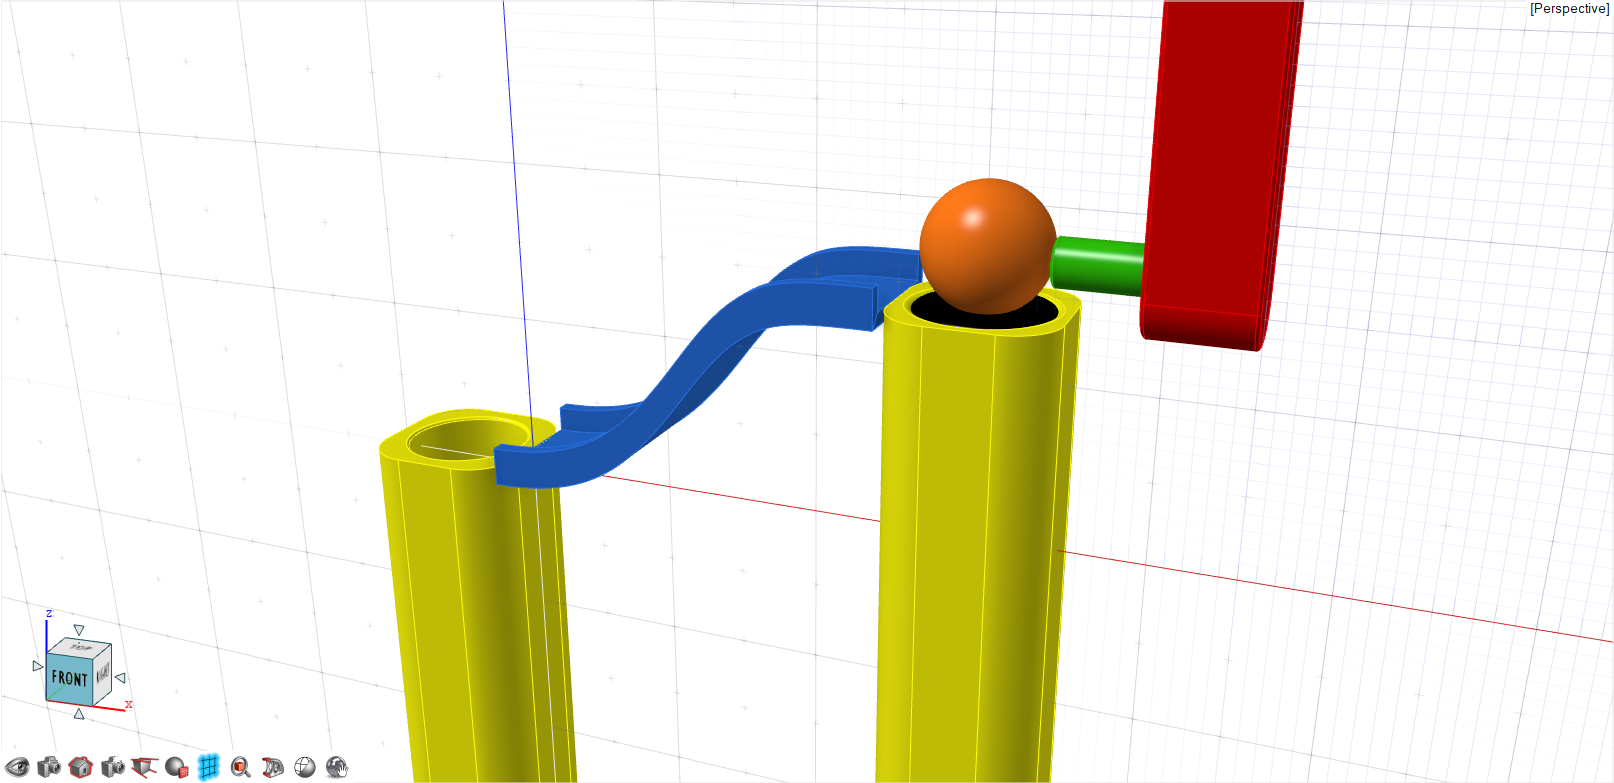
  3. The scene is loaded.


Set Up the Animation Options

  1. On the Animation tab, select the Animation Options tool.

  2. Change the Total Time to 5 s.
  3. Click the green check mark to accept changes and close the tool.
  4. In the Model Browser, select the following items:
    • Slide
    • Support
    • Pillar1
    • Pillar2
  5. Click the blue check mark in the far right column. This disables picking for these objects.

Animate the Putter

The putter basically recoils and moves forward to strike the ball. The goal is to recoil slowly and hit the ball quickly.

  1. In the Front view, select the green putter object.
  2. At the bottom of the screen, click the Set KF button to set the first keyframe. You can choose from several options in terms of channels, but for this tutorial we will leave the defaults and click OK.
  3. A green dot appears on the animation timeline to represent a keyframe.
  4. On the timeline, move the Current Time to Frame 13 (the Current Time will snap to the end of Frame 13).
    Tip: Drag the Zoom slider to the center to see the individual frames on the timeline.
  5. With the putter object still selected, press the W key to open the Move tool.
  6. Click the arrow next to the x-axis and type 1.75 cm.
  7. At this time, two things happen:
    • A keyframe is set at Frame 13 for the putter object.
    • A line is drawn, denoting the animation path of this object.
  8. Move the Current Time to Frame 17.
  9. Repeat Steps 5 and 6 with the distance now set to -1.8 cm. We want the putter to hit the ball and move a small distance before returning to its original location.
  10. Close the Move tool: Right-click and mouse through the check mark to exit, or double-right-click.
  11. Move the Current Time to Frame 20.
  12. Right-click the first keyframe and select Copy Keyframes.
  13. Type 0.8 for the absolute time. This operation will copy the keyframe from the frame at time 0.000 to the frame at 0.8 seconds (Keyframe 20).
  14. Save the file.

Animate the Ball

The ball will start moving the moment the putter strikes it and will continue to gain momentum down the slide. Once it reaches the bottom, it strikes the pillar and drops into the hole. We will then animate the ball to return through the hole in pillar 1 while riding on the left.
  1. Select the ball and click Set KF. In the dialog box, click OK.
  2. Slide the Current Time to Frame 17 and click Set KF again. We want the ball to stay stationary until the putter strikes it. In the dialog box, click OK.
  3. Slide the Current Time to Frame 30 and open the Move tool (press W).
  4. Move the ball along the X axis by -7 cm. Keep Rotations as Euler, but change the Units to Turns. Enter 1.0 for the Z value.
  5. Move the play head to ensure that rotation occurs along the desired axes. The rotation axis, which is local to the object, could be different from the global axes. To ensure proper rotation, pay attention to the selected object's local axes.
    Tip: Switch to Wireframe mode to better visualize the correct rotation direction.
    Tip: To delete a keyframe, select the keyframe and click the Del Selected KFs button.
    For the ball to move along the slide, we need to add keyframes at locations where the ball picks up speed and slows down or hits the end of the pillar before falling into the hole. You may need to add more keyframes if you need a very smooth transition.
  6. Select the ball and make sure you are on Frame 30.
  7. Add keyframes as shown in the video.
  8. For the last keyframe, we want the ball to be at the same location as the start. We can copy the keyframe.
  9. Save the file.

Animate the Lift

  1. Select the key lift and move to Frame 1.
  2. Click Set KF.
  3. We want the lift to stay in place until the ball rolls off. Copy the frame from time 0.0 s to 1.0 s.
  4. Copy this frame to 5.0 s. (We want the lift to return to its original position by the end of the animation).
  5. Move Current Time to Frame 105. This could be a different frame depending on your animation setup. The main point is to move the lift under the ball and make sure that the ball and the lift move up in unison to return to KF 1.
  6. Using the Move tool, position the lift under the ball.

Change the Keyframe Options

  1. Select the ball and move to Frame 90.
  2. Right-click the keyframe. For Keyframe In-->Out, select Linear-Linear. This will move the ball linearly.
  3. Repeat this process for any frames after 90 to force linear interpolation between frames.

Play the Animation

  1. Move to the first frame.
  2. Click on empty space to deselect any objects.
  3. For Play Mode, select Loop.
  4. Click .

Export the Animation

  1. On the Animation ribbon, select the Render in Real Time tool.

  2. Save the file.
  3. A simple movie without materials is saved.
  4. To render individual frames, click the Render button.
  5. Darkroom should open and render the animation frame by frame.

    The frames are saved to your Pictures folder.